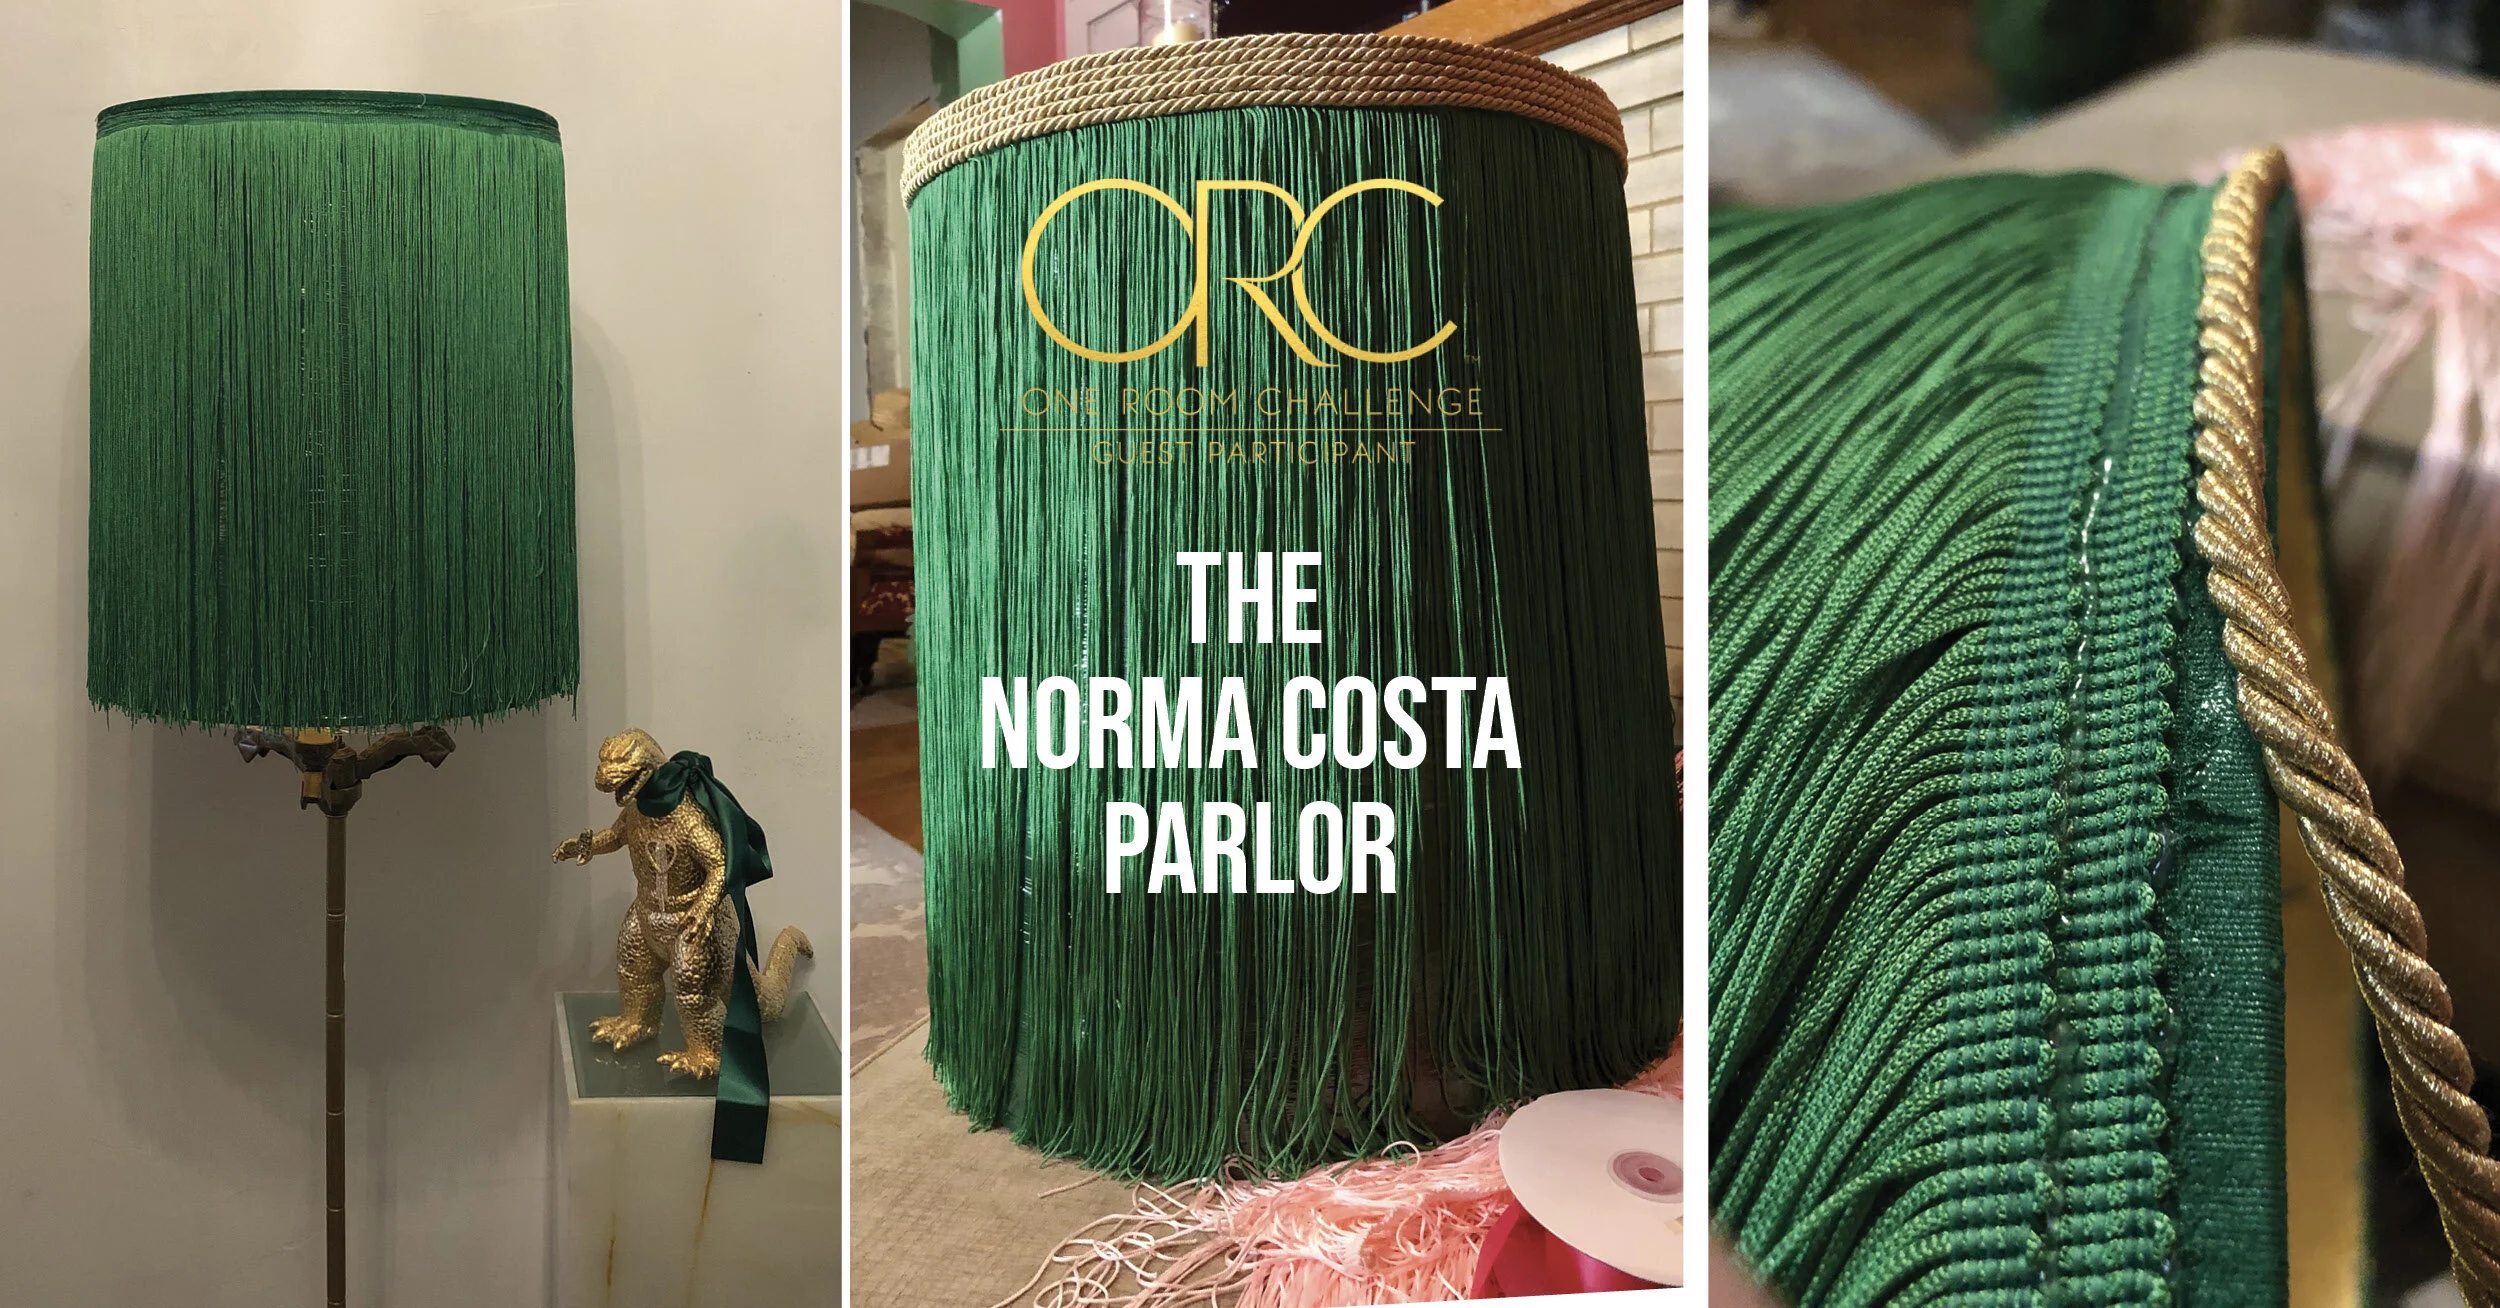
One Room Challenge | Week 7 | DIY | How to spray paint lampshades and add decorative fringe!
Week 1 | Week 2 | Week 3 | Week 4 | Week 5 | Week 6 | Week 7 | Week 8
SO we have one week to go and we have made a ton of progress! Gary is painting the trim in the Norma Costa parlor as I'm typing this so I figured I'd save all the fabulous details for the big reveal and just share a super fun DIY lampshade project that I finished last night.
You can scroll to the bottom where “Supplies” starts for the short version or stay for the very long lampshade story:
I'm obsessed with DIY anything because I just really like gluing and painting anything. Can this be prettier? Can it be more useful?
I bought these AMAZING gilt tole lamps at the auction but the lampshades were pretty beat up. I thought maybe I could clean them but they had about 50 years of smoke, grime, and who knows what else clinging to them. I don't normally support destroying something that is "original" but these were gross. My usual rule is "Will I ever sell this?" and if the answer is "no" and I'm going to keep it then I don't care what anyone else thinks about it because you can tear these beautiful lamps out of my cold dead hands.
Anyway, I really wanted to buy some beautiful new shades but these were too expensive and impossible to find in the giant size that these lamps really need. The shades are 22” tall.
I decided to just go ahead and cover the shades completely in fringe so I ordered six yards of green fringe. This is the Anthropologie lamp that I’m inspired by (ripping off). I wanted a really bold color and I loved the emerald green. Even tripled over, the fringe wasn't thick enough. I didn’t want any smoke stains or cooties crawling through so I thought it would be a good idea to cover them in fabric until I looked at the YouTube tutorial and realized that was a lot more of a “time commitment” than I was interested in so I did what I always do - spray paint. SPRAY PAINT IT ALL!
I'm sure the people at Rust-Oleum don't approve of this messaging but you really can spray paint anything. People are always all "You can't spray paint that!" but you can. If it isn't alive, you can spray paint it.
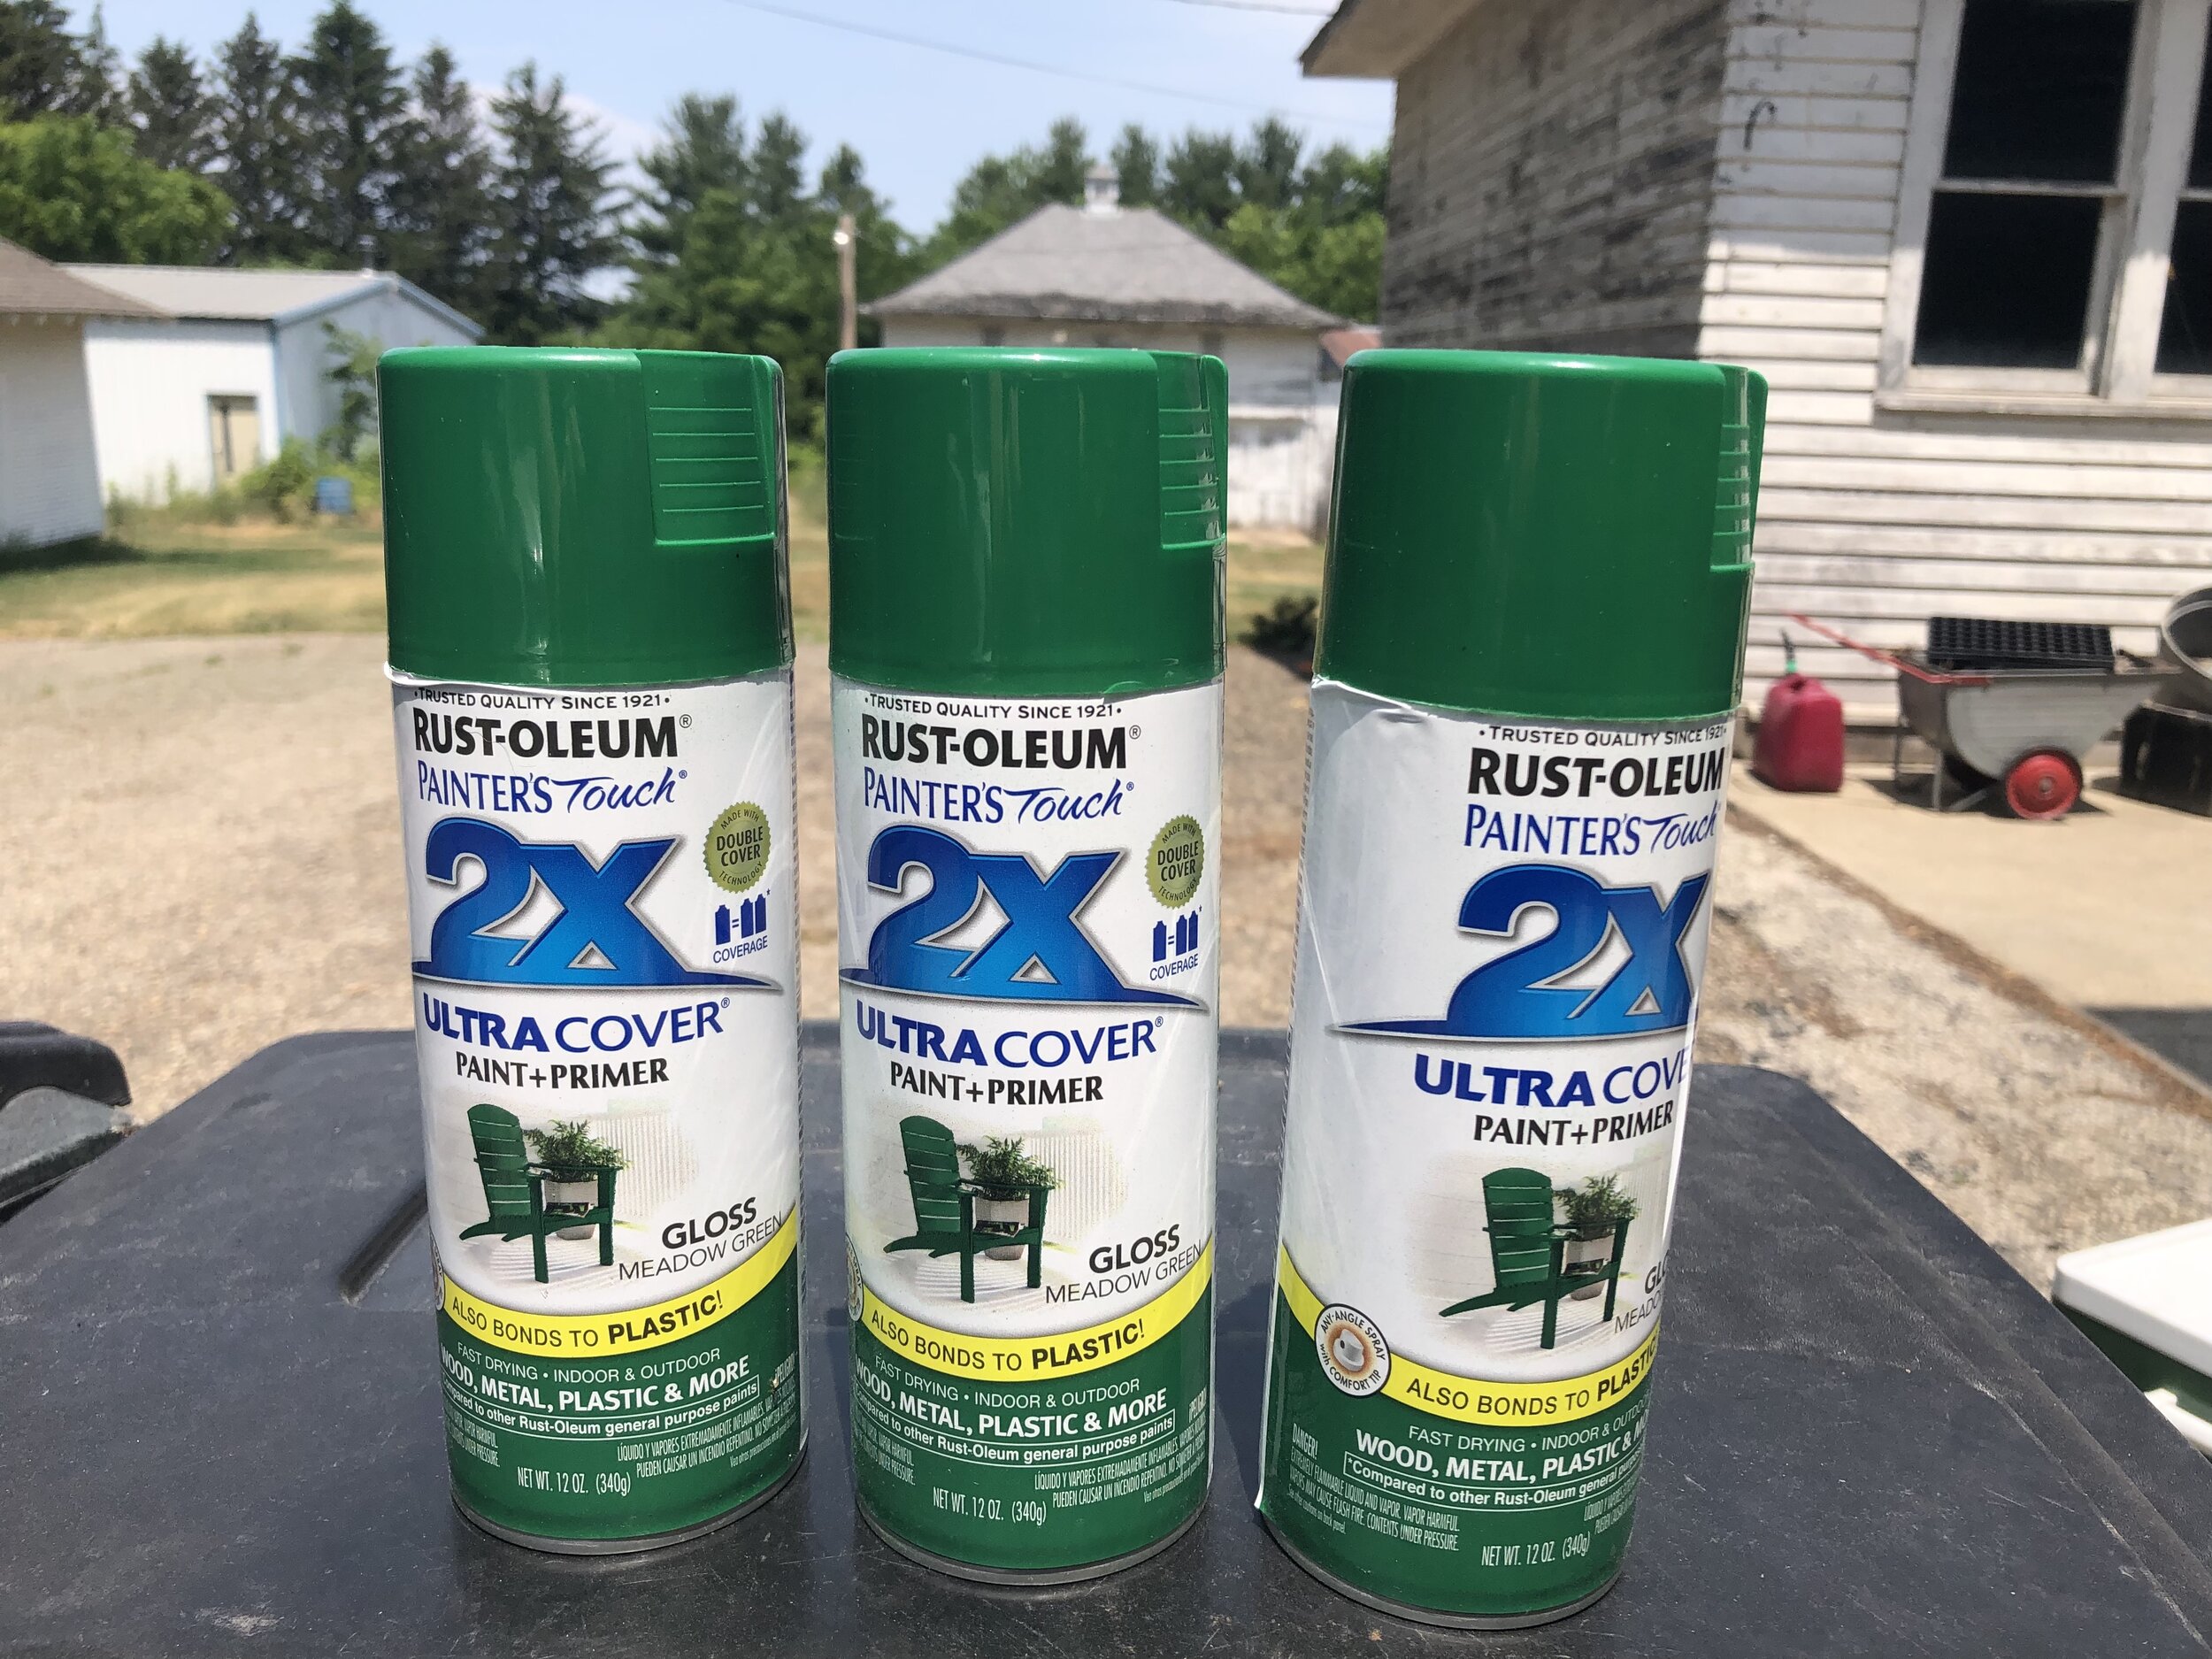
I spray painted the first lampshade and it had this really weird blotching. Rust-Oleum usually doesn't blotch. It has the most even spray and it doesn't even get your fingers dirty (they didn't pay me to say this, I'm just a spray paint connoisseur) I couldn't figure out what the problem was so instead of stopping like a normal person, I just bought three more cans of spray paint.
Then my lampshades blew away. Yes. THEY BLEW AWAY. Like all dirty and dusty because it hasn't rained and the yard is dead.
So then I'm traveling out into the yard to pick up the lampshades and our fox (not a cutie, an actual fox) is out with her babies and she starts barking at me. I had no idea foxes barked. So I was all "Listen, heifer, nobody wants your babies and SHAME on you for letting these blow away!" Side story: nobody lives next door so the beautiful house has literally become a wildlife refuge. It is terrifying and oddly fascinating. I don't help the problem any because I give the wildlife water but it is so hot out and I don't want dead baby foxes on my hands. Or do I? (fox stole for Goldzilla?). Kidding!

The cutest fox babies!

Soylent Green is people.

Reference photo of the house next door.
Anyhoo, I scolded her and then refilled her water bowl and went back to examine the damage.
Imagine my terror when I noticed that the shades were pretty scratched up. I took the palm of my hand and tried to dust off the dirt and what in the SOYLENT GREEN is this shit? The spray paint had apparently absorbed the dust and turned into soylent green. It was disturbing, but it also seemed to help even out the paint. Praise be.
So I spend the next hour scraping off the soylent green, put on another coat of spray paint (because why not) and now they are a gorgeous, even shade of emerald.
A normal person, would stop there, but not us!
Then I gold leafed the inside to match the gold-leafed bases. Then I added fringe. Then I added the most amazing sailor knot disco trim.
Now I have the world’s most amazing (slightly embellishing this a bit) lamps!
And here’s how you can get them, too:
SUPPLIES:
Lamp Shades (I’m all about upcycling. Go to garage sales, estate sales, the auction, dig in the trash. Don’t be shy.)
Rust-Oleum Spray Paint of your choosing: I used Painter's Touch® 2X Ultra Cover® in gloss Meadow Green. I’m obsessed with Rust-Oleum.
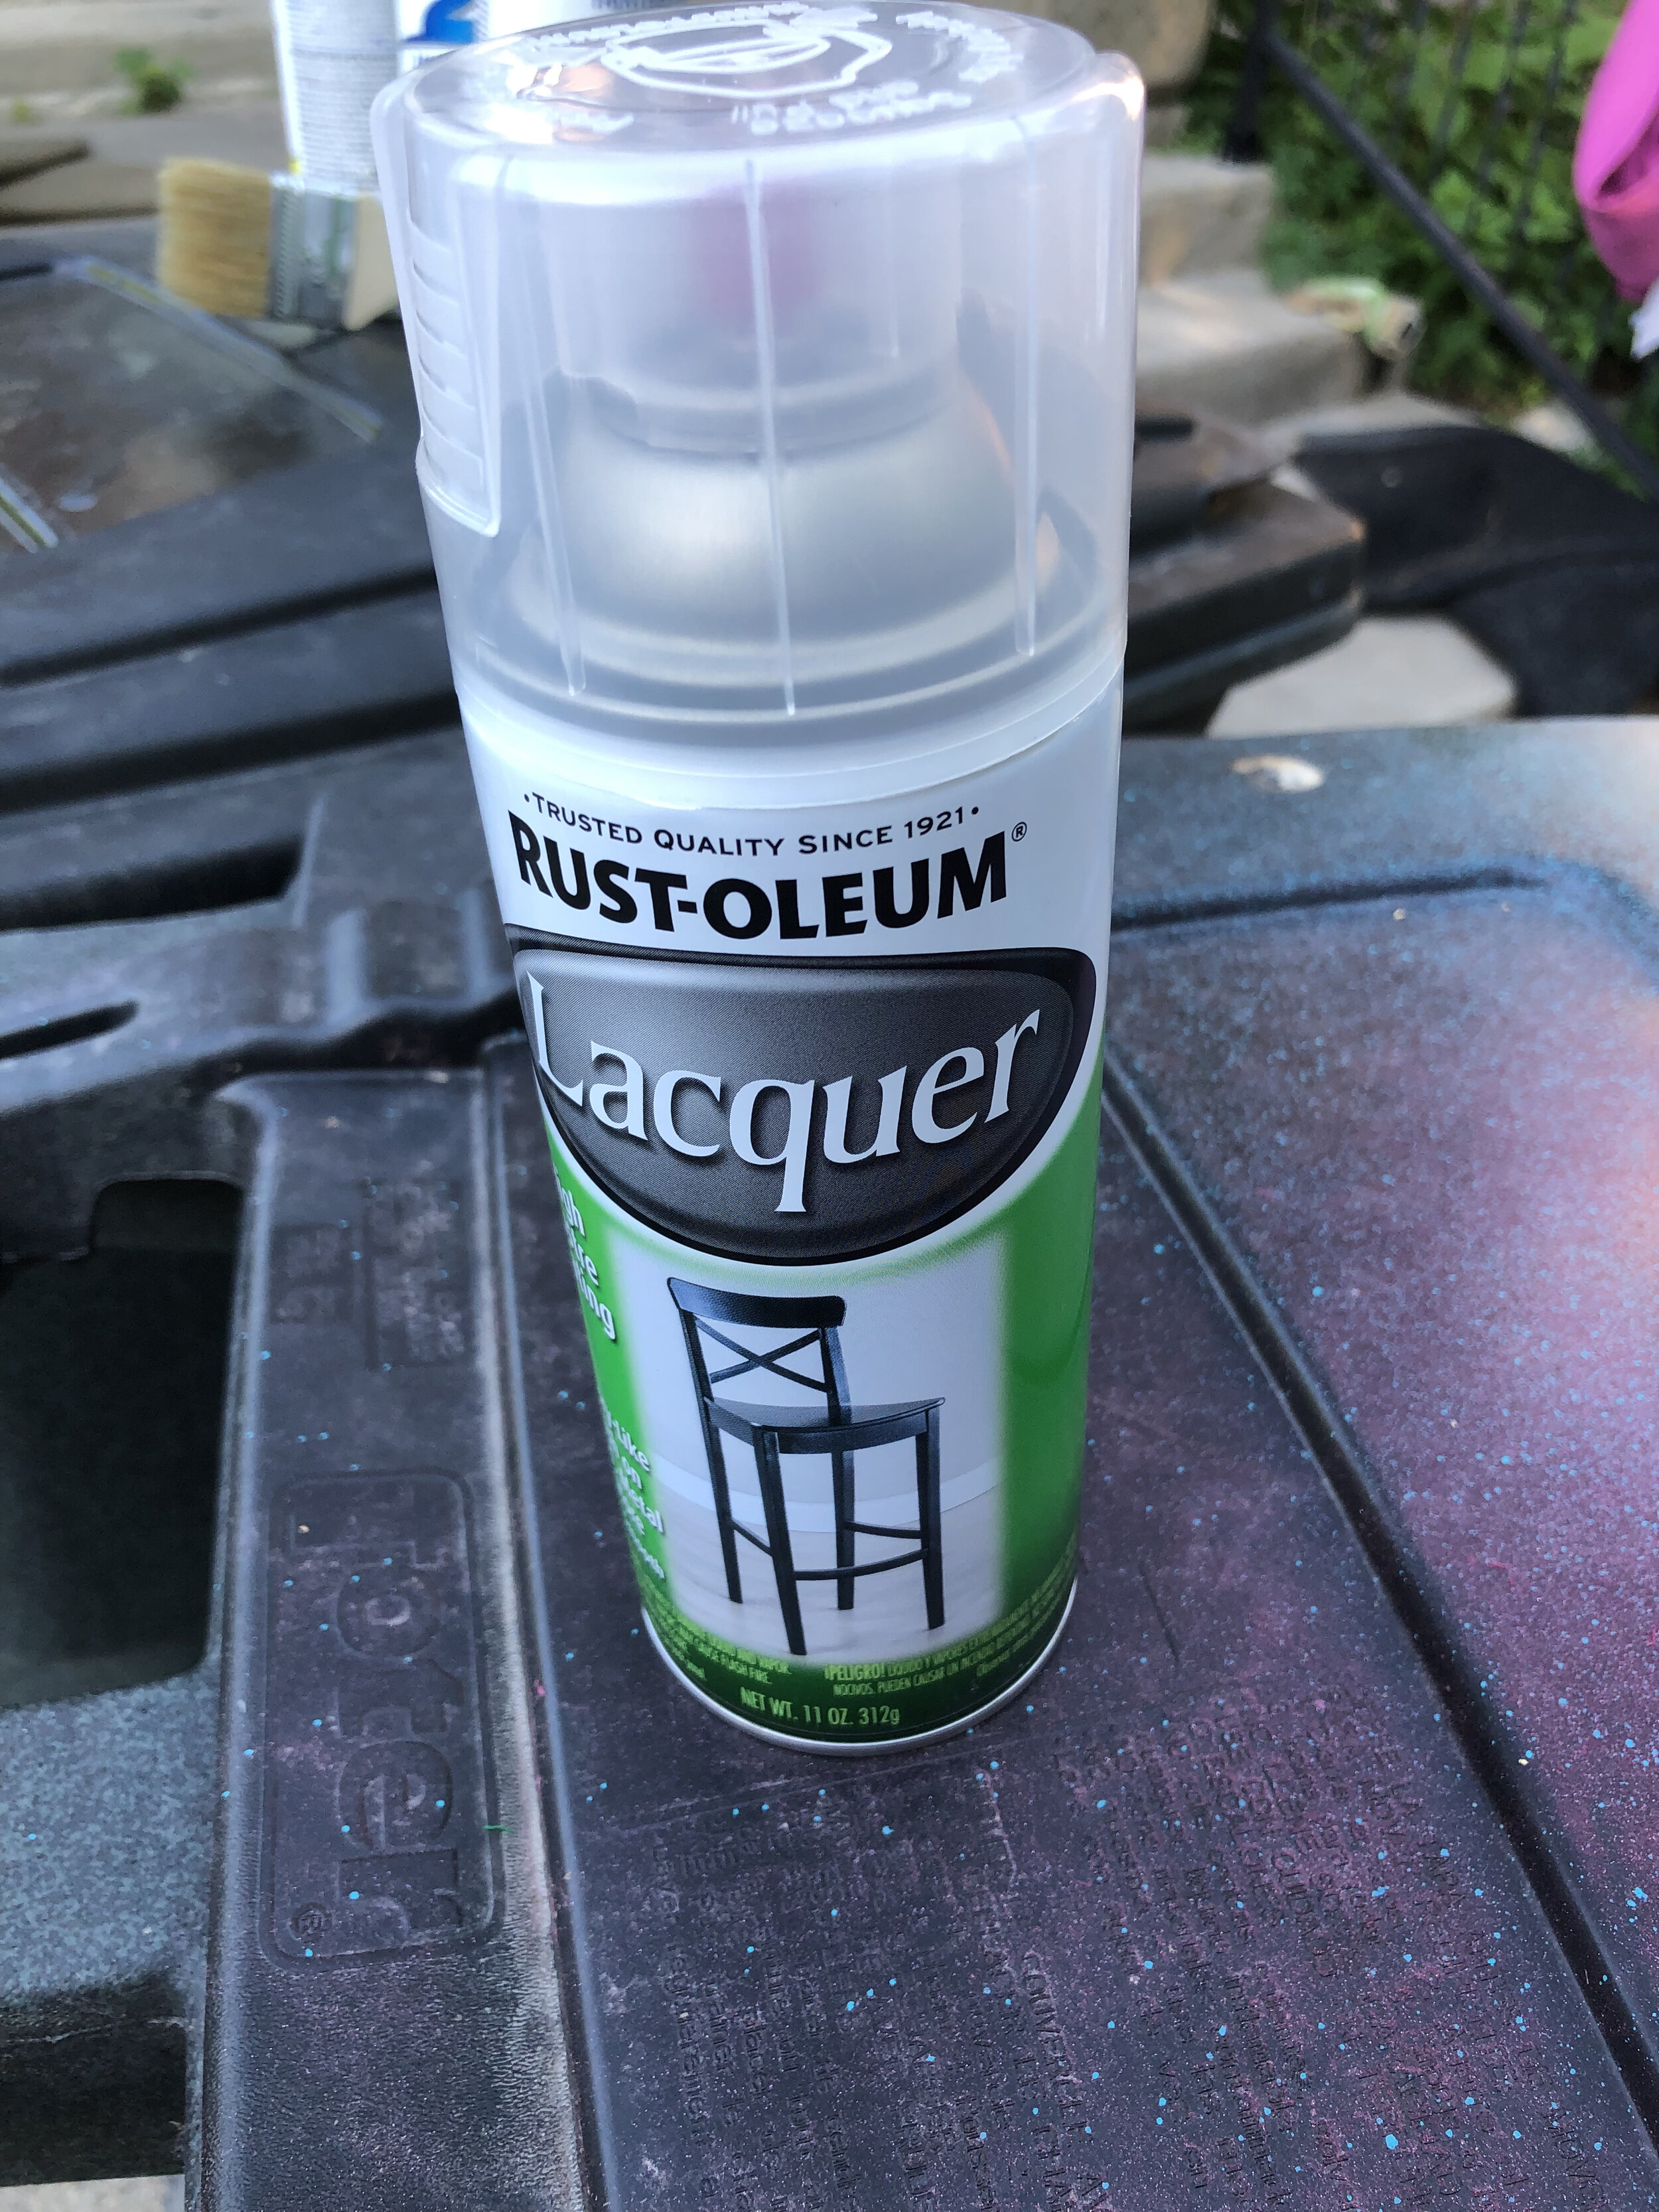
Rust-Oleum Lacquer Spray - you will need this to seal your gold leaf. This lacquer has the most beautiful glossy finish.
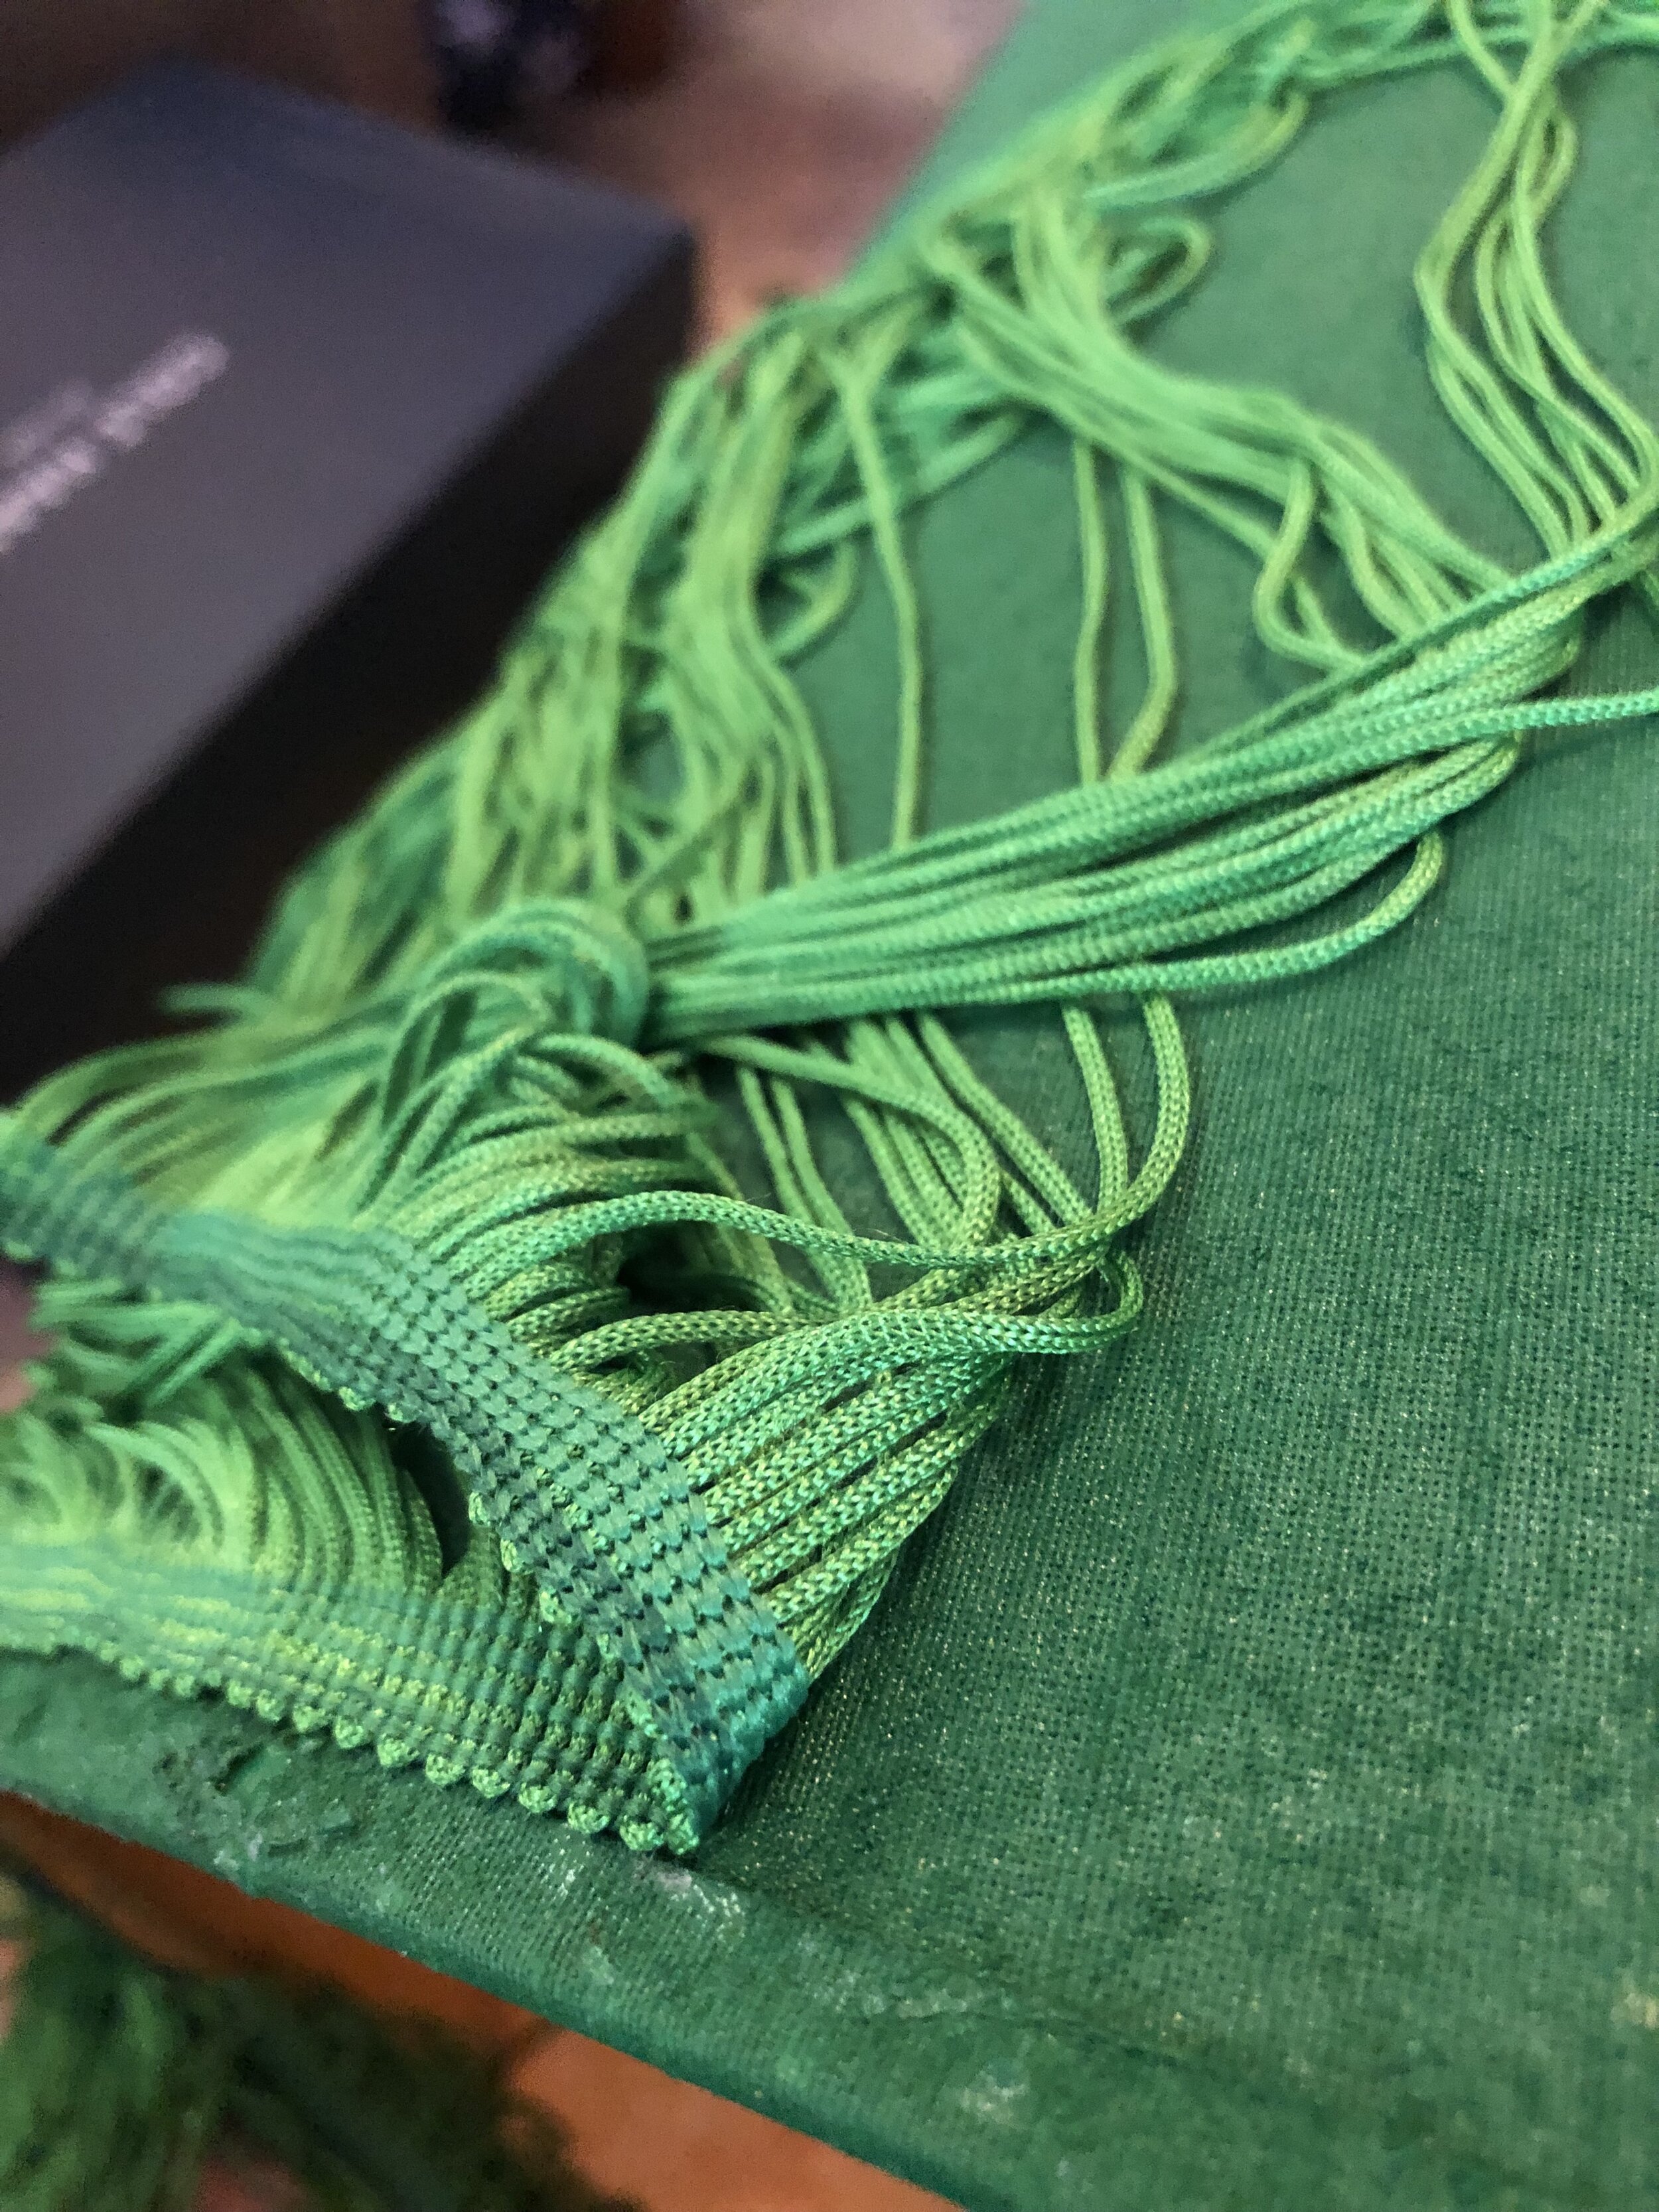
Fringe - Just google. There are so many options. Now I want to fringe everything. I’m so gay.
Decorative finishes *Optional but I LOVE this twisted cord from Amazon. Super retro. Etsy has a ton of fabulous options.
Hot glue gun - I bought a crappy one at Dollar General because I couldn’t find ours. Spring for a good one.
Patience
Fabulous taste
Gold leaf - I like the fake Bememo gold leaf. It is easy to handle and doesn’t fall apart like some of the cheaper ones. Nobody knows the difference or cares.
Gold leaf adhesive - I learned the hard way to go with the nice Barnabas gilding adhesive. Modge Podge will work but it isn’t as nice as this.
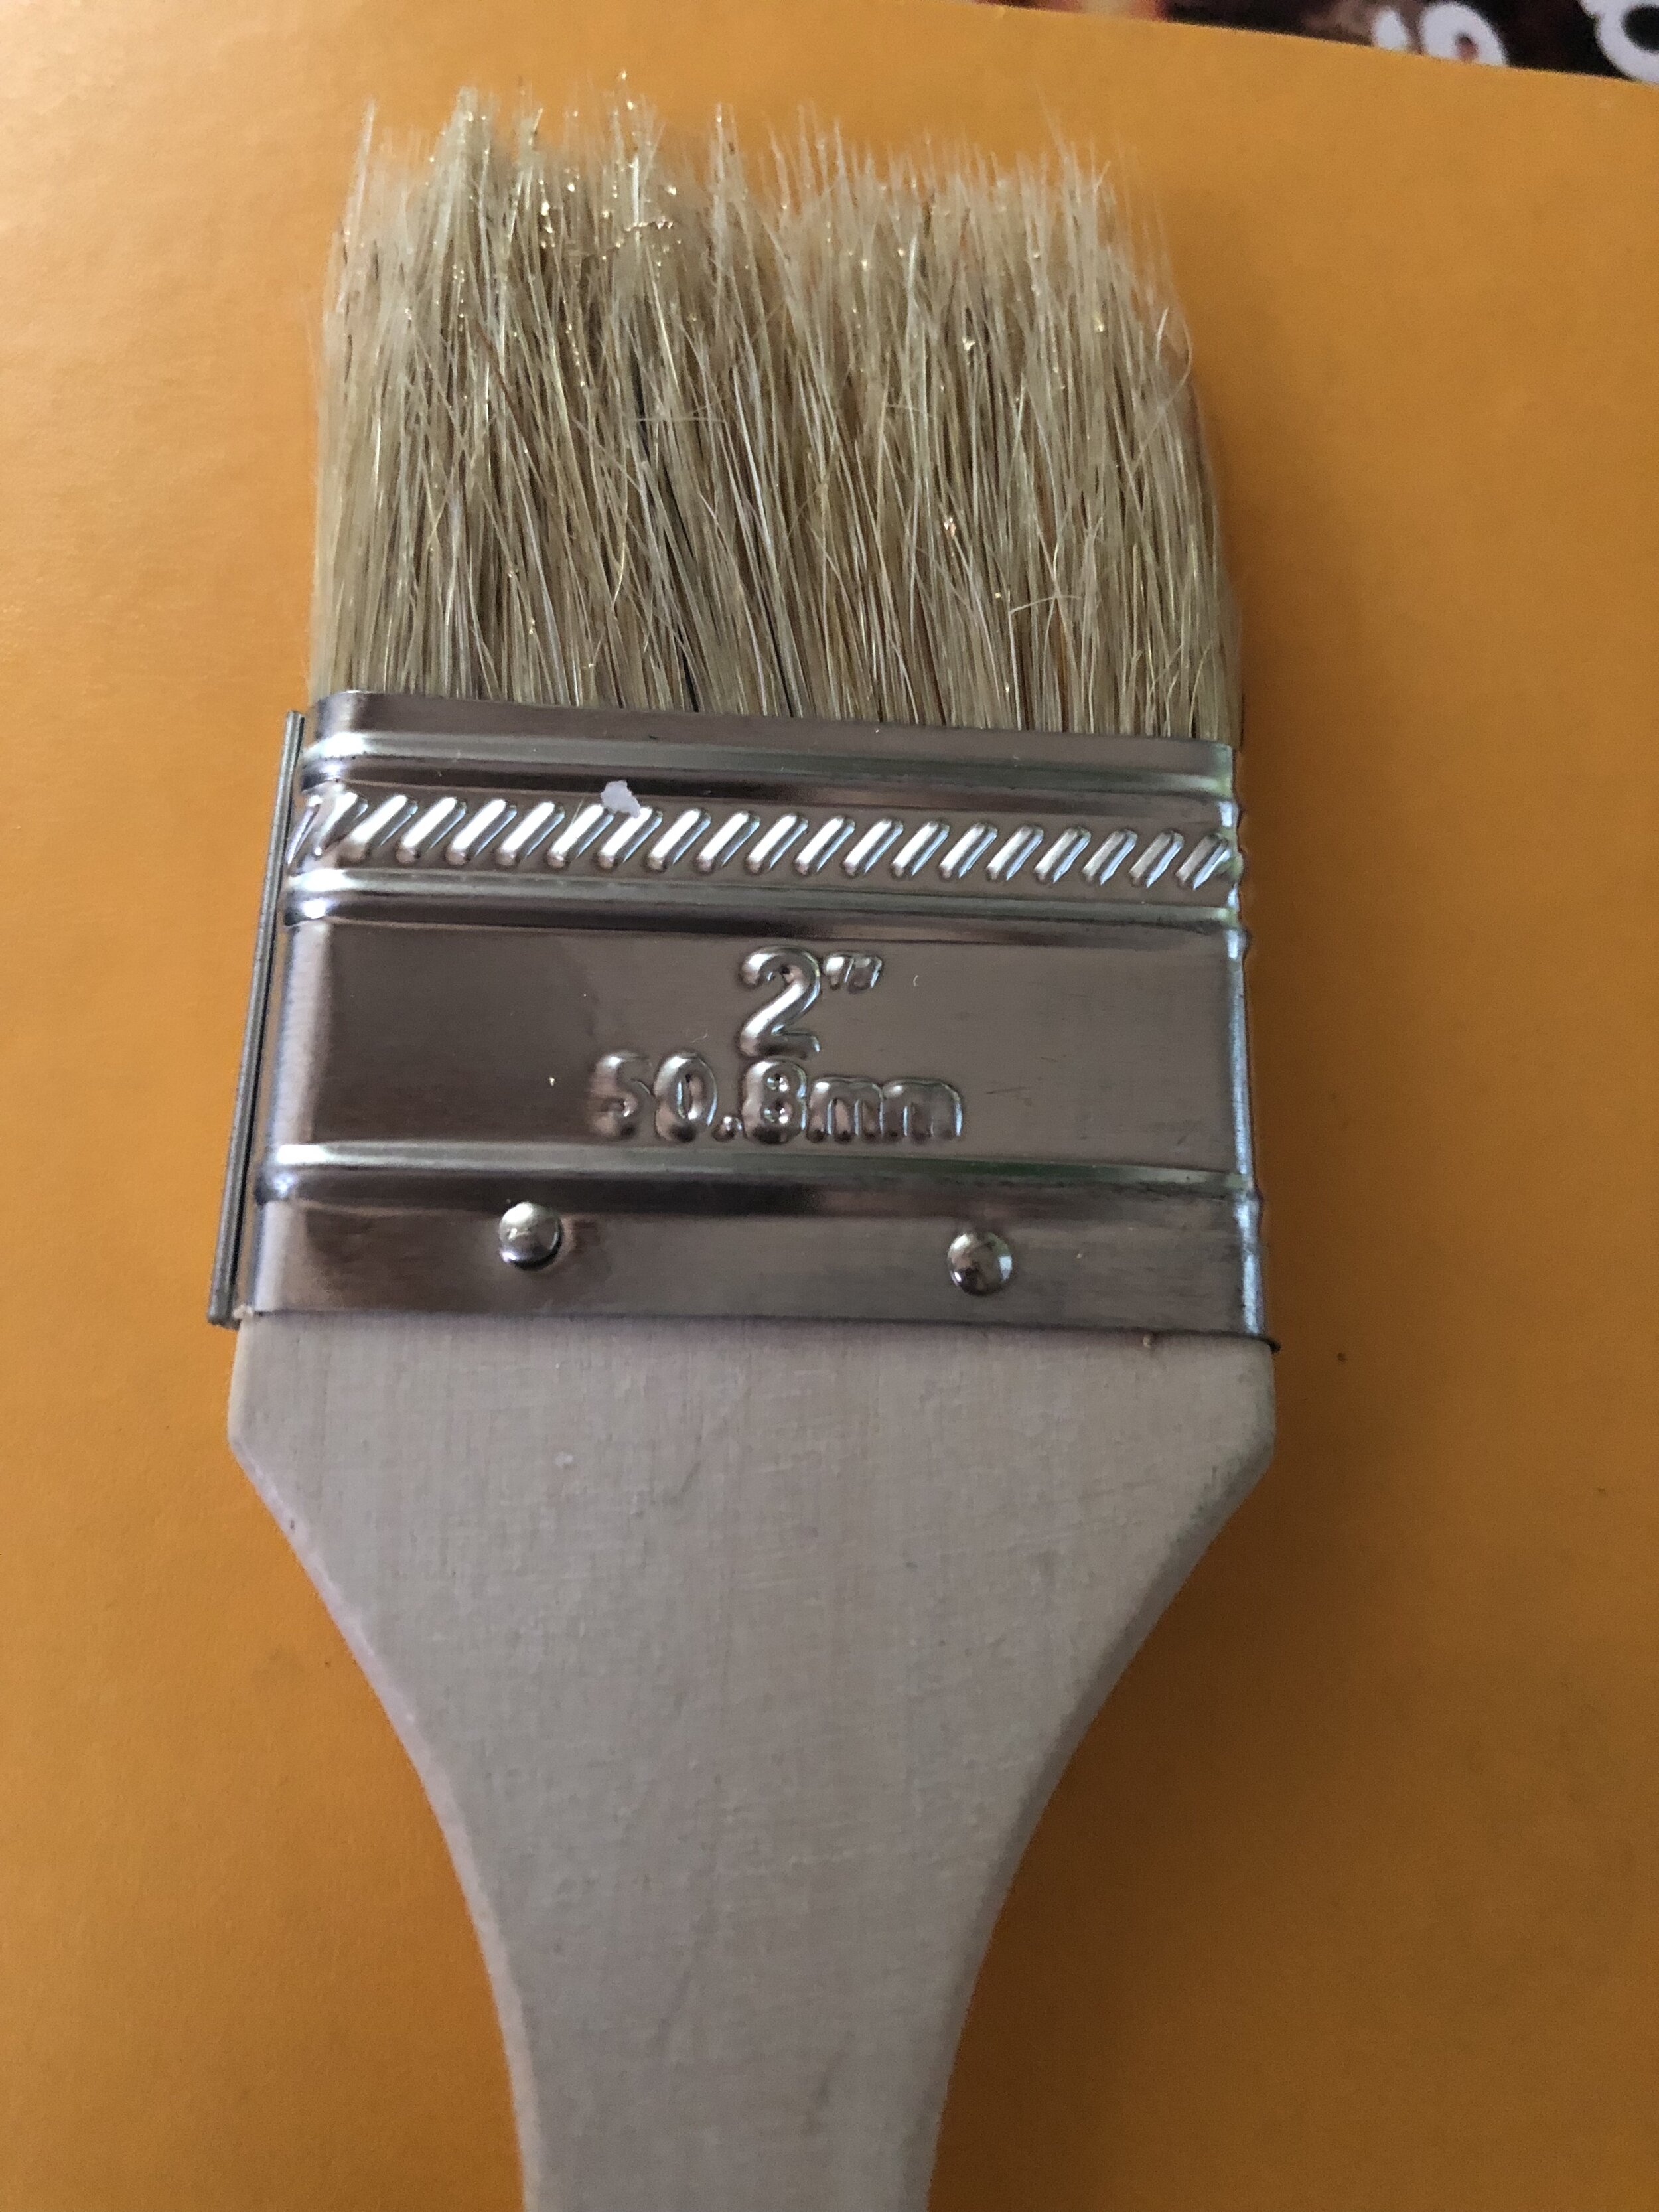
Gold leaf brush - I just bought some dollar store paintbrushes in a 1” width.
Gold leaf applicator brush - same. Just a paintbrush to roll/brush on the adhesive. I like the marks of a brush because it looks like a person did it. I know some people aren’t a fan of rustic, chippy, etc., and think it looks sloppy. Whatever floats your gold-leafed boat.
DIRECTIONS:
Step 1: Clean the lampshades with a clean cloth. Take them outside. Bang them a little bit with your hands (close your eyes) and try to get as much dust off as possible. These were really old fabric… like a shiny polyester cloth of some kind.
Step 2: Spot clean any stains or soiling with a damp cloth.

Josey Grossey. Was this lamp shade an actual ash tray?
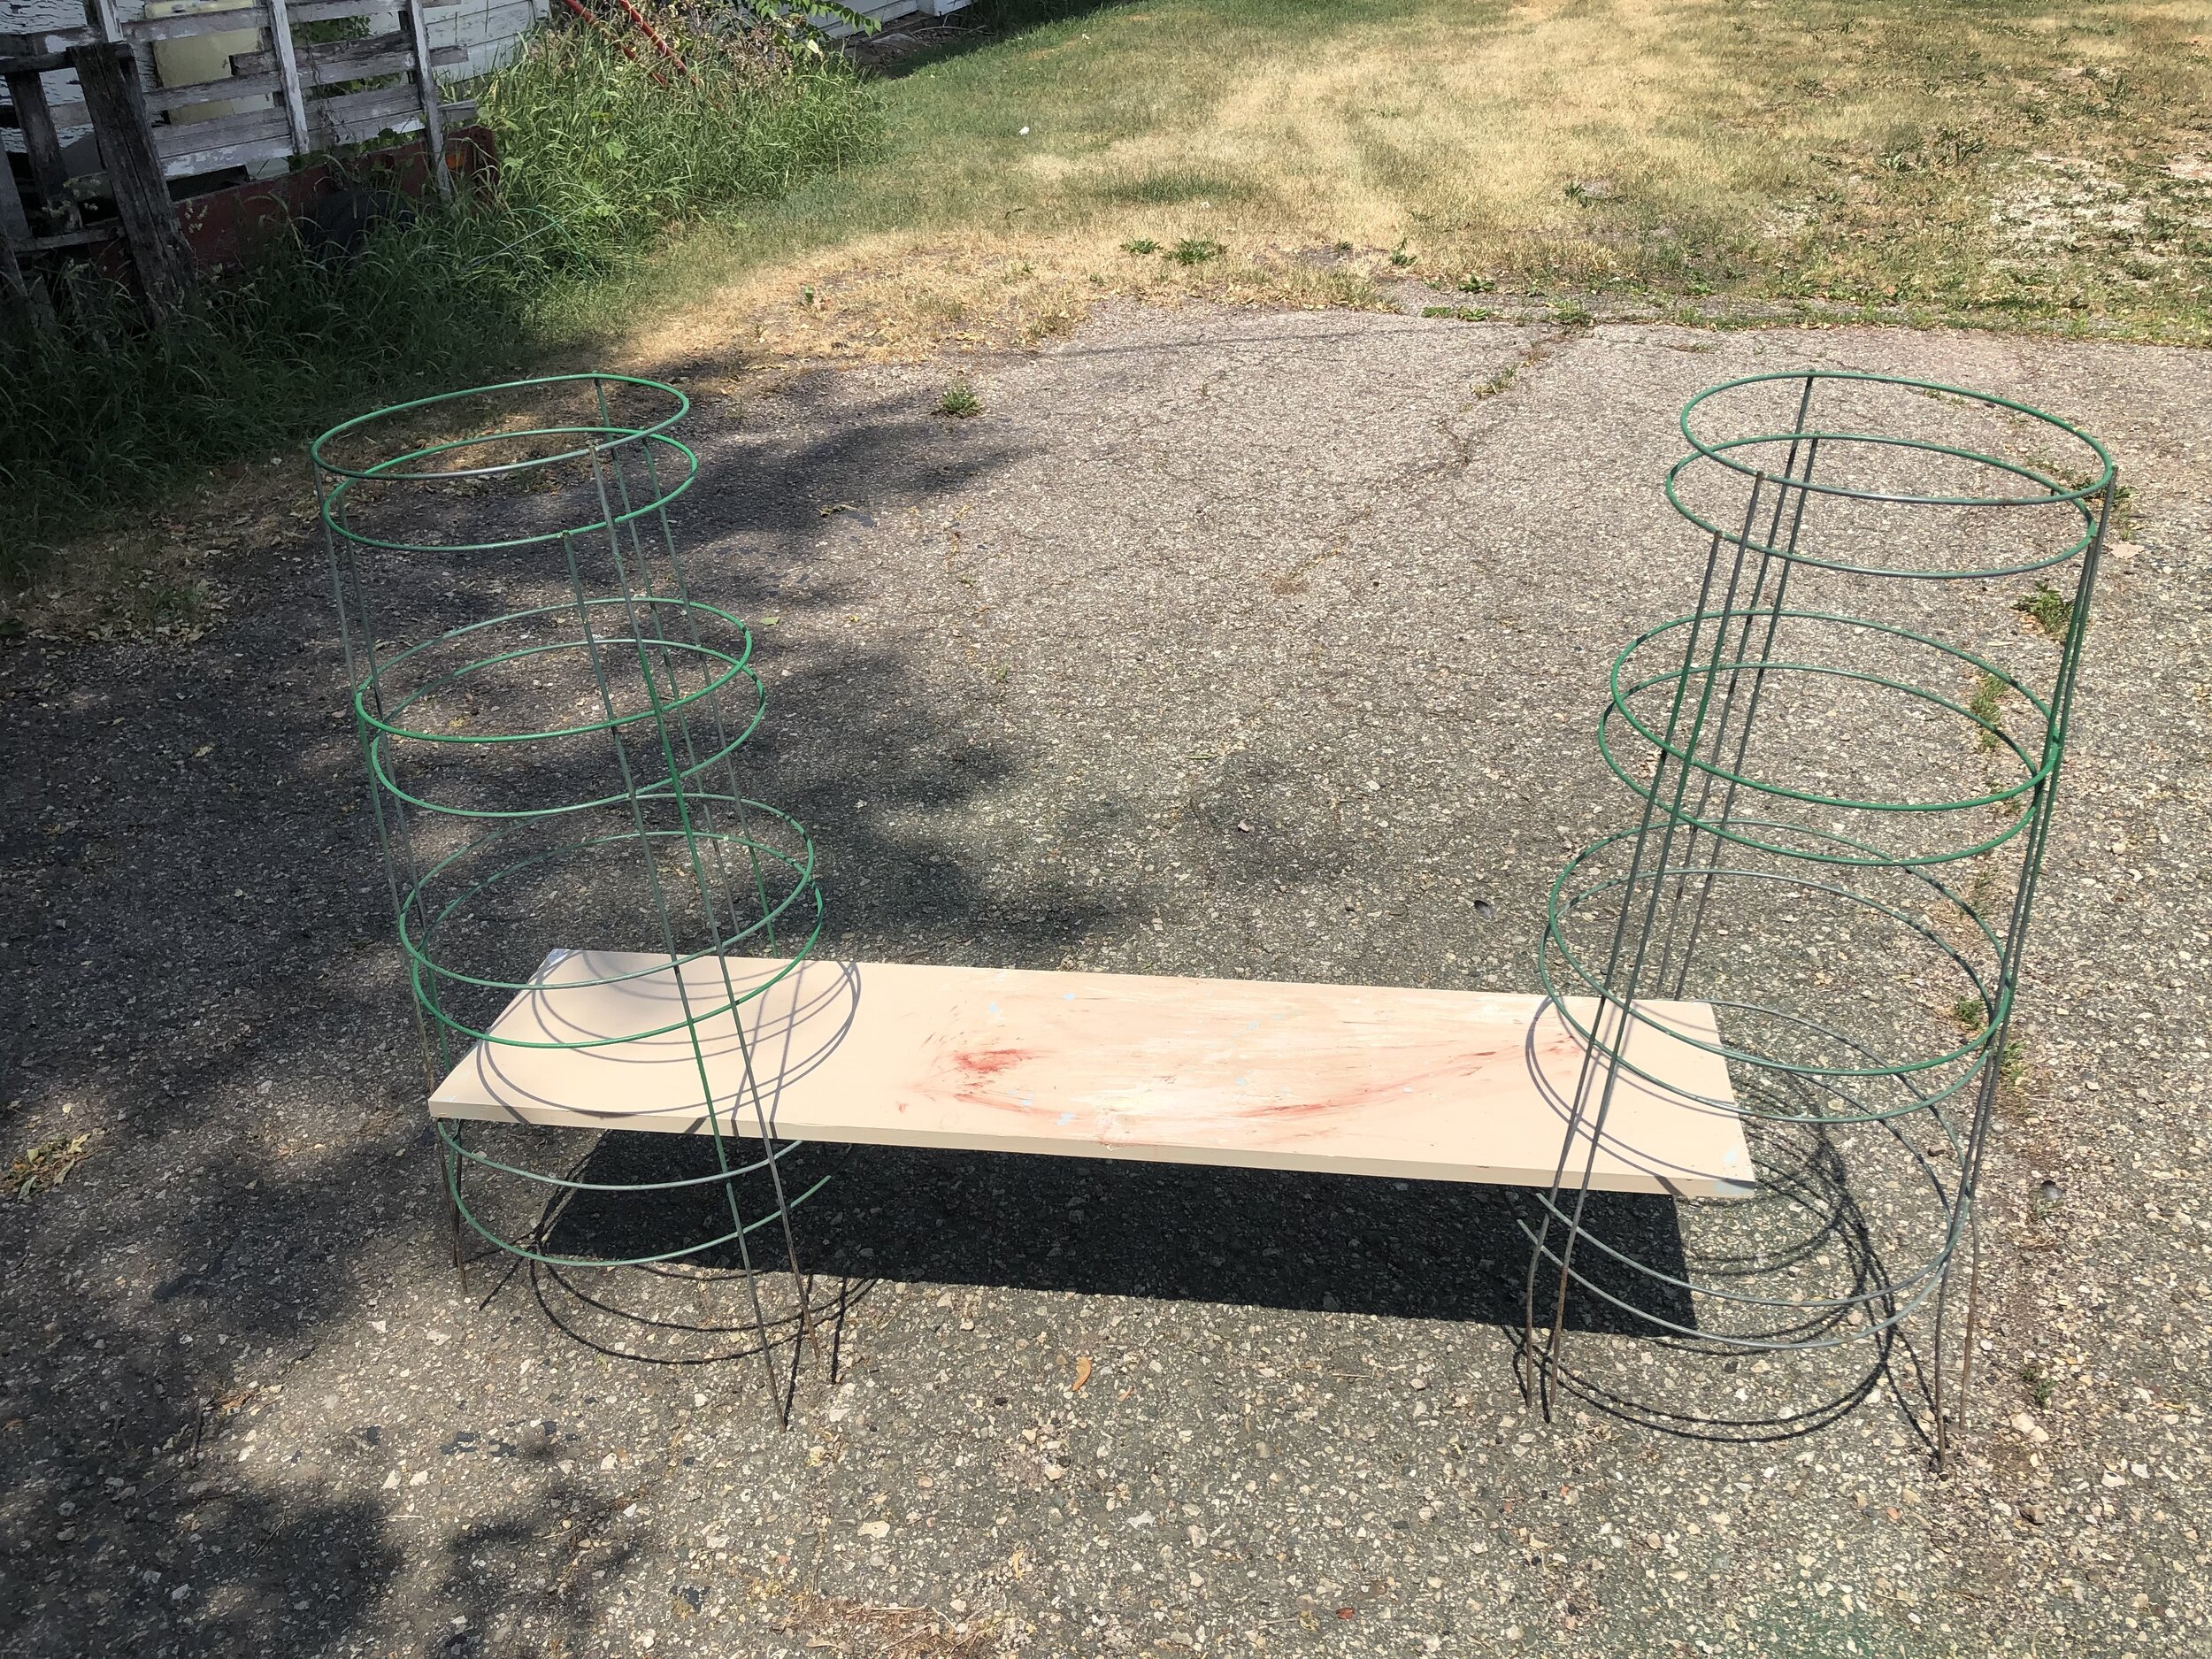
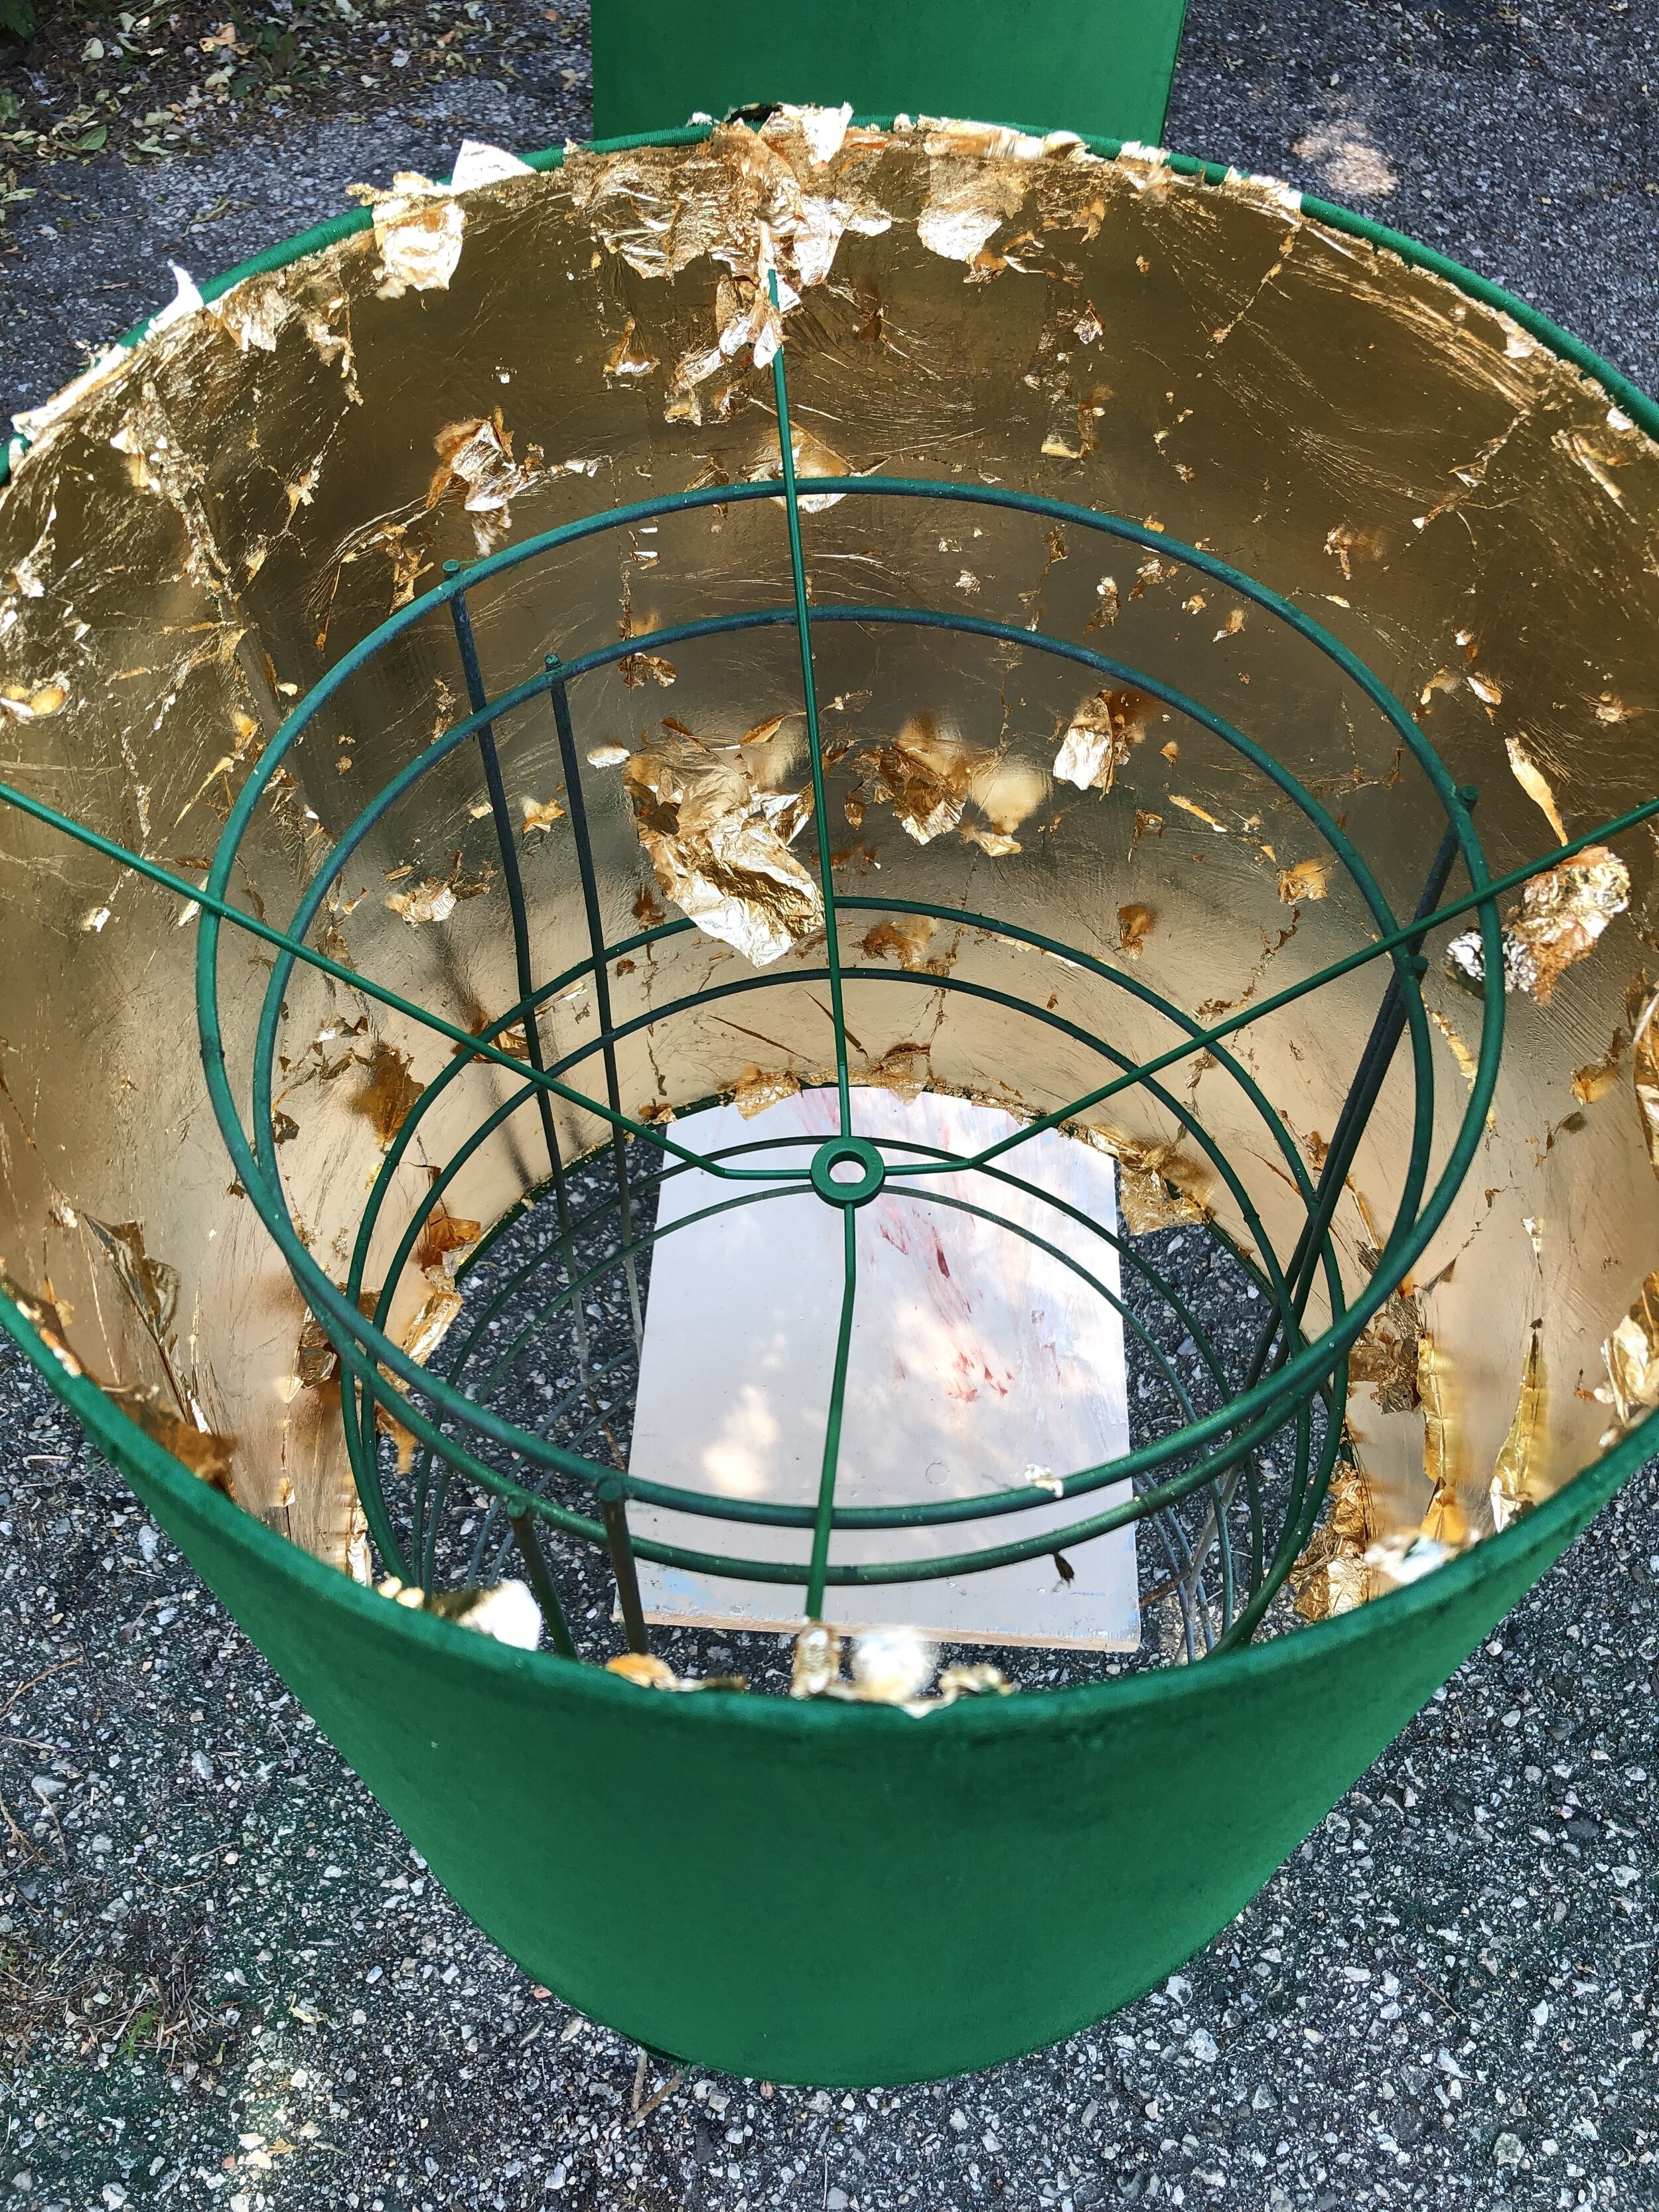
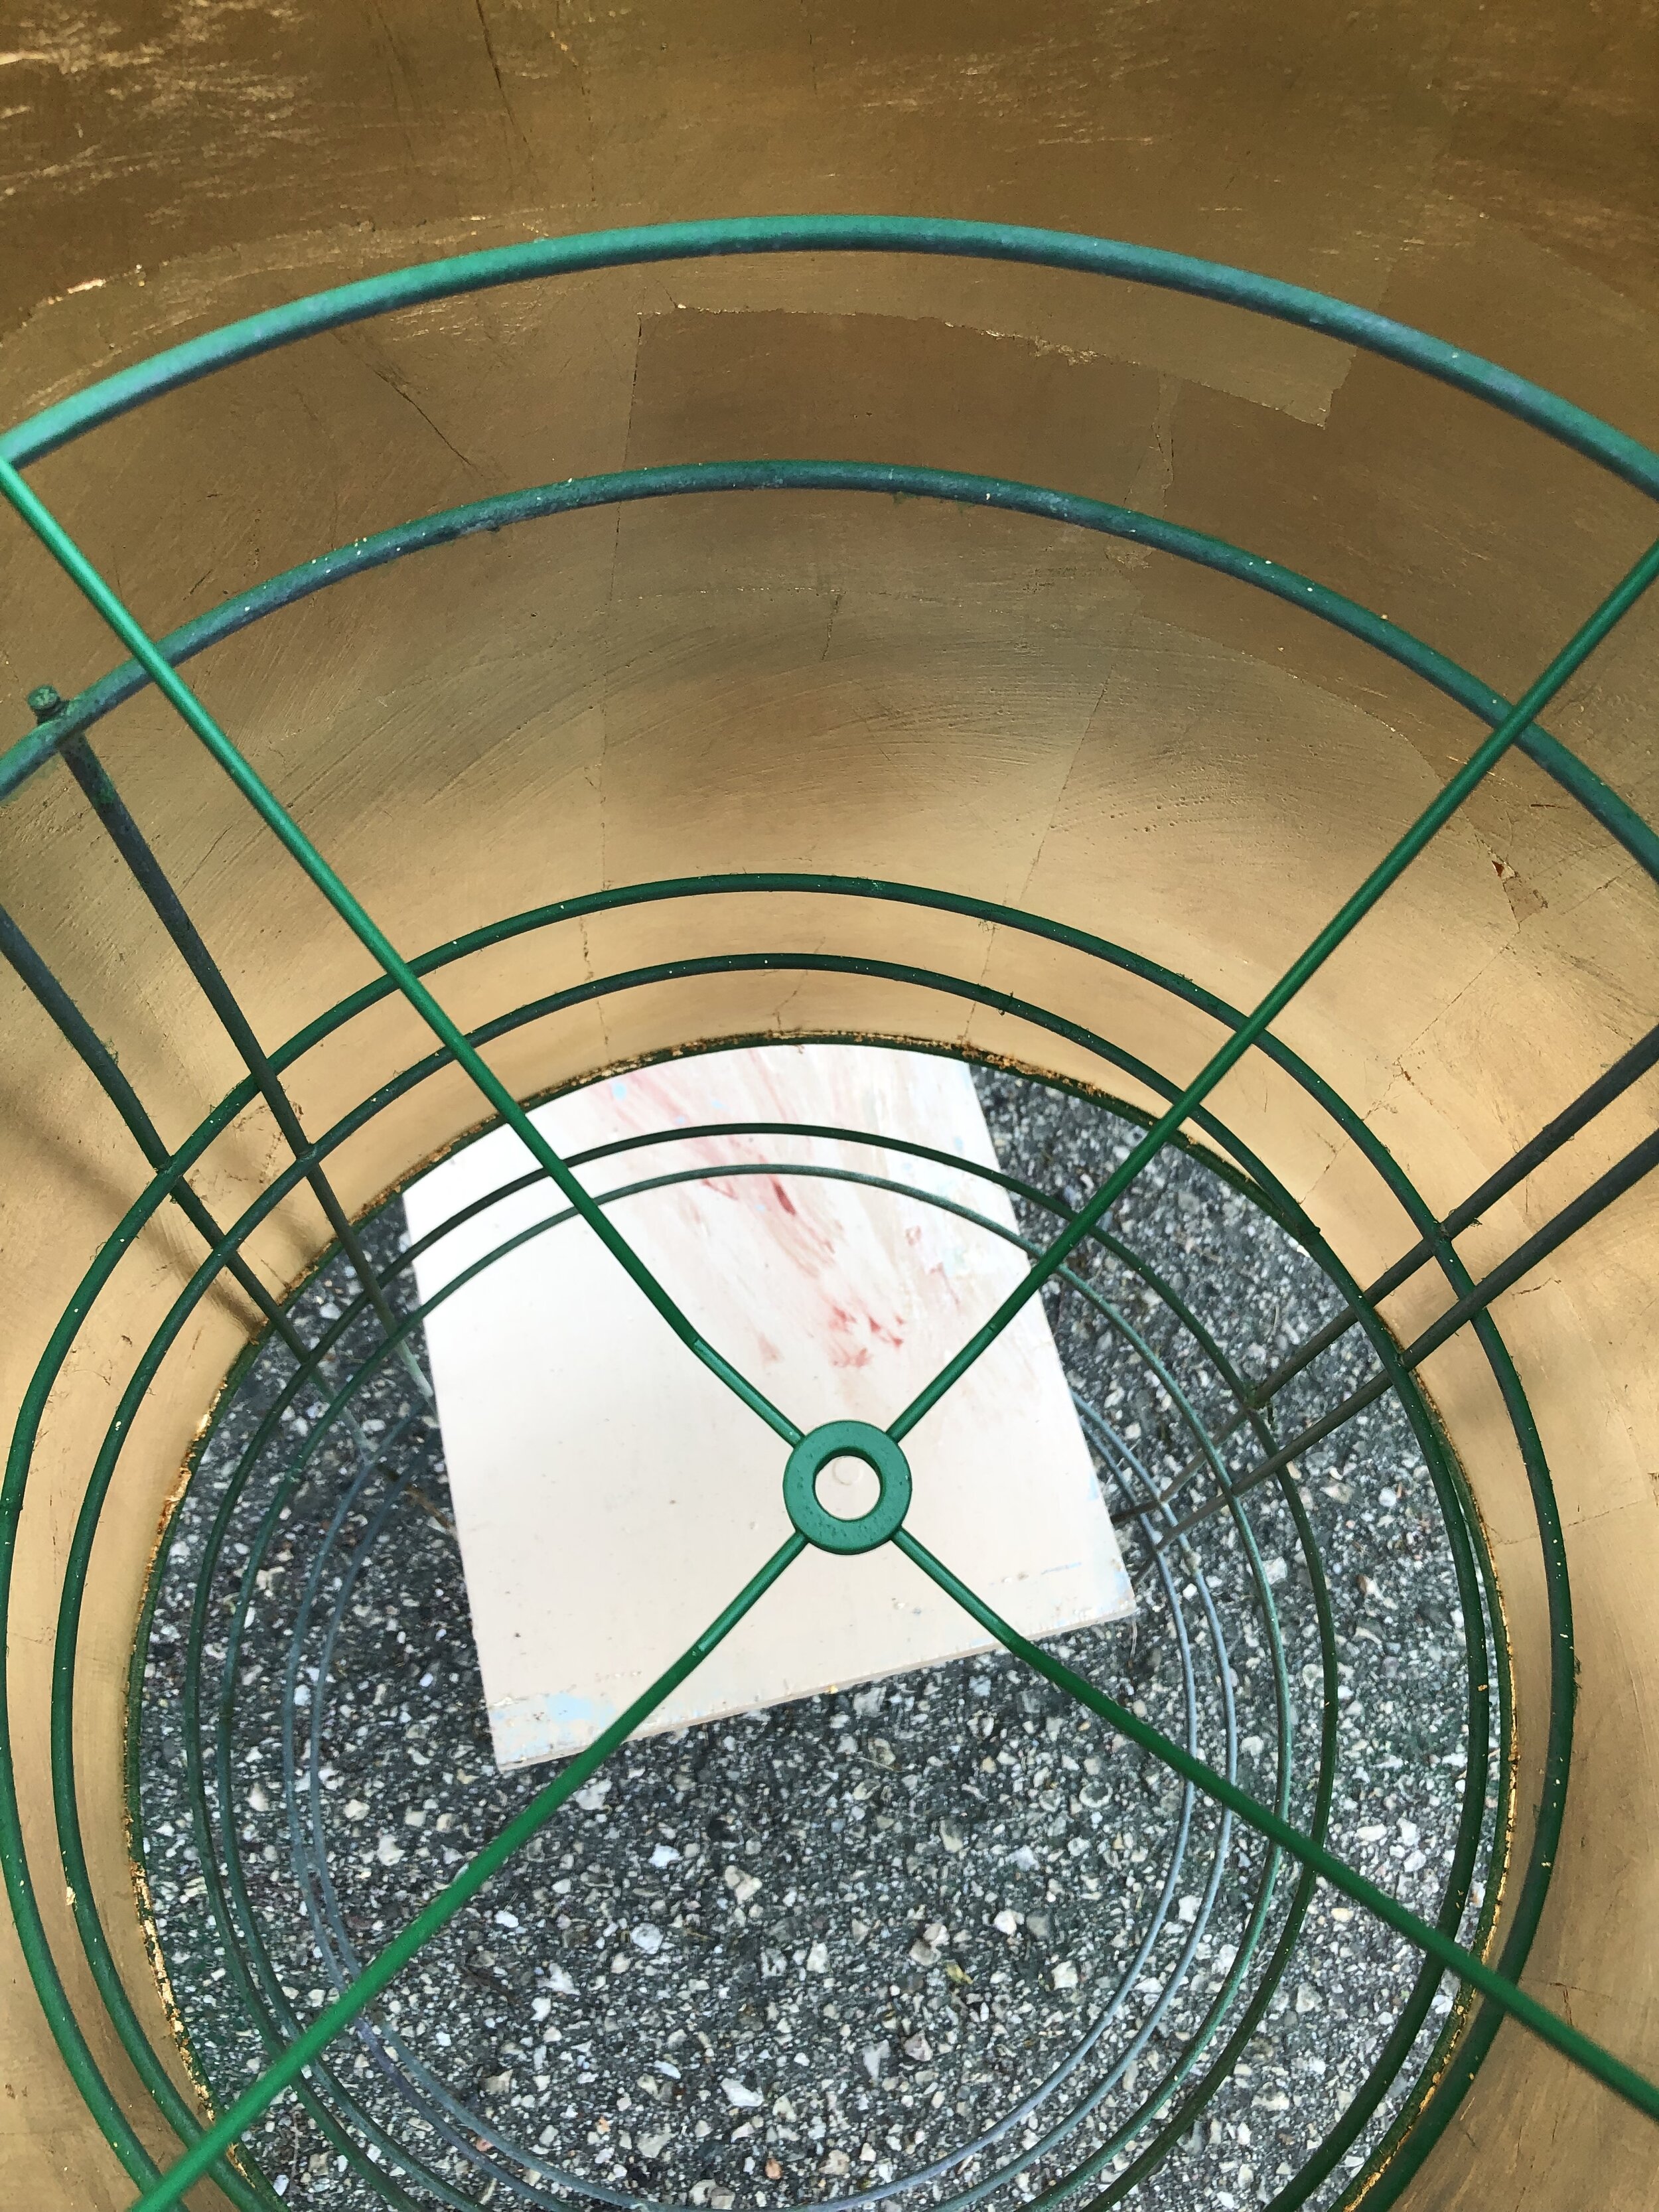
Step 3: Take your spray paint, shake it, apply light coats a few minutes apart to make sure it doesn’t blotch. Spray in a steady back-and-forth motion. I used a tomato cage to hold them while I sprayed the outside of each with a few coats. Whatever you can find so that your shade doesn’t touch the ground is fine.

Light coats until the blotches go away. This is not how you want yours to look.
Step 4: Let them dry for about 24 hours. I brought them inside and they didn't smell too bad. Don’t panic. The paint always dries darker. Rust-Oleum knows what they are doing.
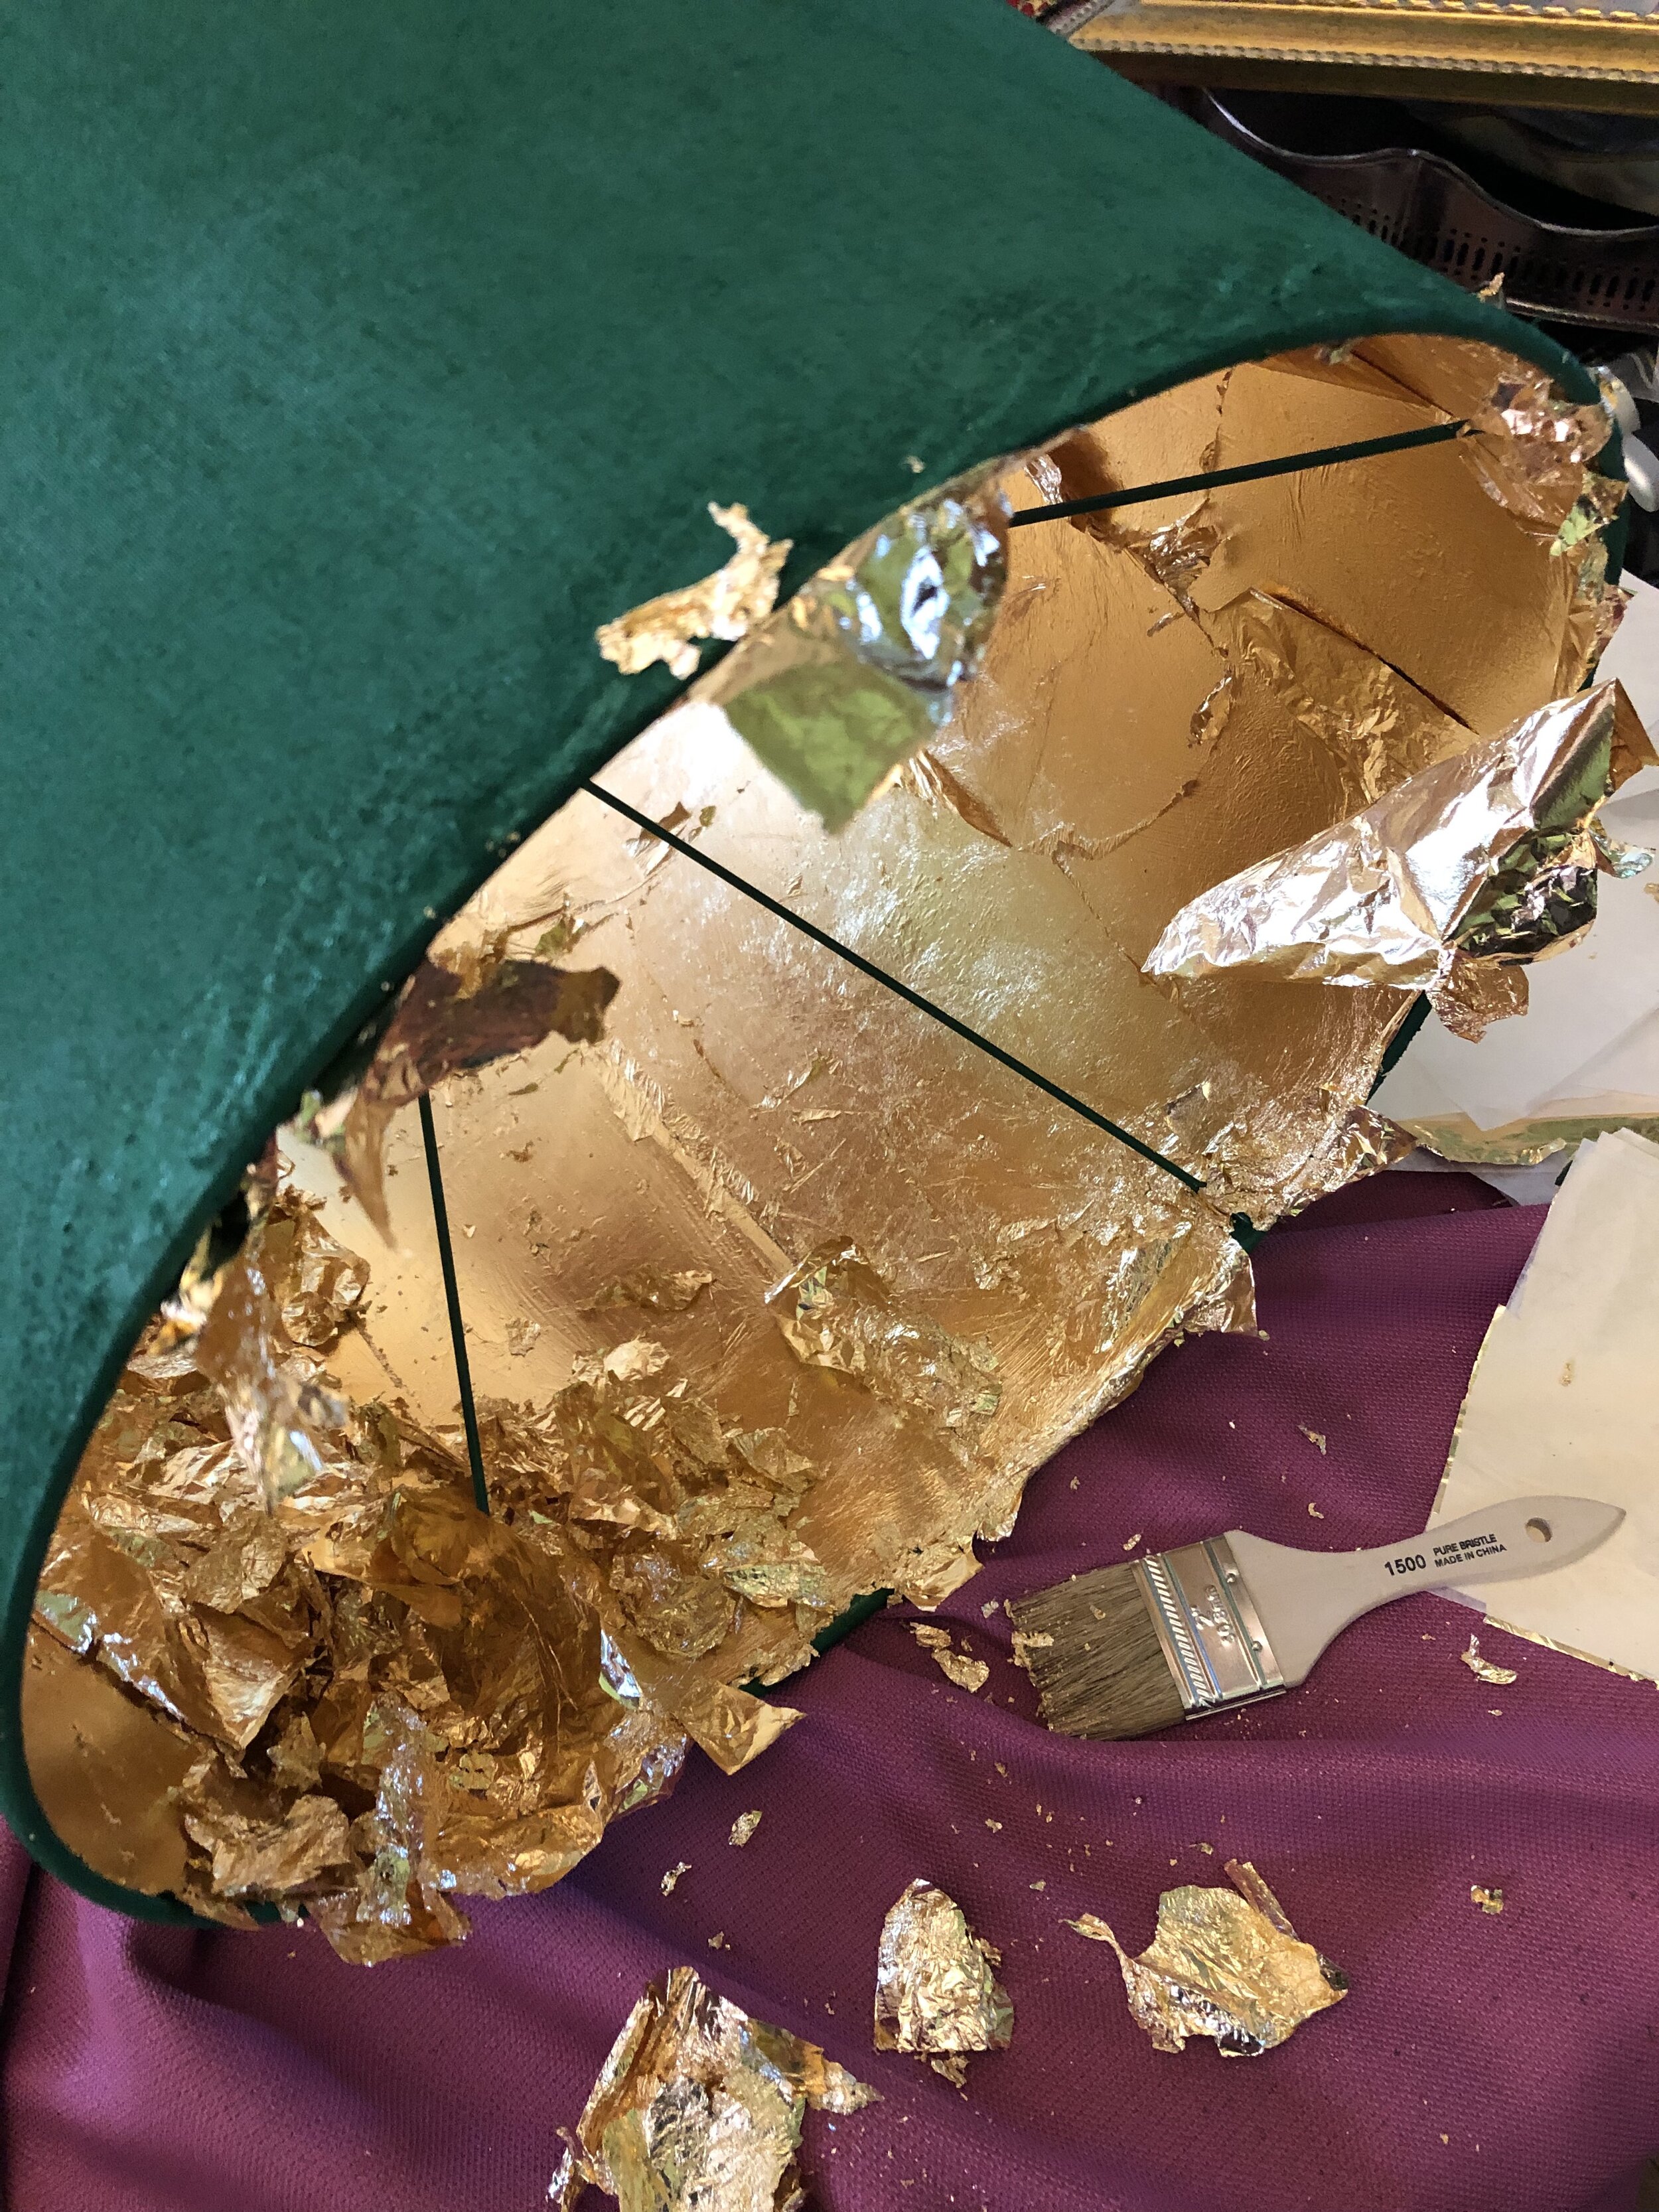
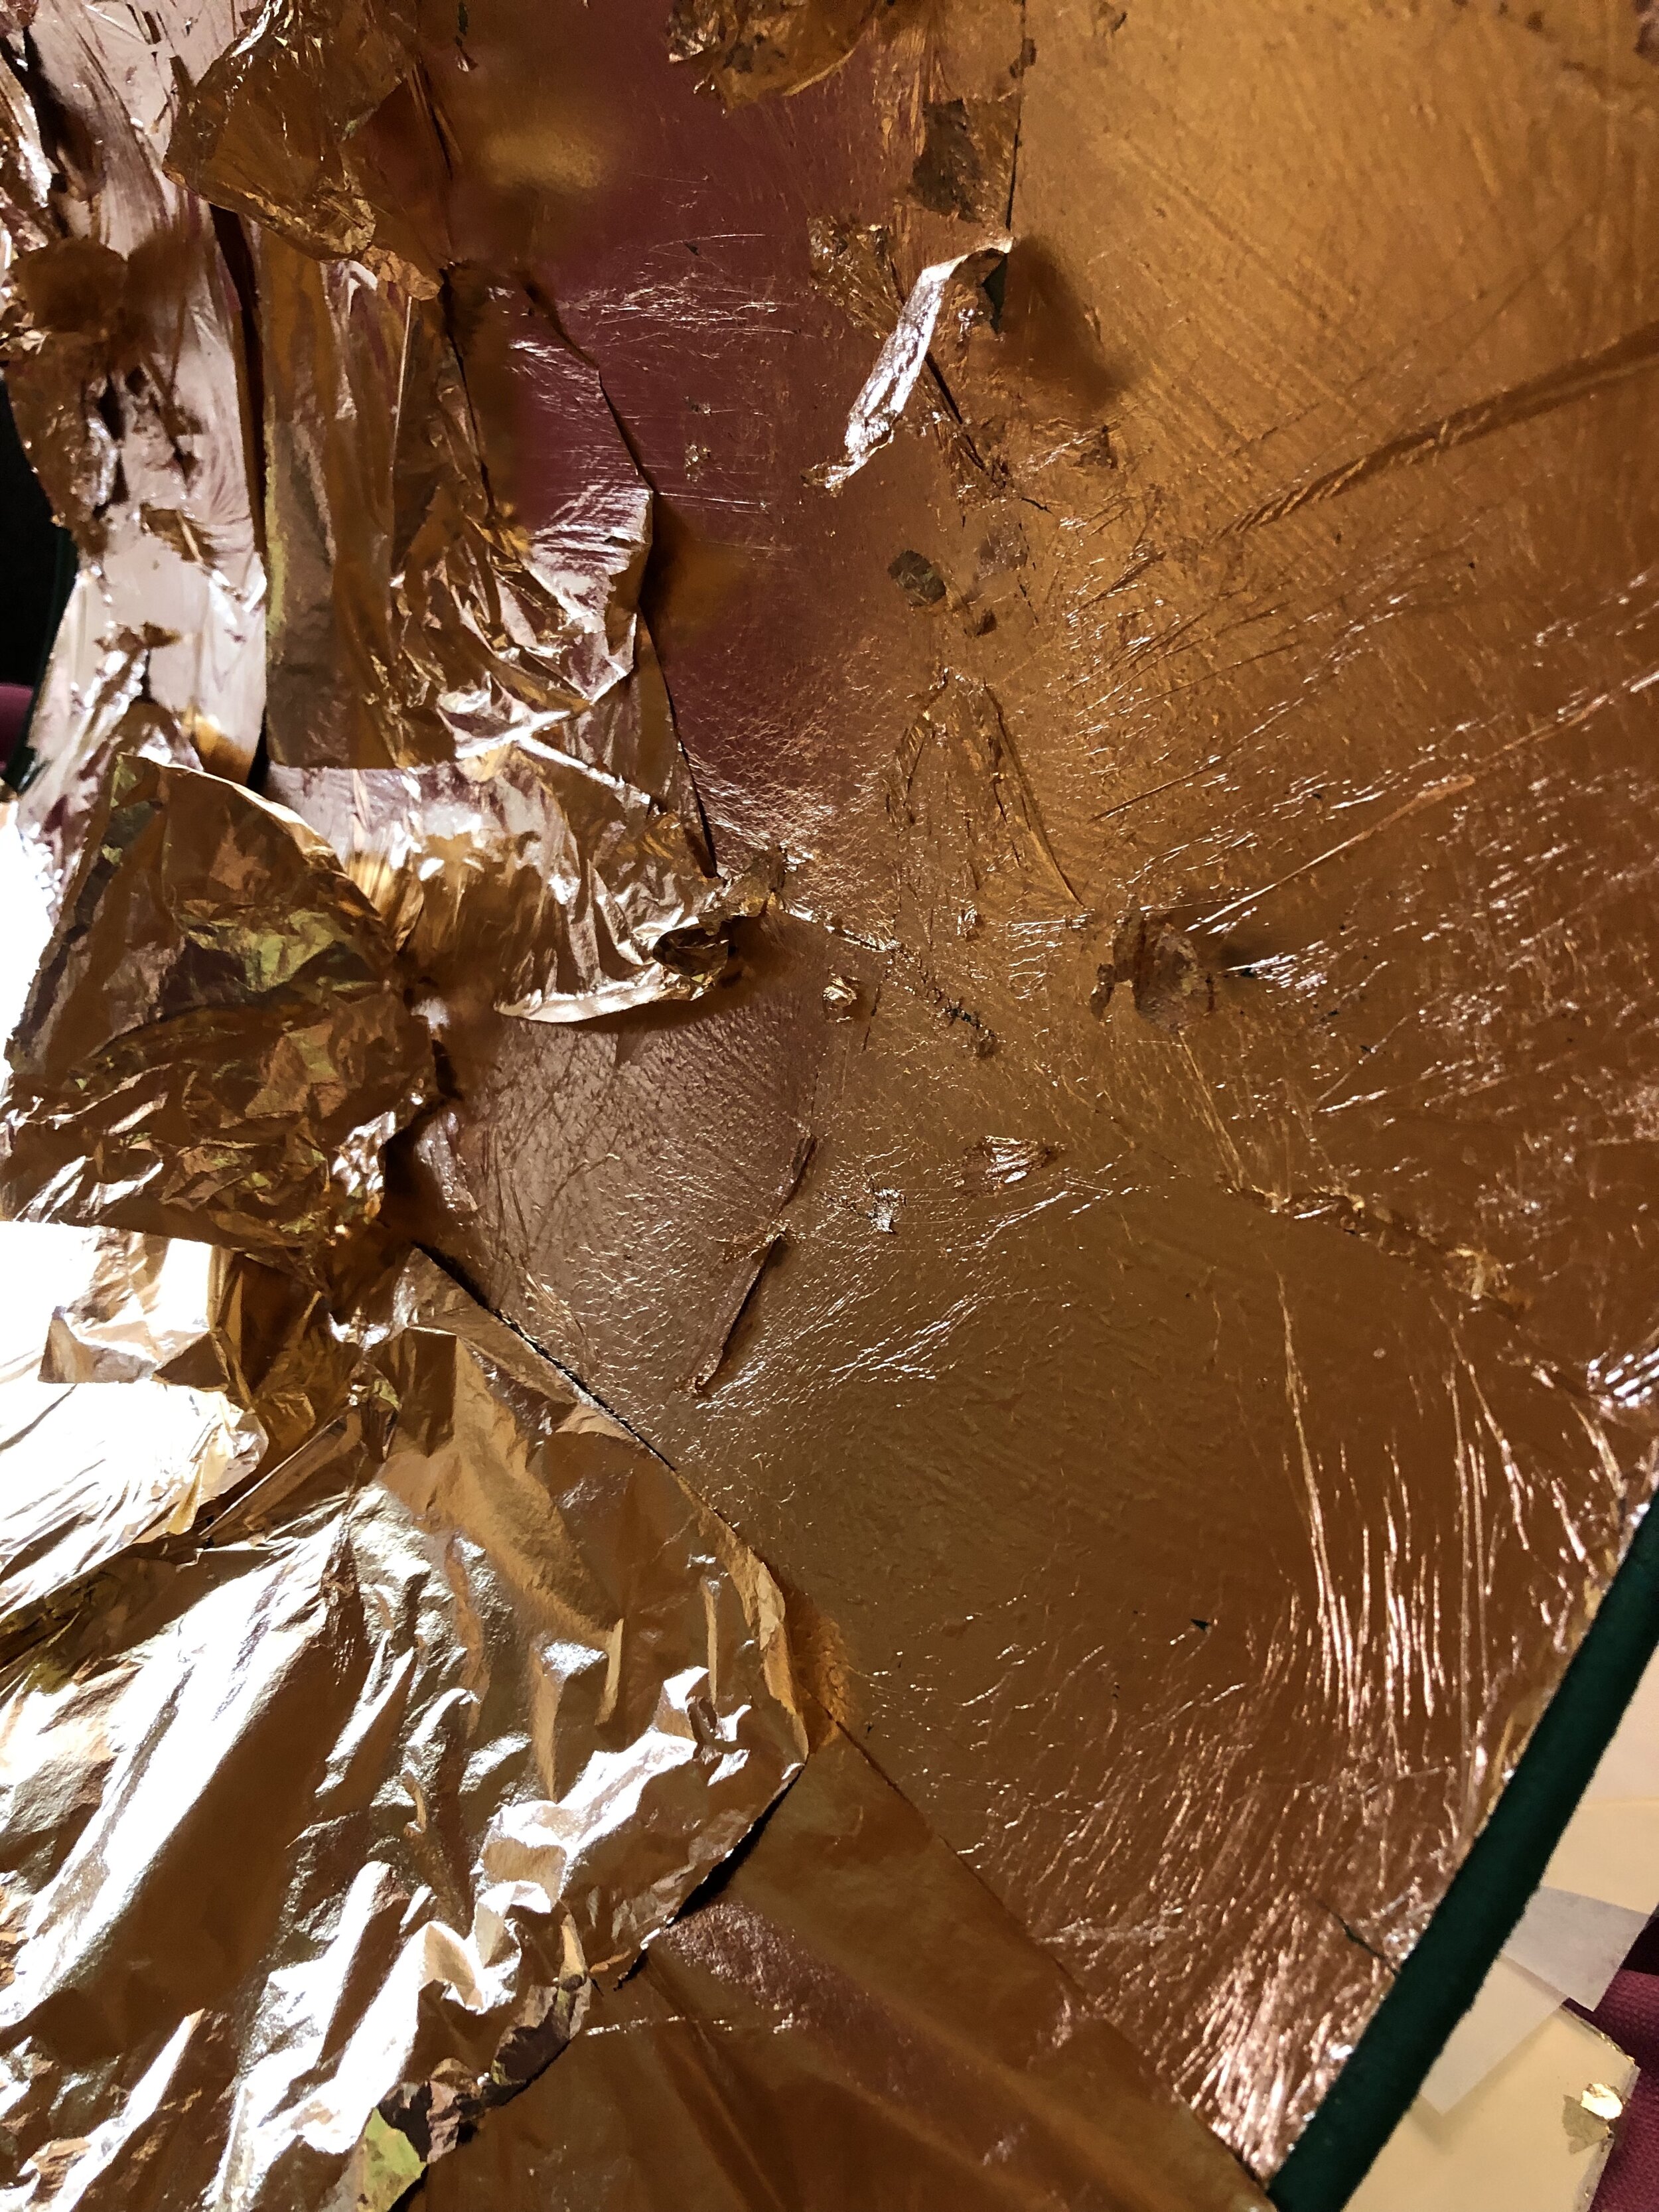
Step 5: I gold leafed the inside of mine. Super easy. You just apply the gold leaf adhesive. Wait for it to turn from blue to clear (about 20ish minutes). Then you gently make a giant mess by trying to lay down the gold leaf sheets. I did them in rows and you can see a bit of a pattern on the inside. It doesn't need to be perfect (unless you are Gary) and it is actually really fun to do. Wait for them to dry and then use the second clean paintbrush to dust away any excess. I haven’t found a great/easy way to gold leaf. It is kind of a pretty mess but I love the final look.
Step 6: Take the Rust-Oleum Lacquer Spray coat and VERY carefully spray the inside of the lampshade so that your gold leaf is sealed. I always use fake gold leaf because I’m cheap and a clear coat will help it stay pretty. Let this dry for 24 hours.
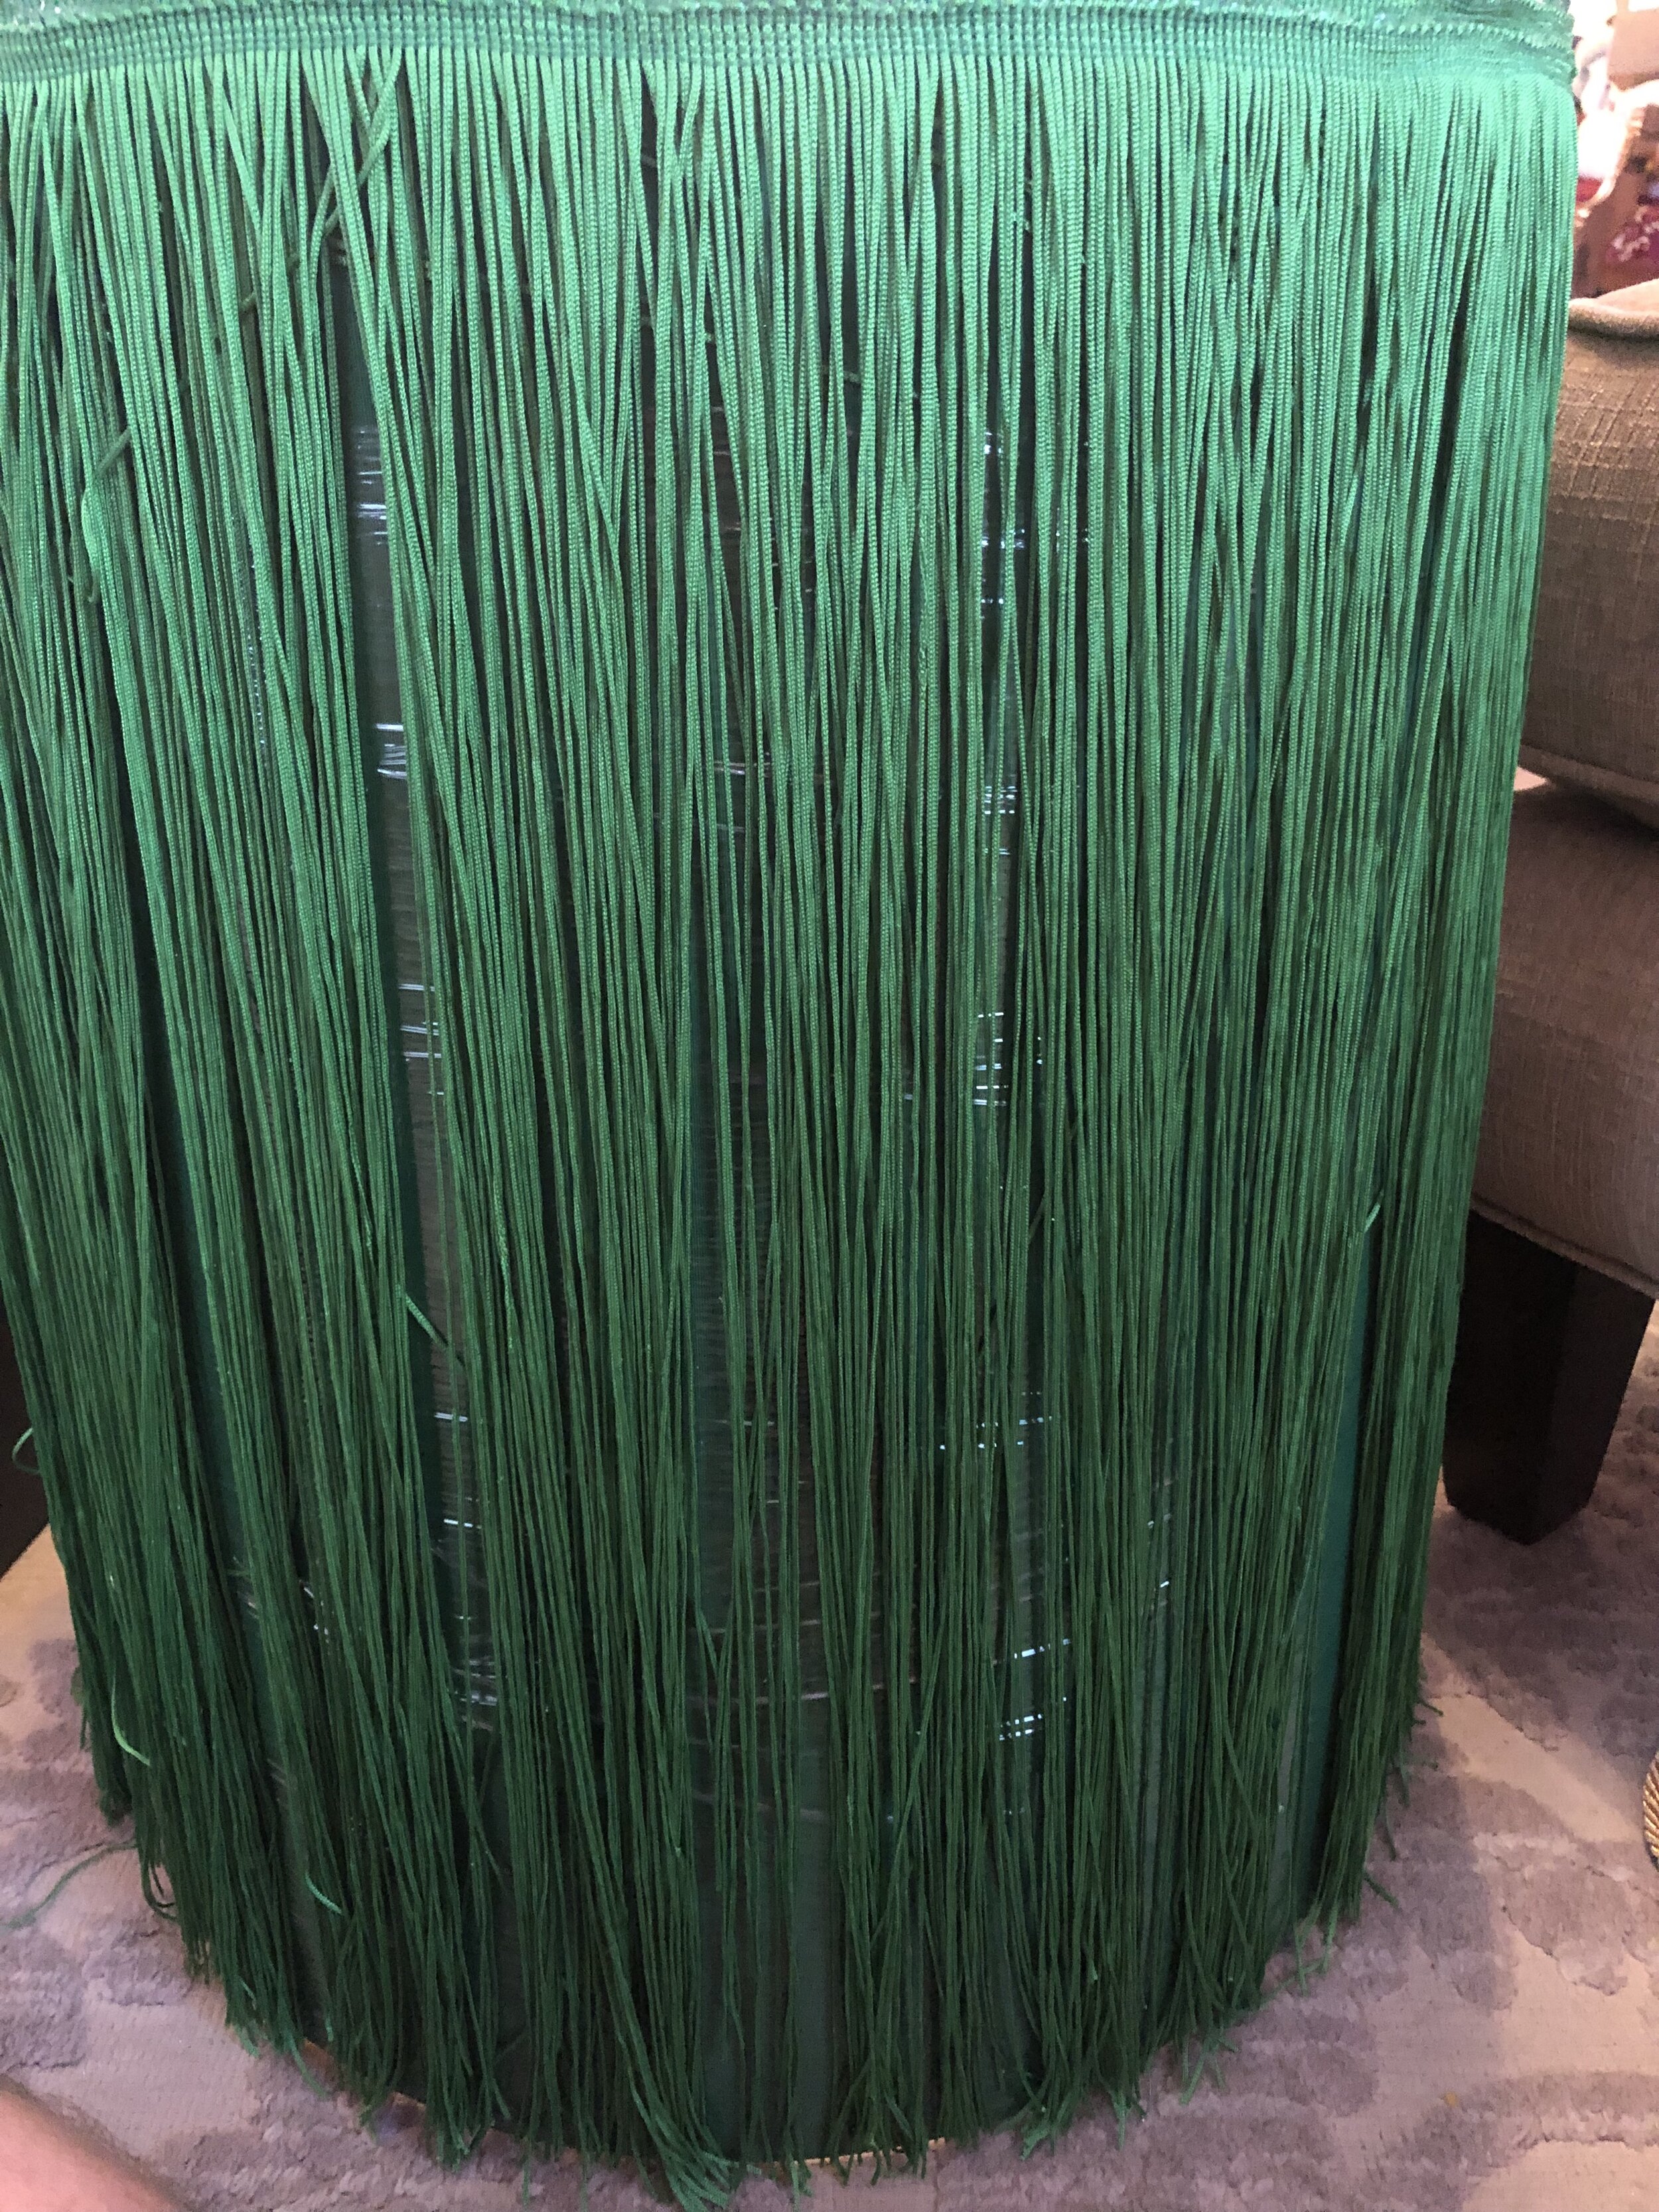
Step 7: Next, lay your lampshade on the floor and adjust your trim to the height you want to glue it. I wanted an extra-long fringe that covered the entire shade so mine was 18".
Step 8: Slowly and carefully glue the fringe along the top of the shade (or the bottom or wherever you want the fringe. Just make sure you tie a line or follow a straight line). Just keep layering until you are happy or have used all of your fringe. I put each of my layers slightly lower than the last one so that it is a bit "fringier" but you can stack them or however you want to do it. Pro tip: The fringe kept getting stuck to my lampshade because of the 1970s texture so I wrapped them in cling wrap and then laid the fringe on it. No more problems!
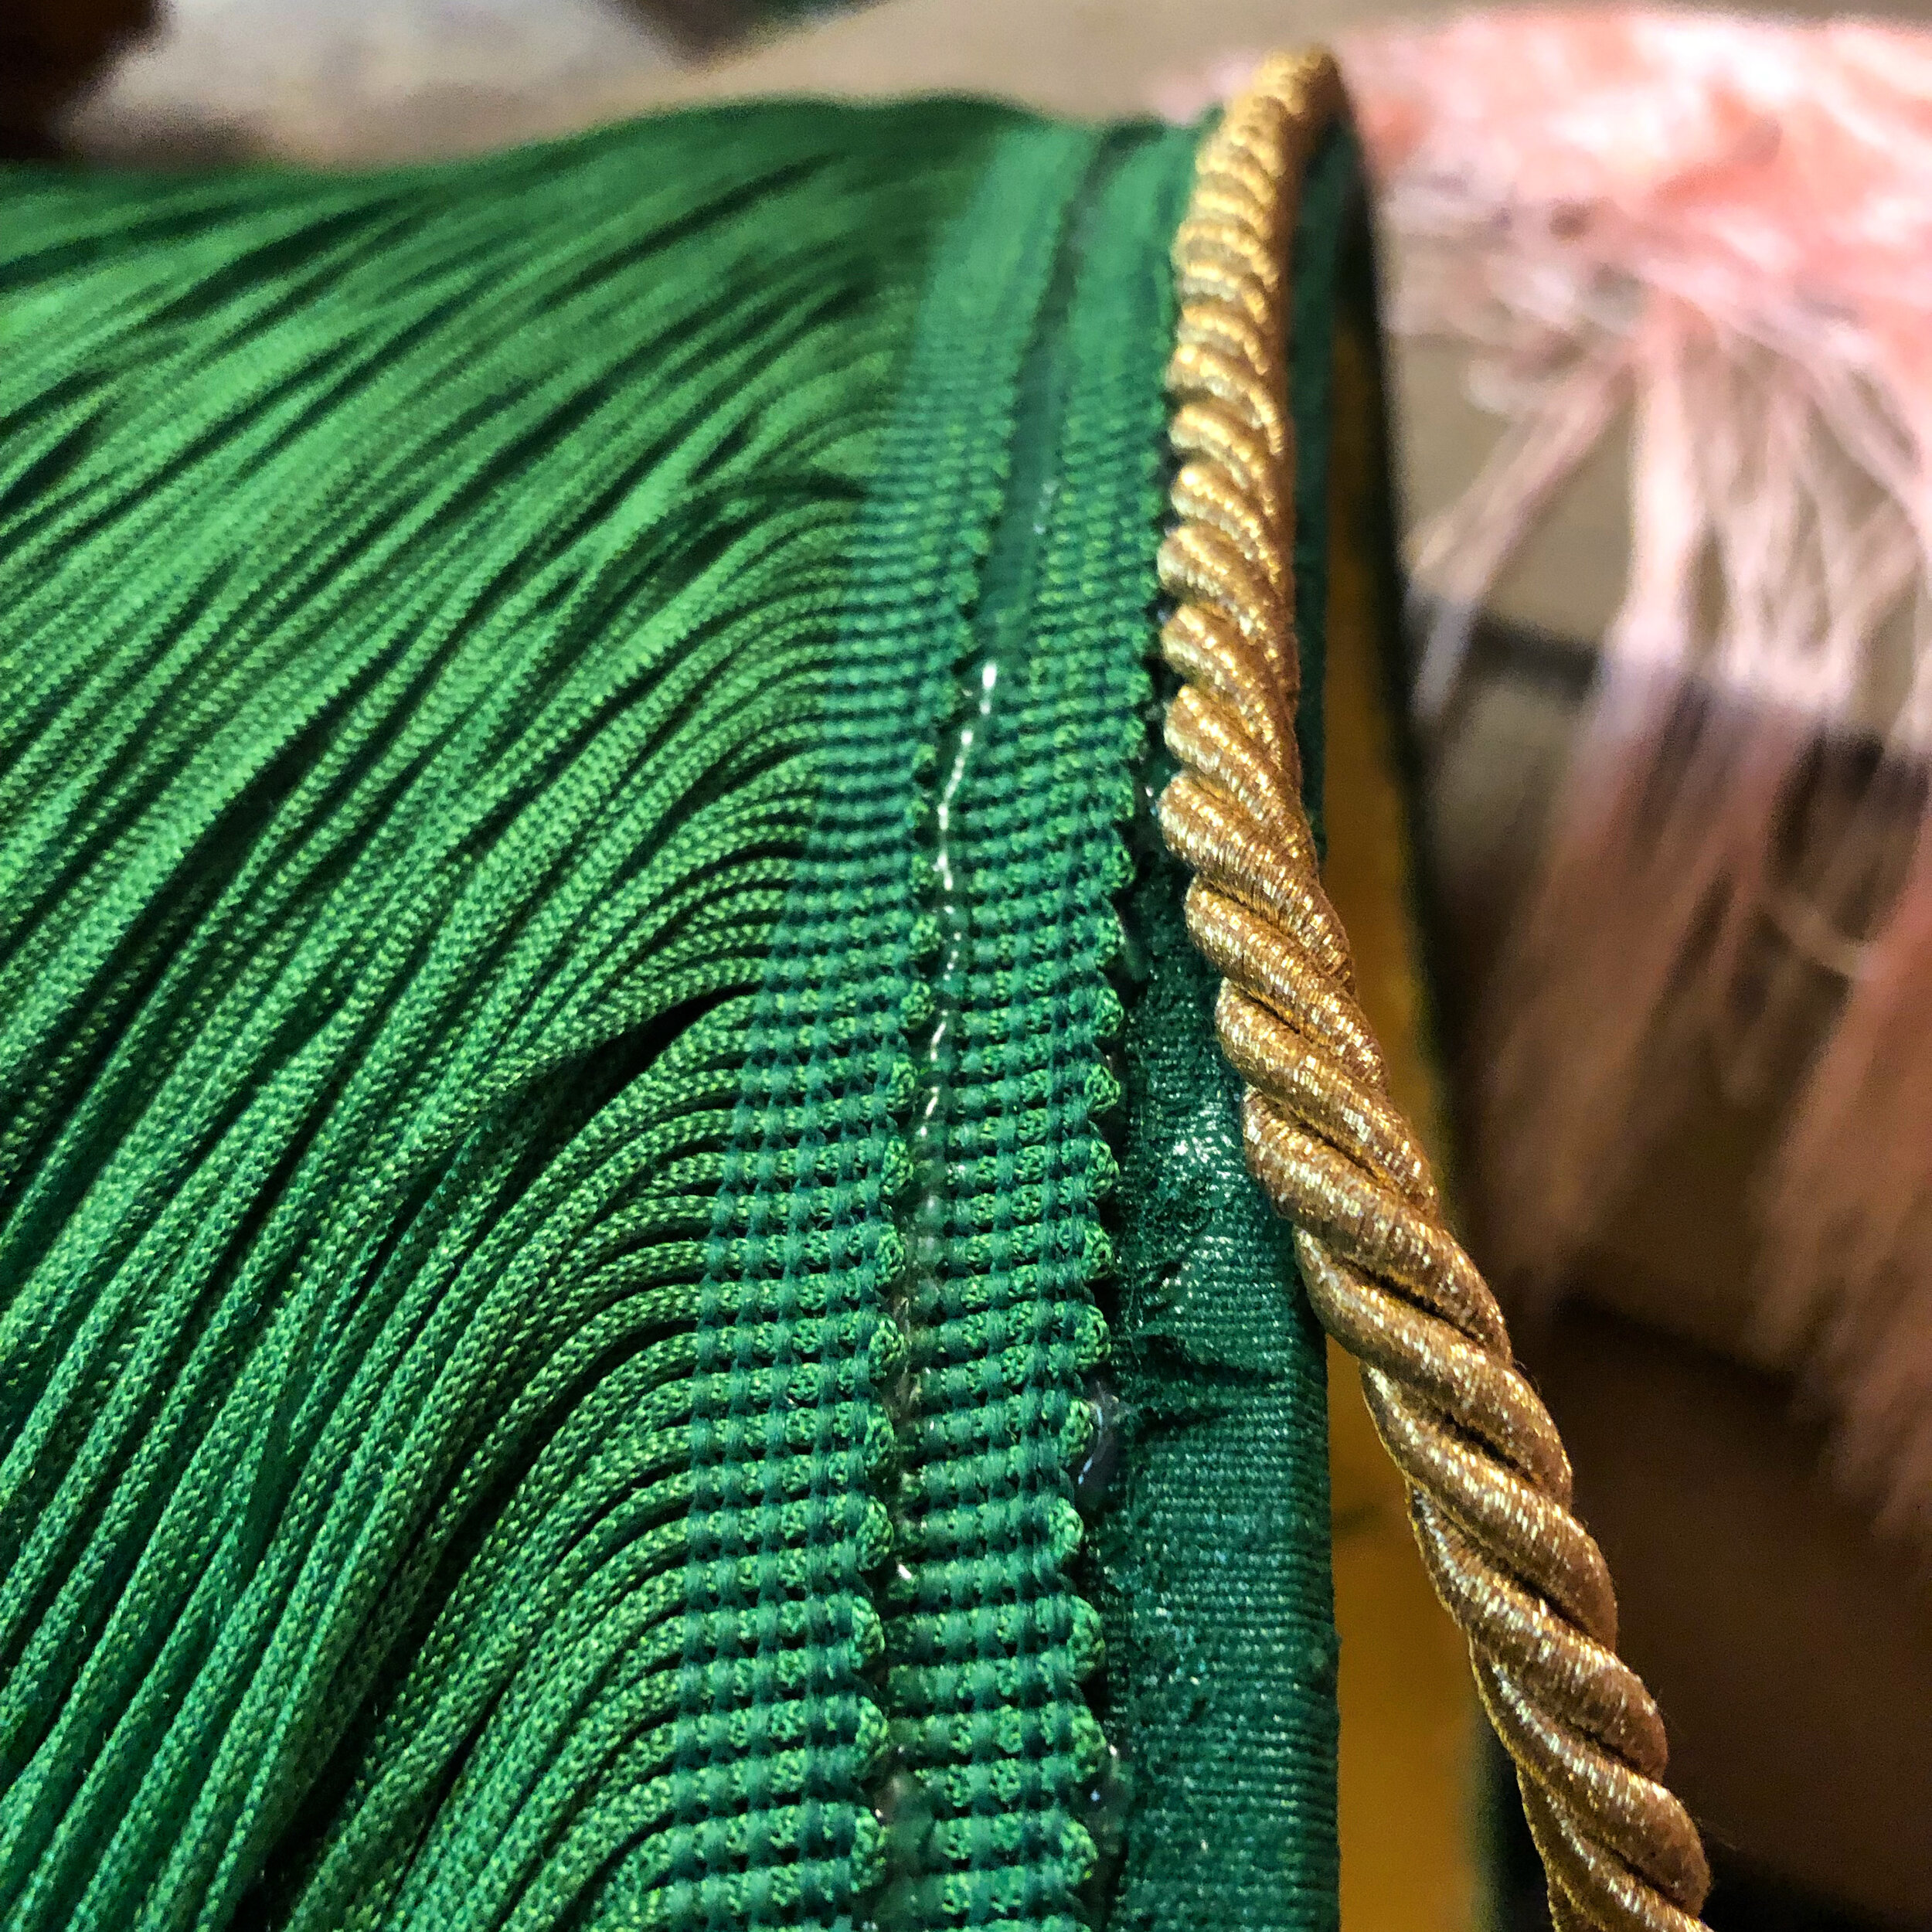
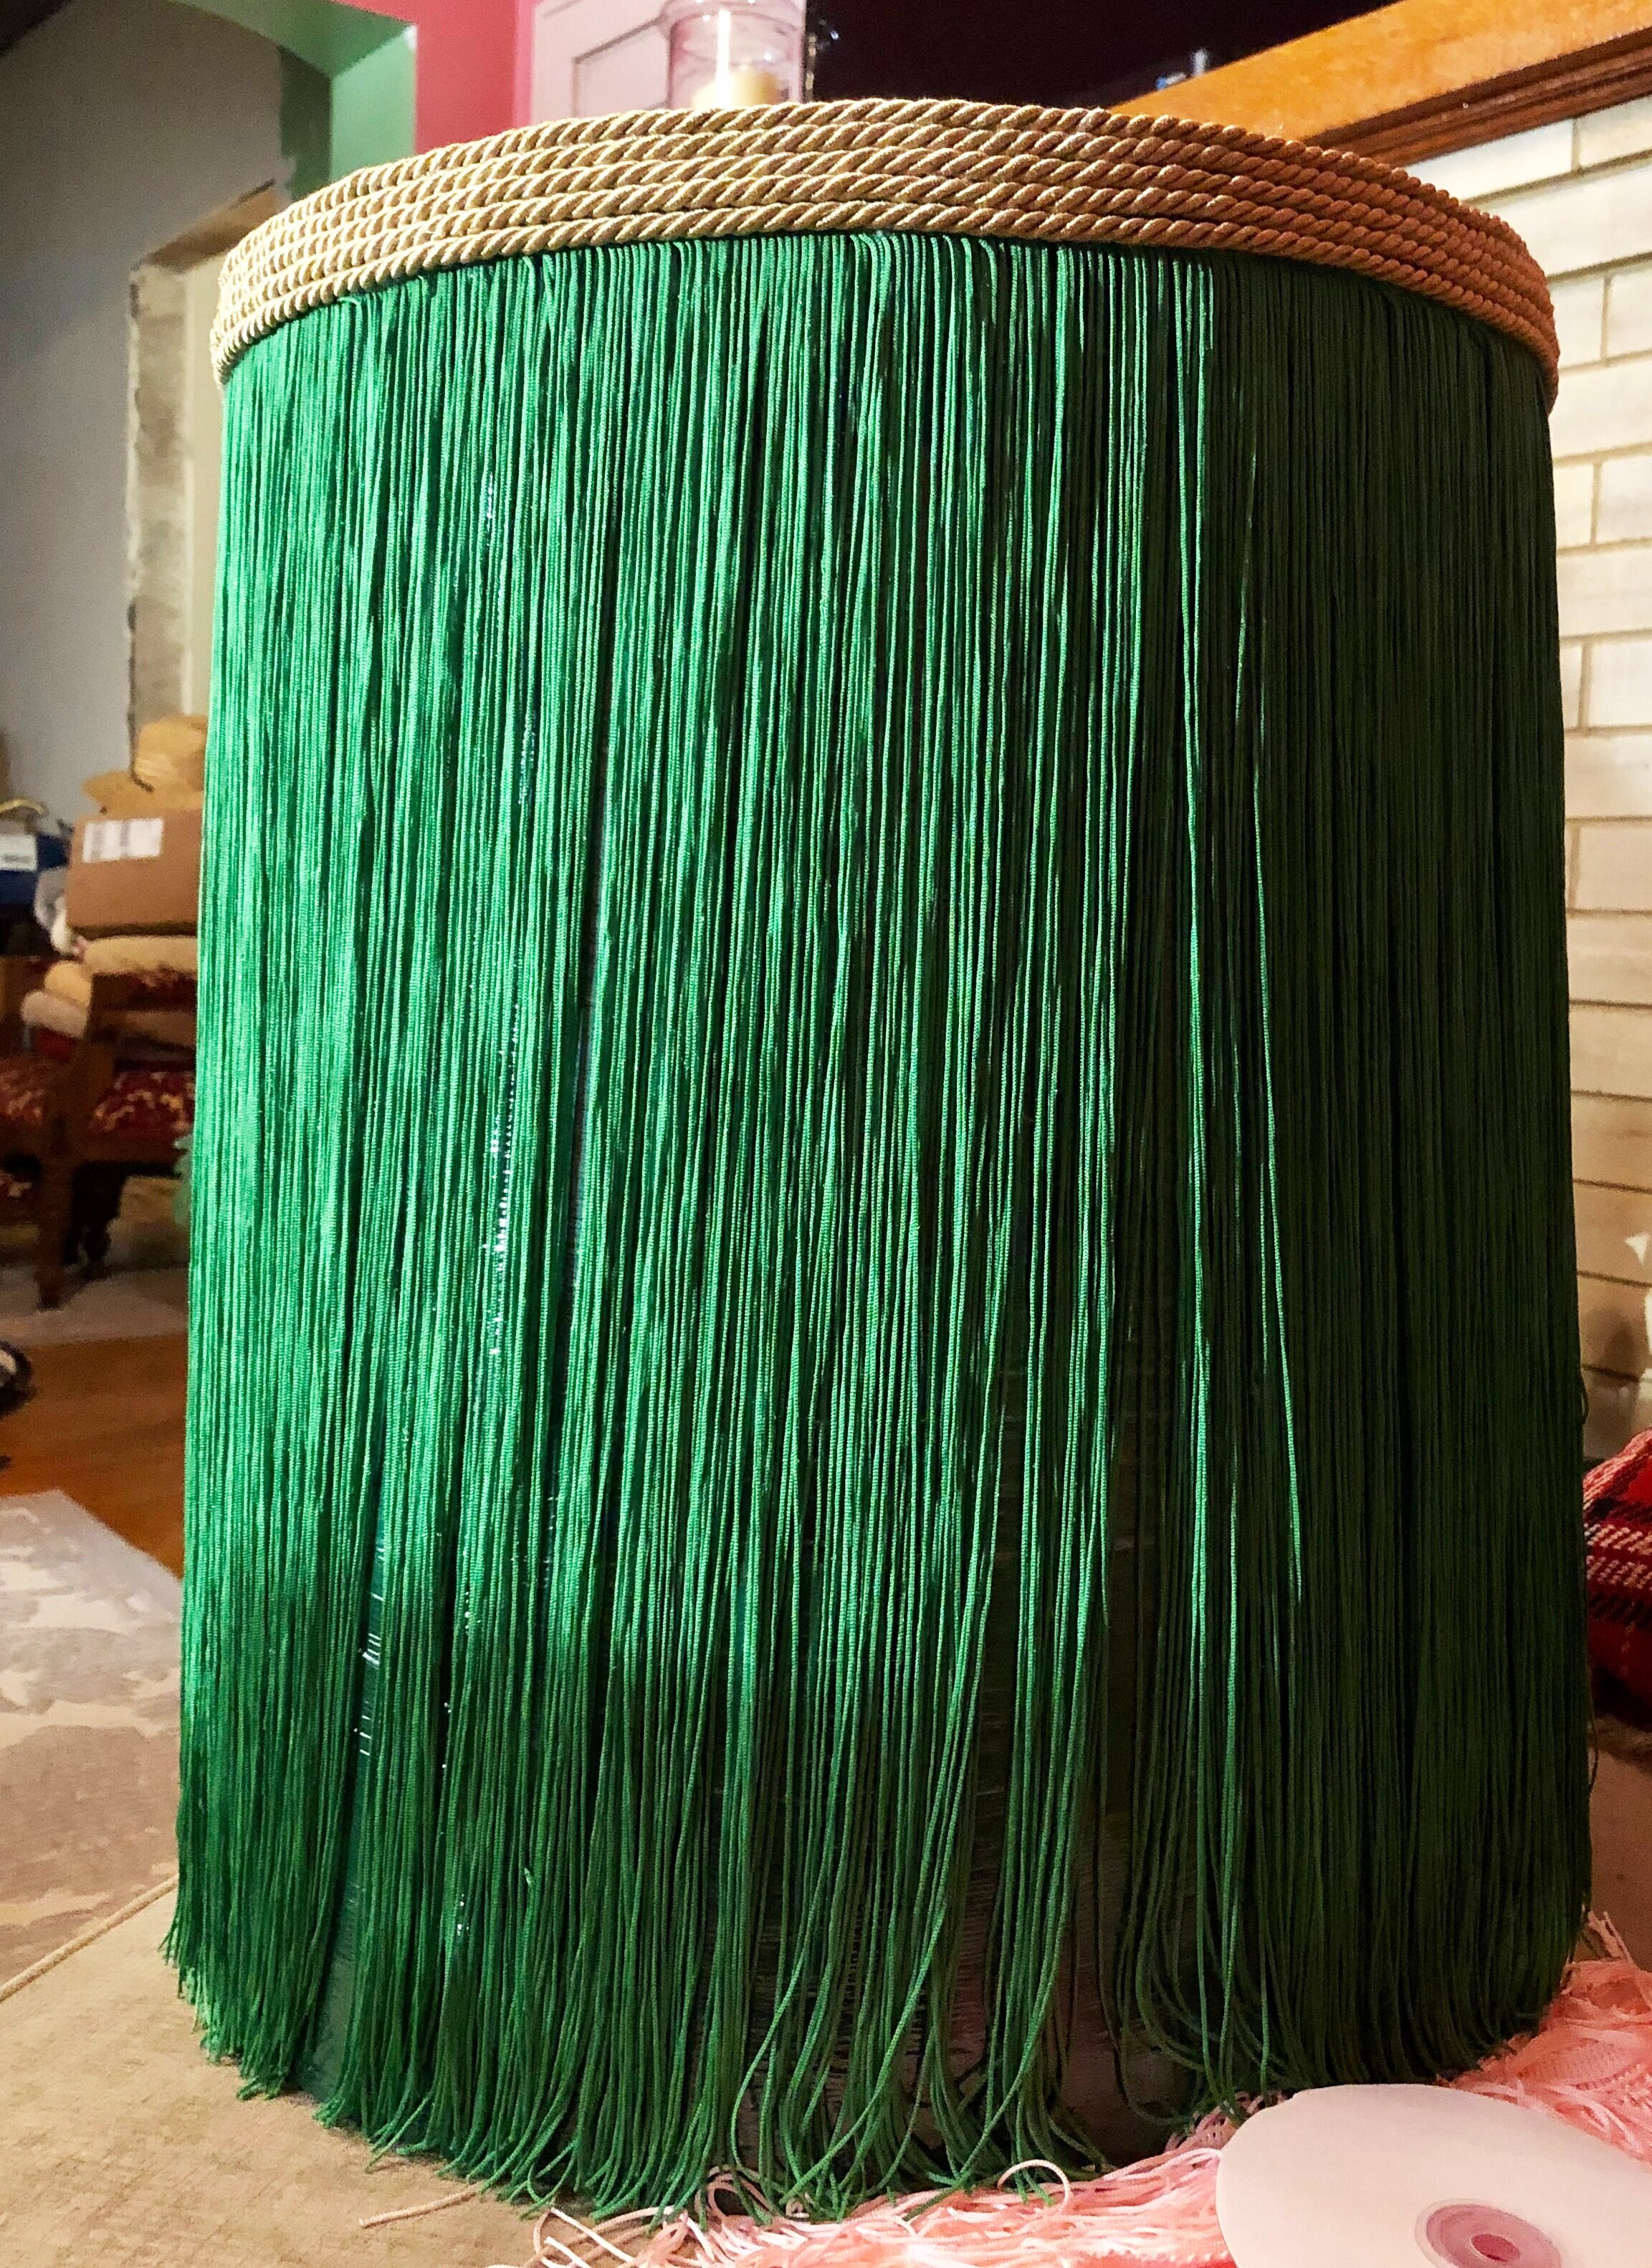
Step 9: Once you are done fringing, you may want to finish off the top a bit with something decorative. I did mine with some gold cording just to make it extra disco but the shades were really pretty with just the webbing at the top. Also, my glue was a bit messy (don't buy a cheap glue gun) so I wanted to cover up the sins of hot glue! I started at the very top rim of the lampshade and just kept wrapping the gold trim around until I was happy with how it looked. I ended up doing five layers. I think it adds a little something special.
Step 10: Turn on the lamp. Turn on the Beyoncé. Party.

I’ll trim the fringe after the lamps are in place.
ONE WEEK TO GO!

Goldzilla in his emerald Dior bow.
We are getting close to the finish line!
Renovating a room in an old house in eight weeks is an absurd undertaking and Gary has worked so hard repairing the walls. It really is wonderful to watch an old house come back to life.
We’ve really had fun with this and looking through all of the posts and pictures of these ridiculously talented people.
Make sure you visit oneroomchallenge.com for more inspiration!
Thanks so much for following along!
P.S. Coral Essence for the walls is officially out the window. It reads a little Pepto Bismol so we are looking at other options…
Catch up:

BETTER HOMES & GARDENS IS THE OFFICIAL MEDIA PARTNER OF THE ORC!