How To Repair Cracking Plaster - Gary's First Blogpost!
Happy New Year from Gaye Gardens!
Wow, what a shit show that was! I'm Gary, the dashingly handsome, insanely amusing, bland other half of the Gaye Gardens duo. This is my first post so bare with me as we work through this. Today's TedTalk is going to be about Emma's complete room makeover and the work that went into it. Yes, there will be lot's of seductive talk of plaster repair so brace yourselves.
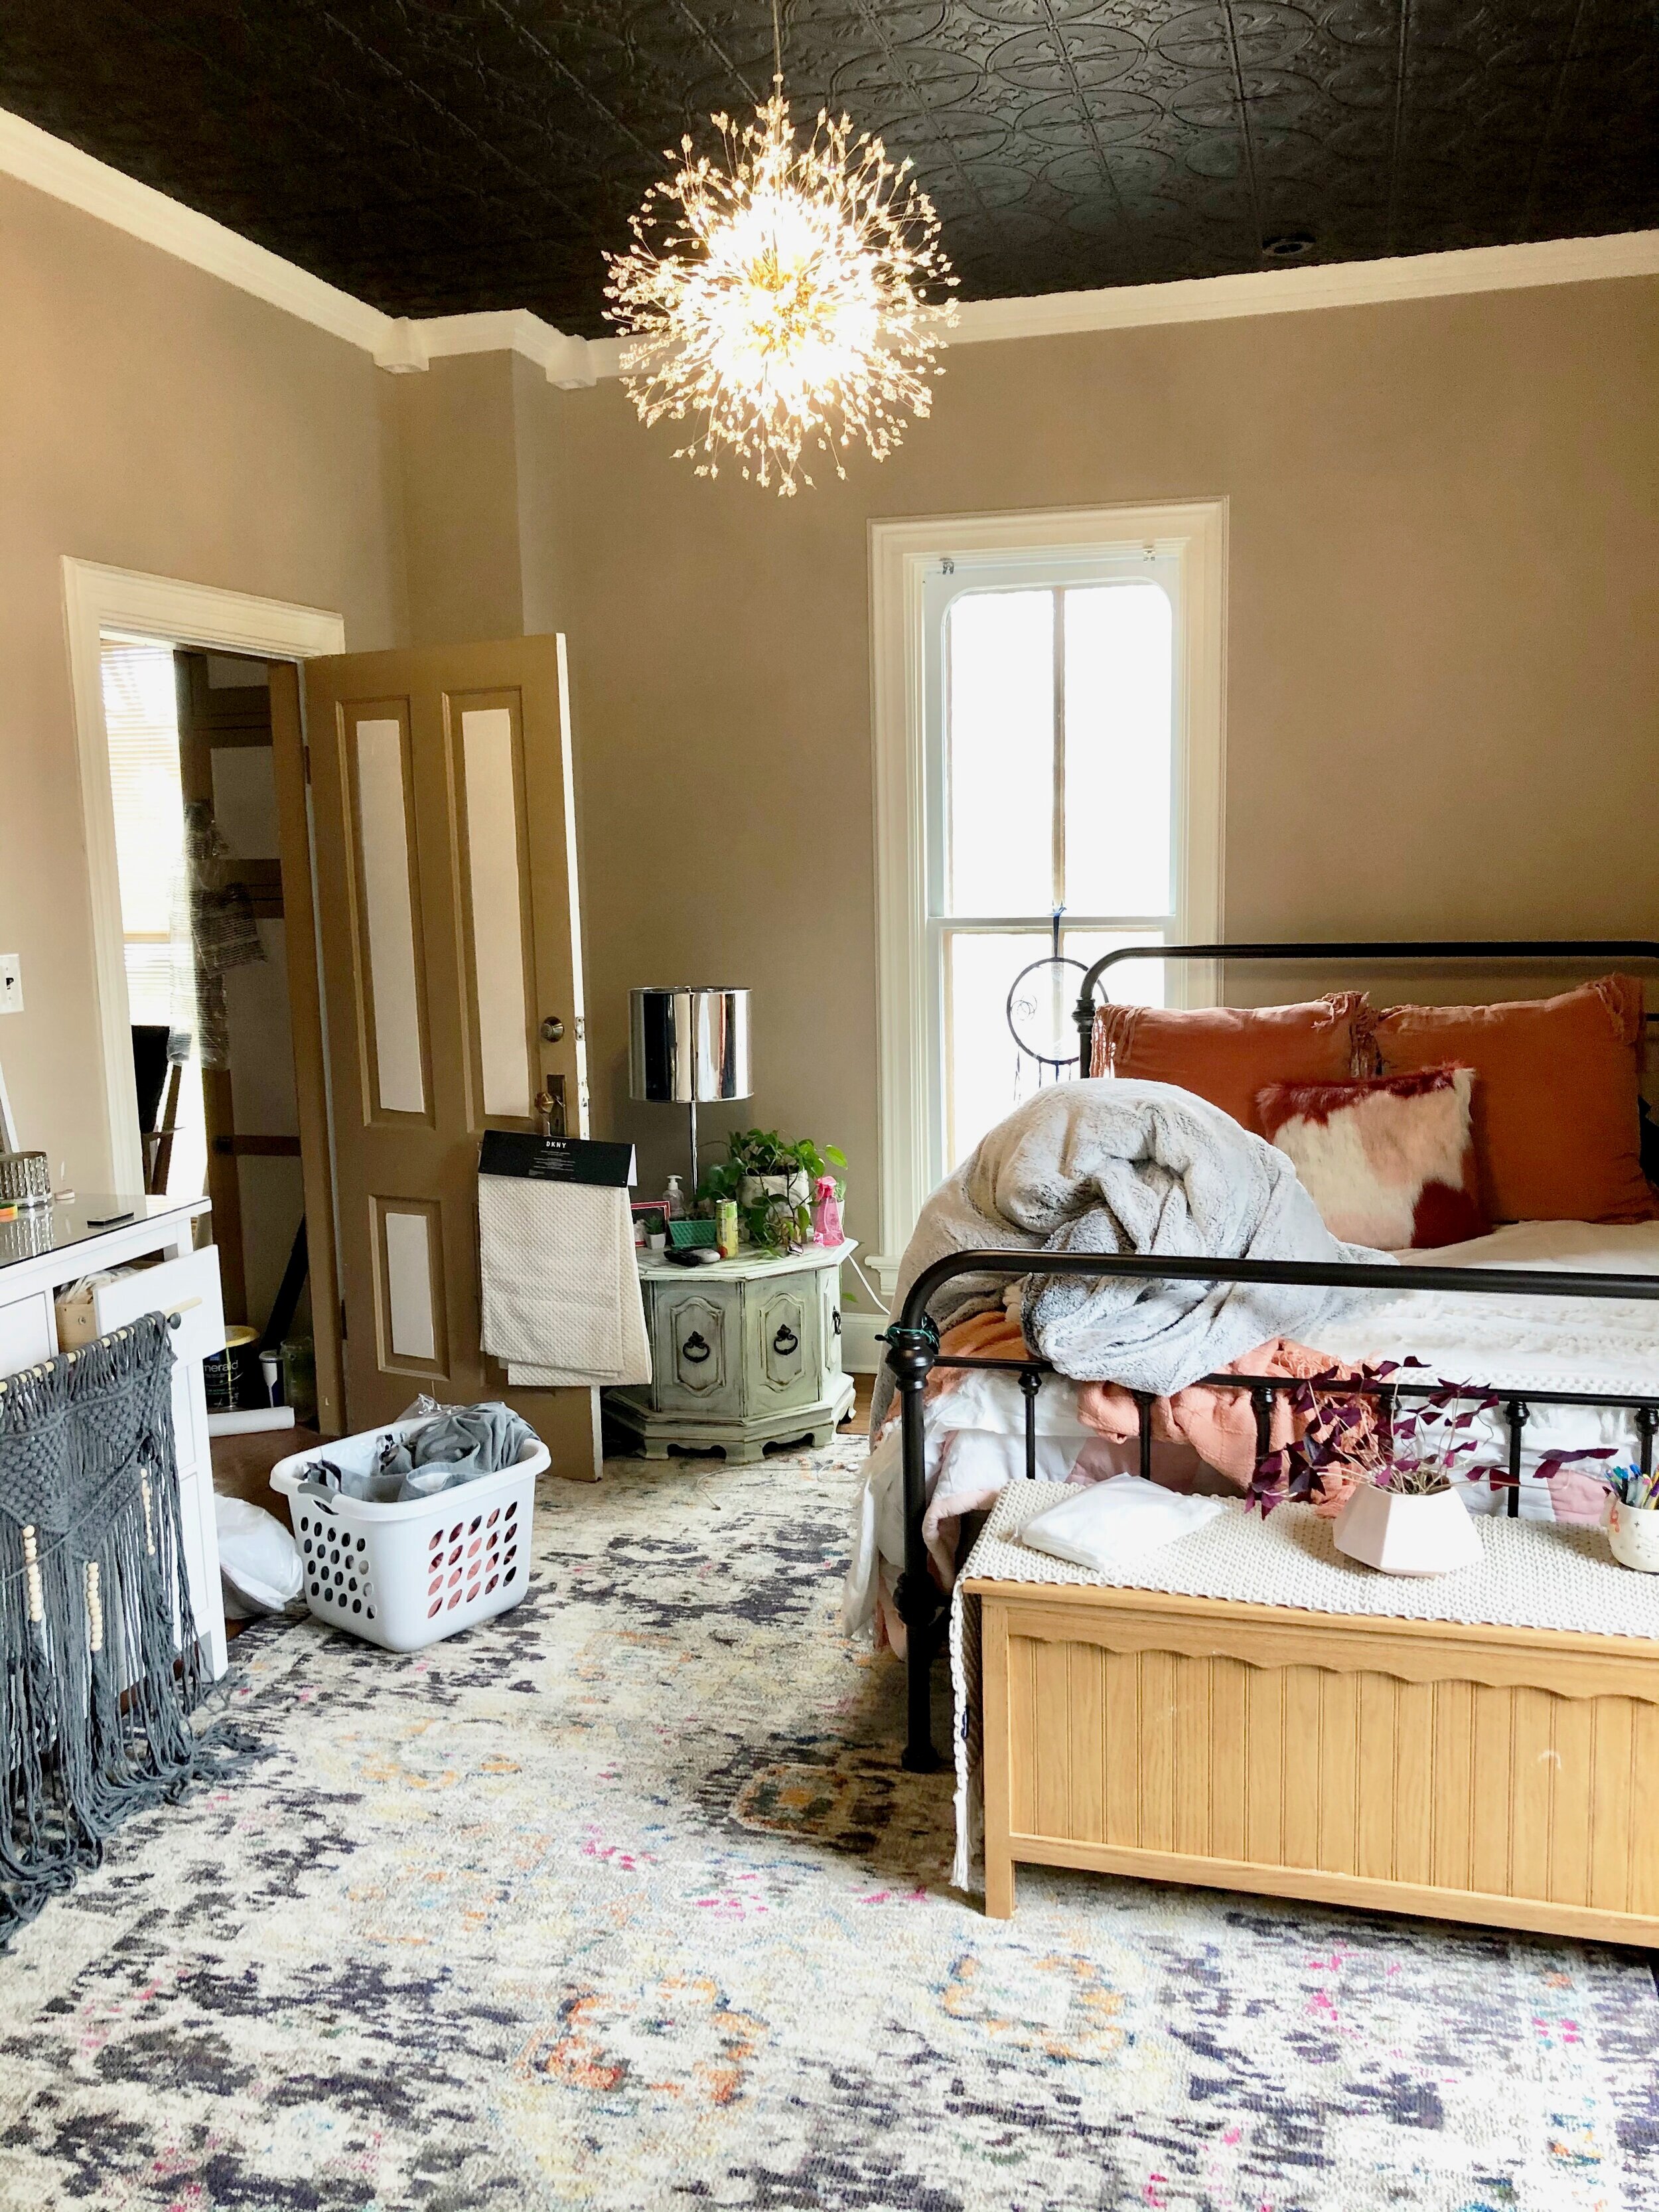
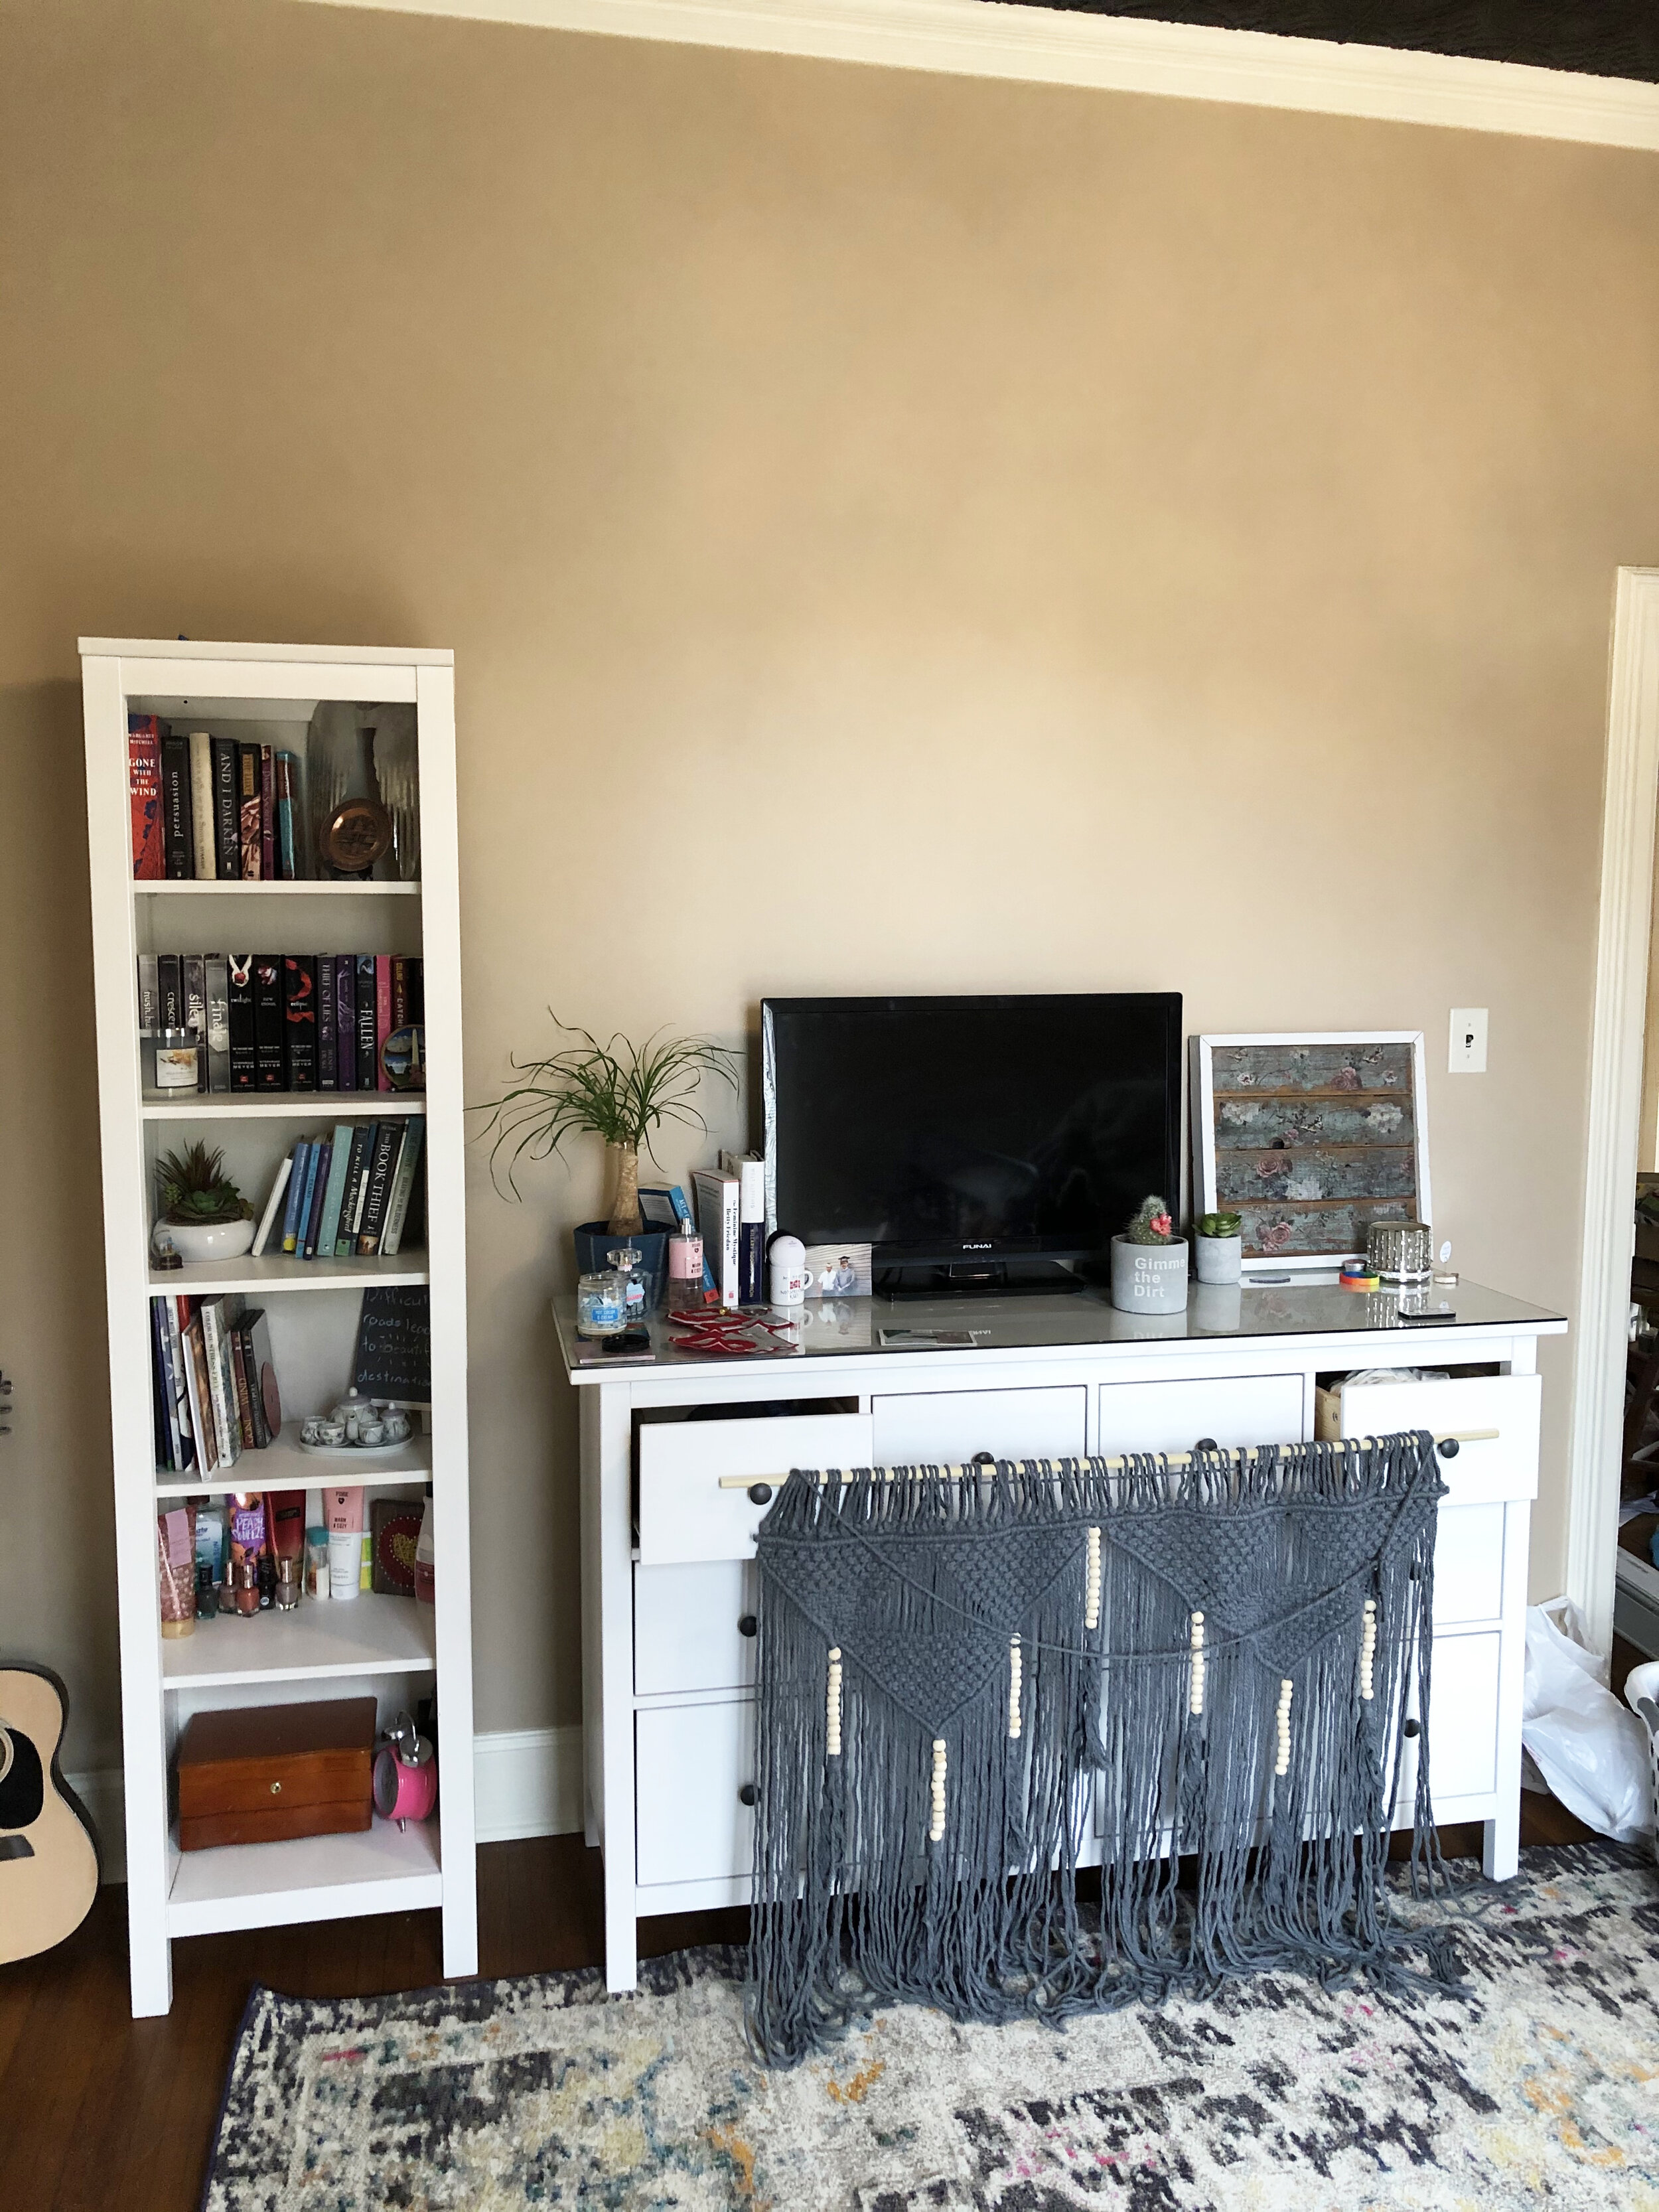
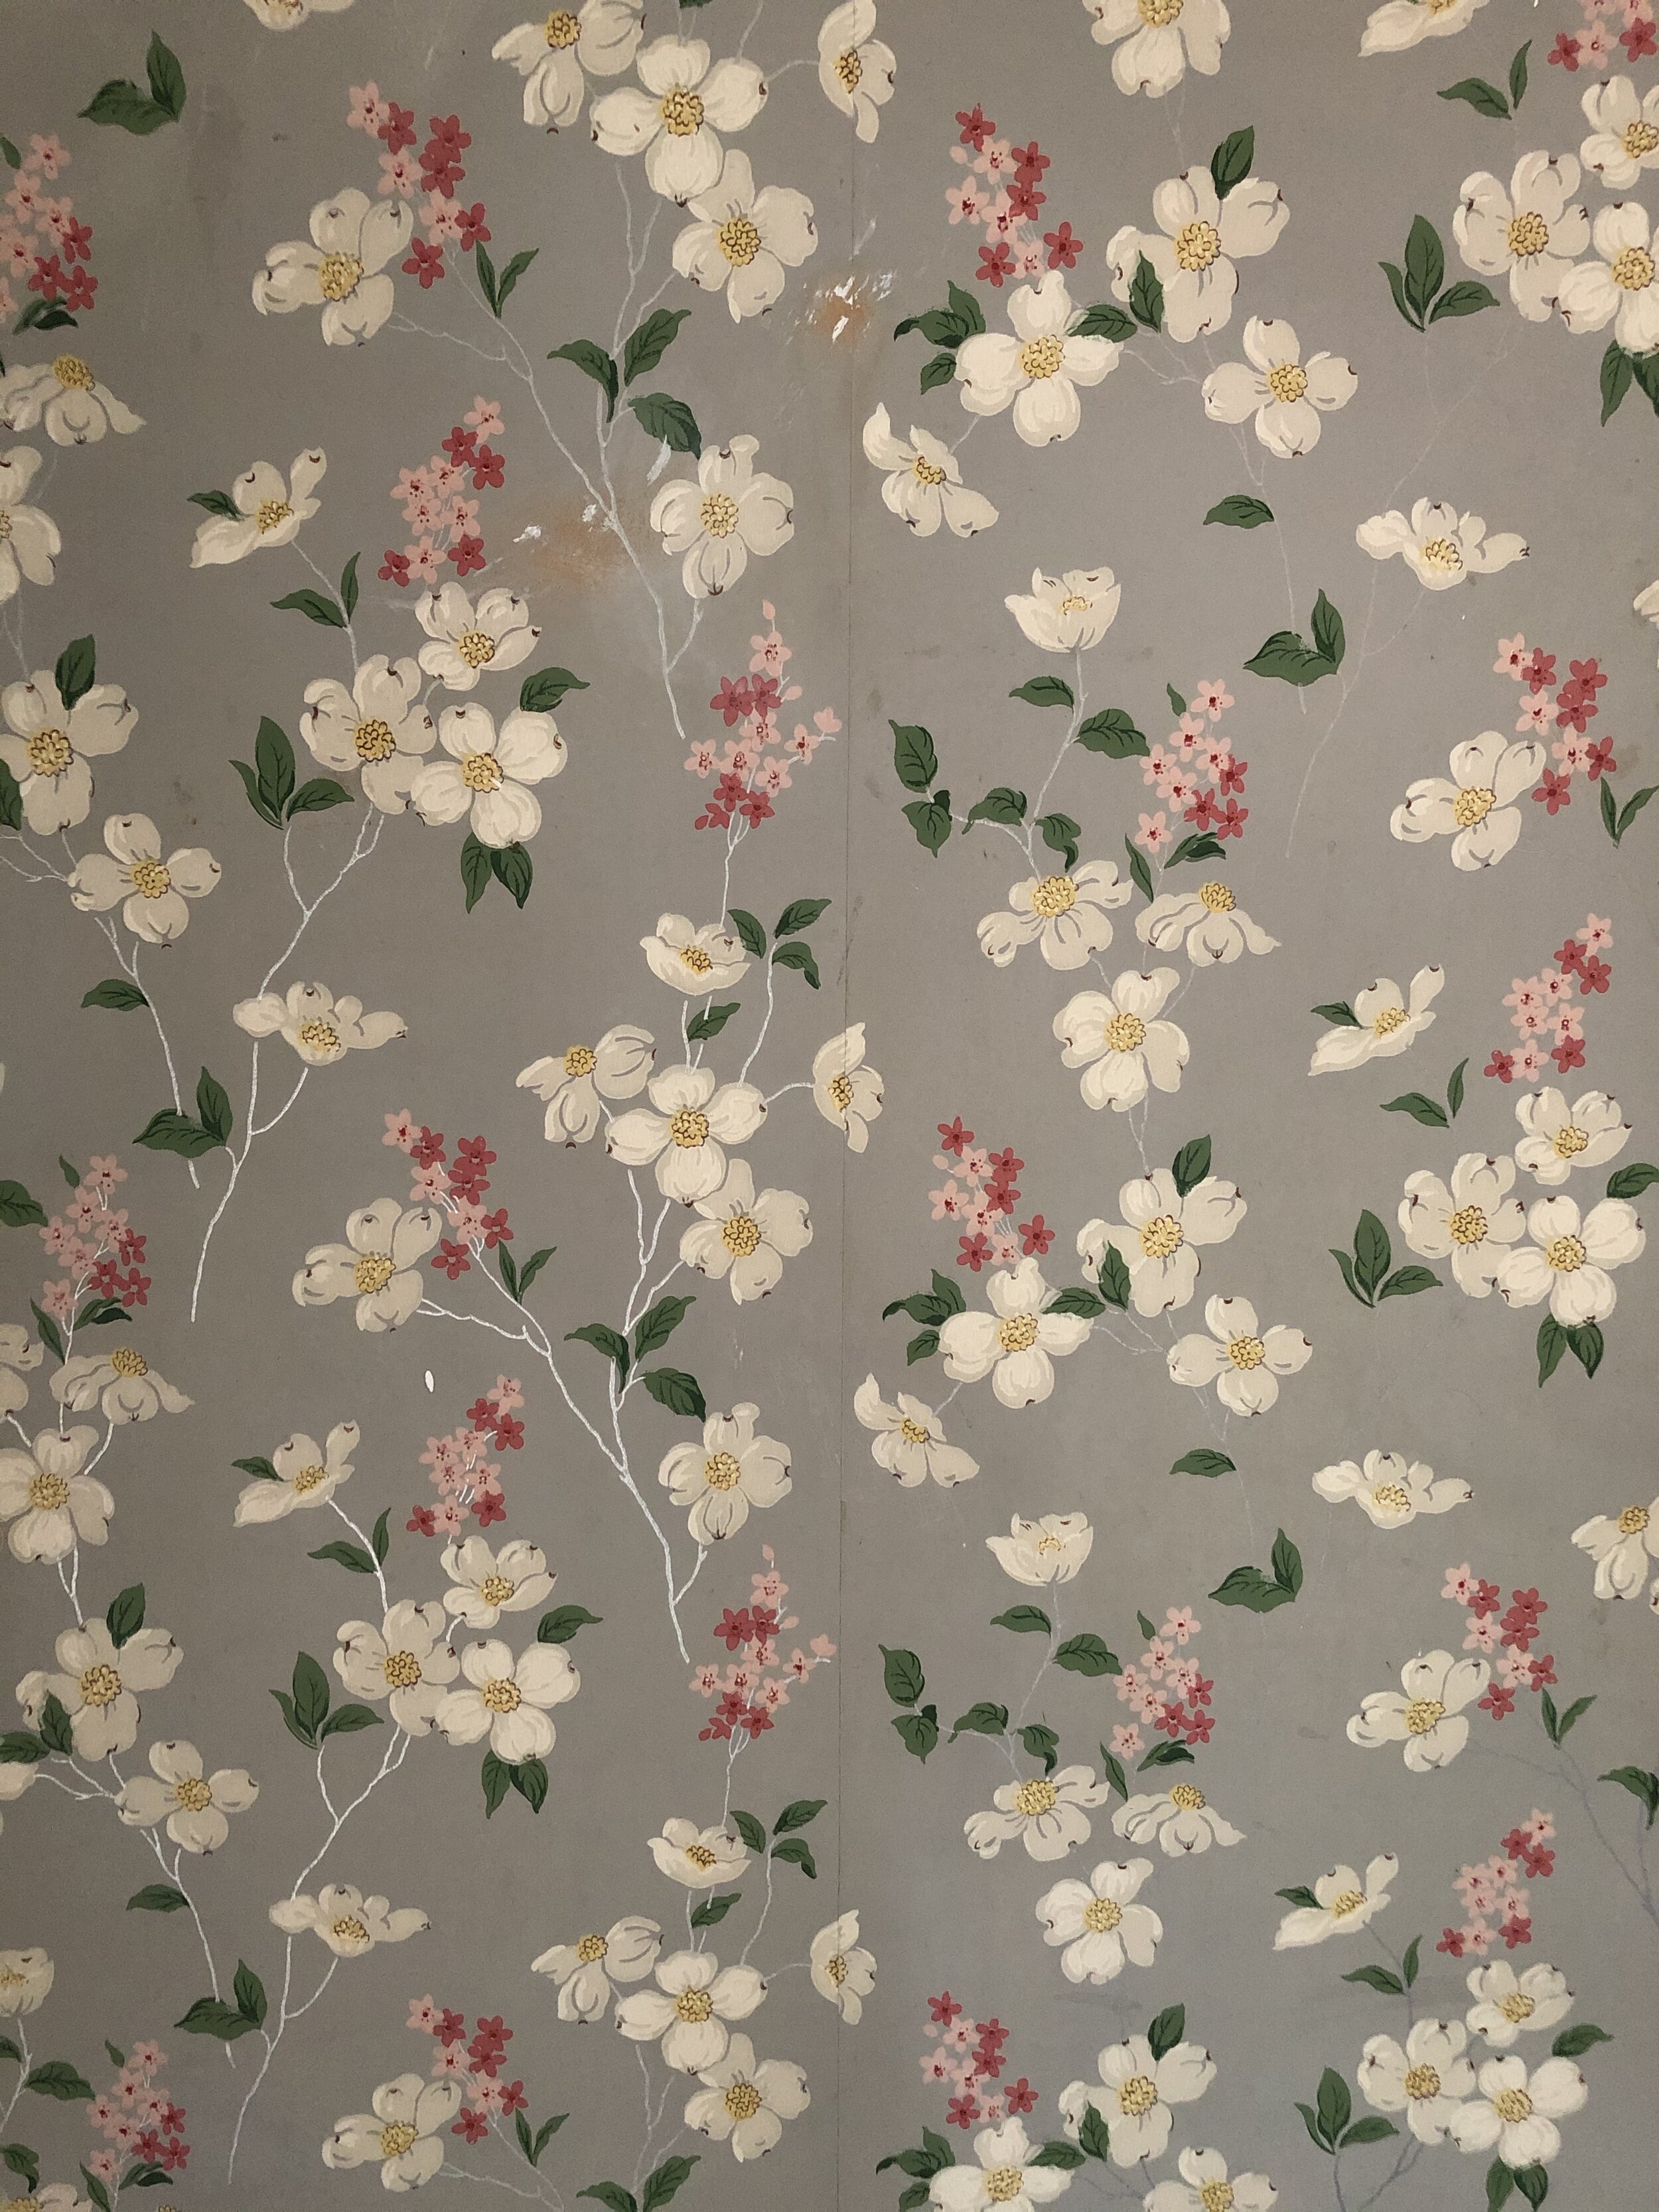
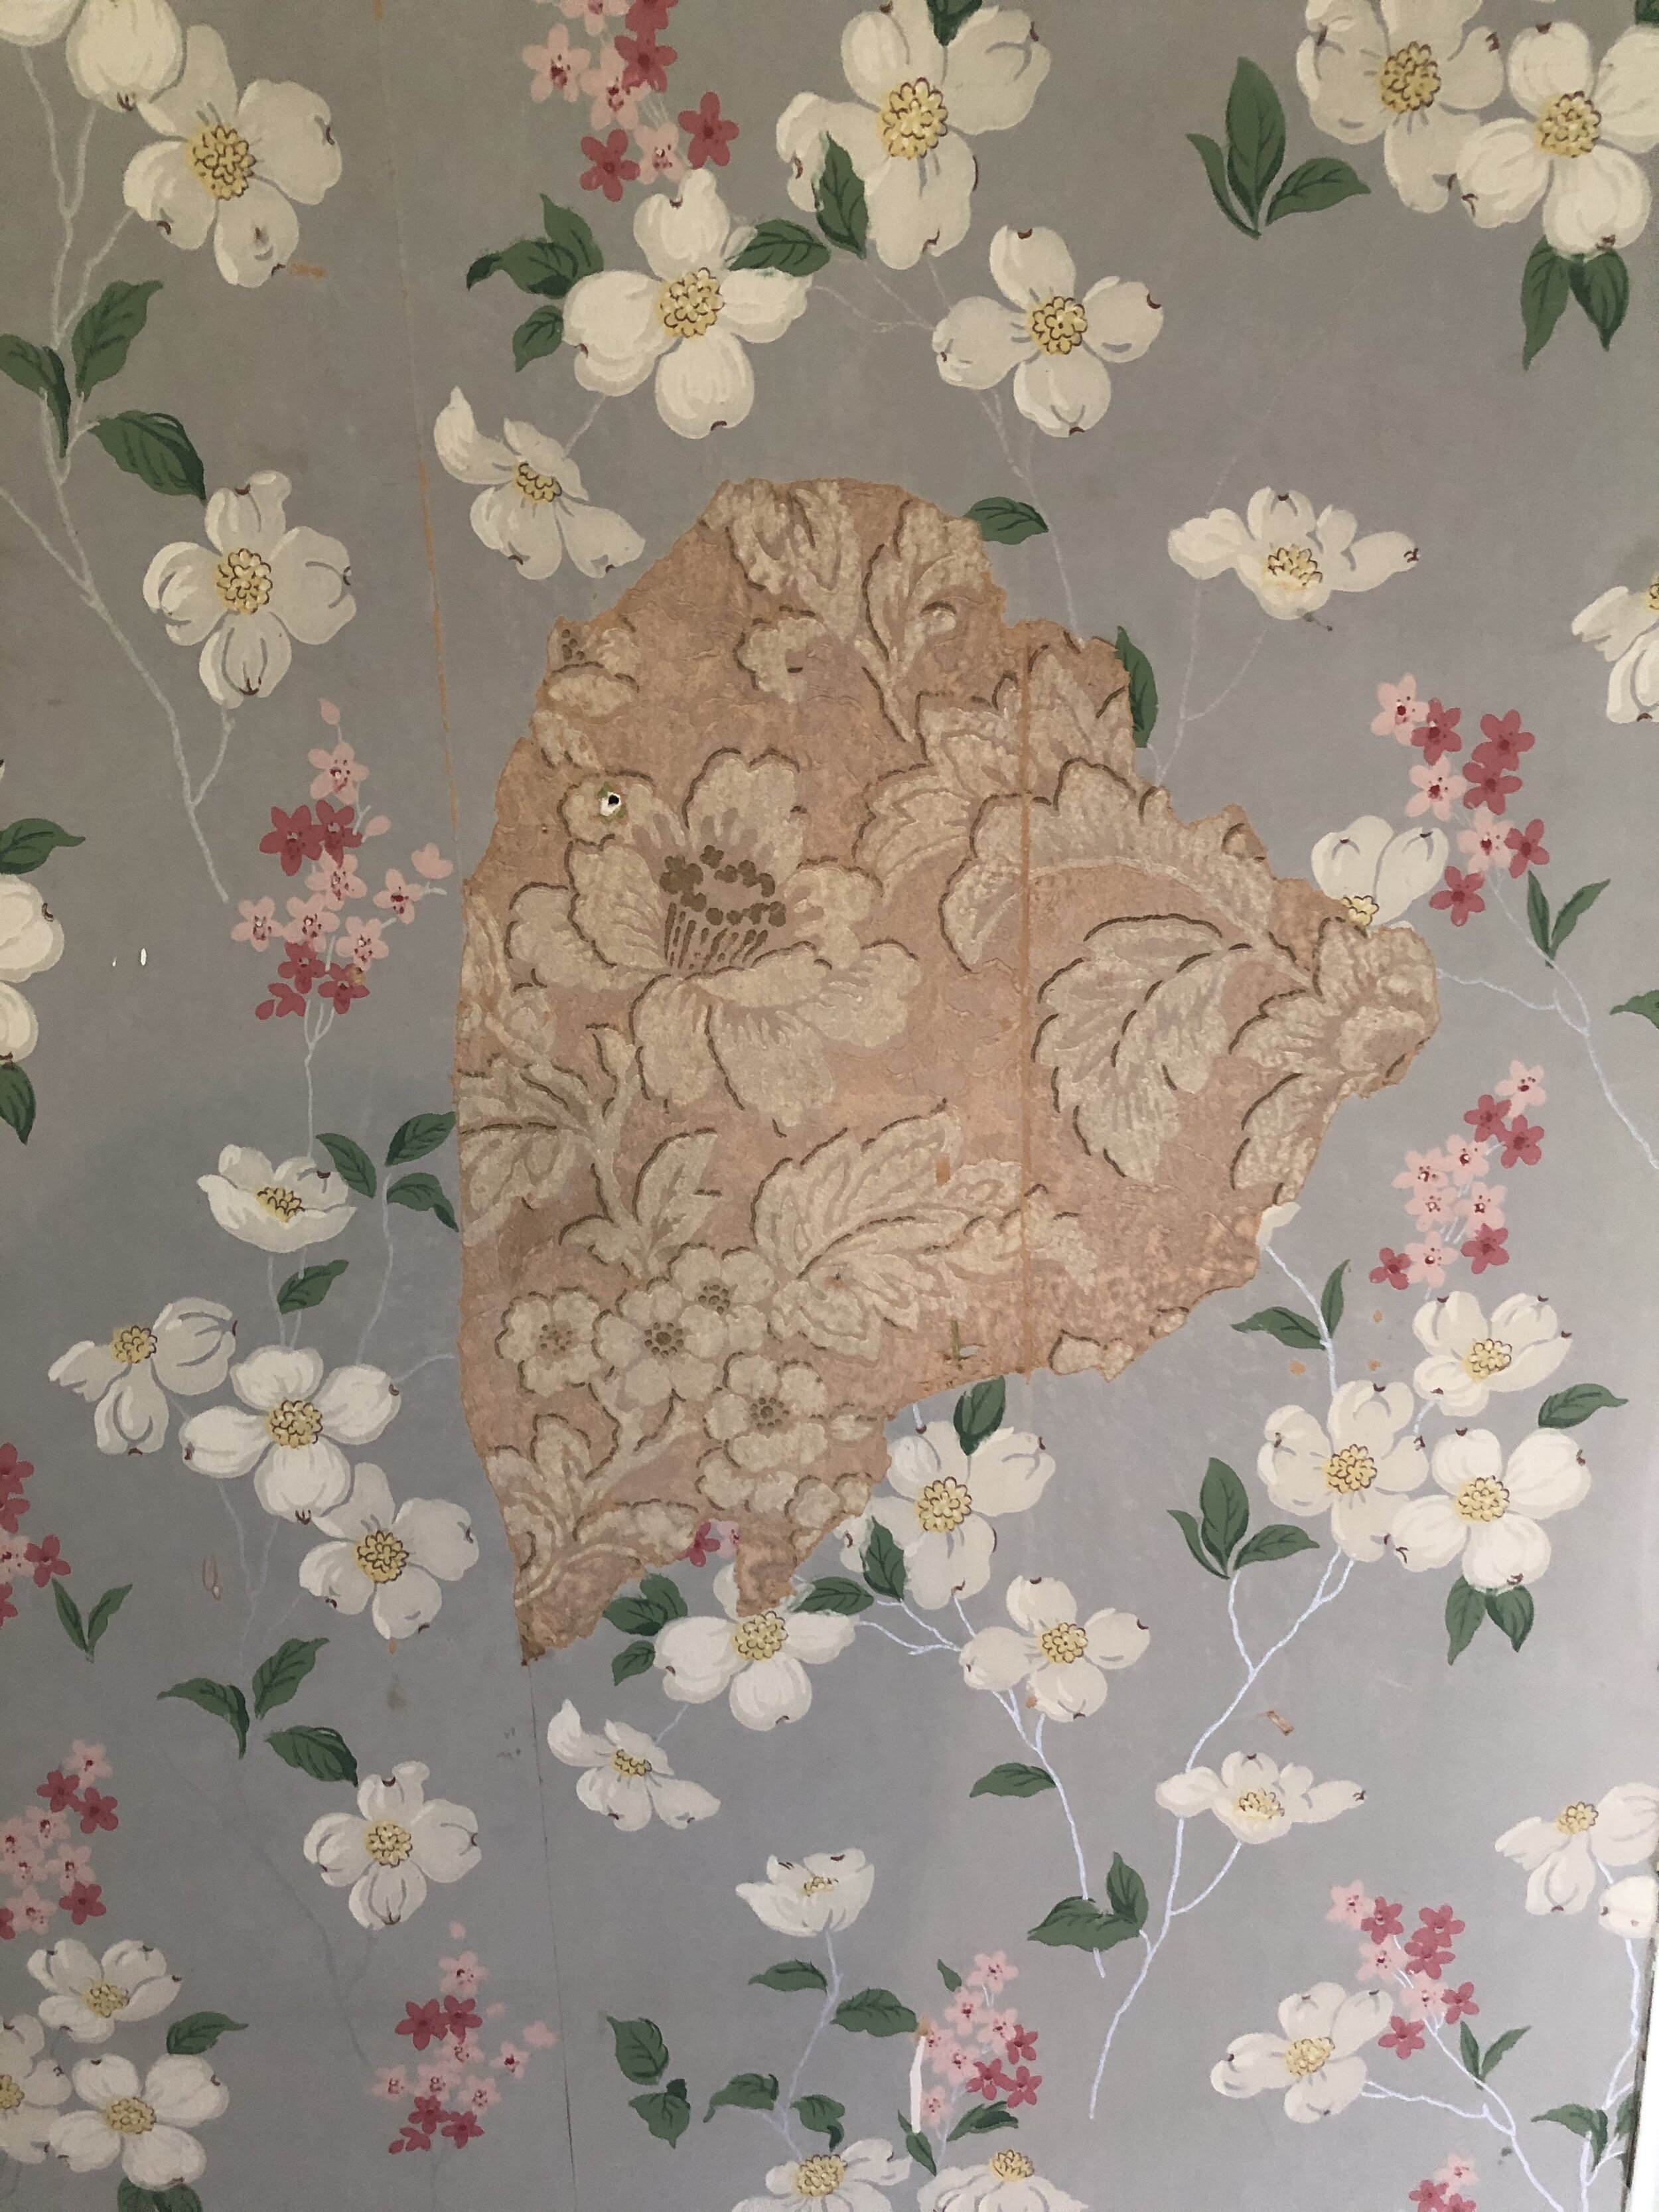
We had big plans for 2020 just like most of you and just like the rest of you many of those came to a screeching halt in March. Since we were all being held captive at Gaye Gardens and Emma suddenly found herself with way too much free time she began begging to re-do her bedroom (before she leaves for College next fall). We loved the vintage floral wallpaper but it had a lot of damage and couldn’t be repaired so it had to go. As with most projects for me, half the battle is psyching myself up to believing I can pull it off. No really, this can take months, sometimes years. So after weeks of ignoring the request I broke down and ordered a wallpaper steamer. It arrived and promptly sat in the parlor for a couple of months while I continued to pretend like the request was never made.
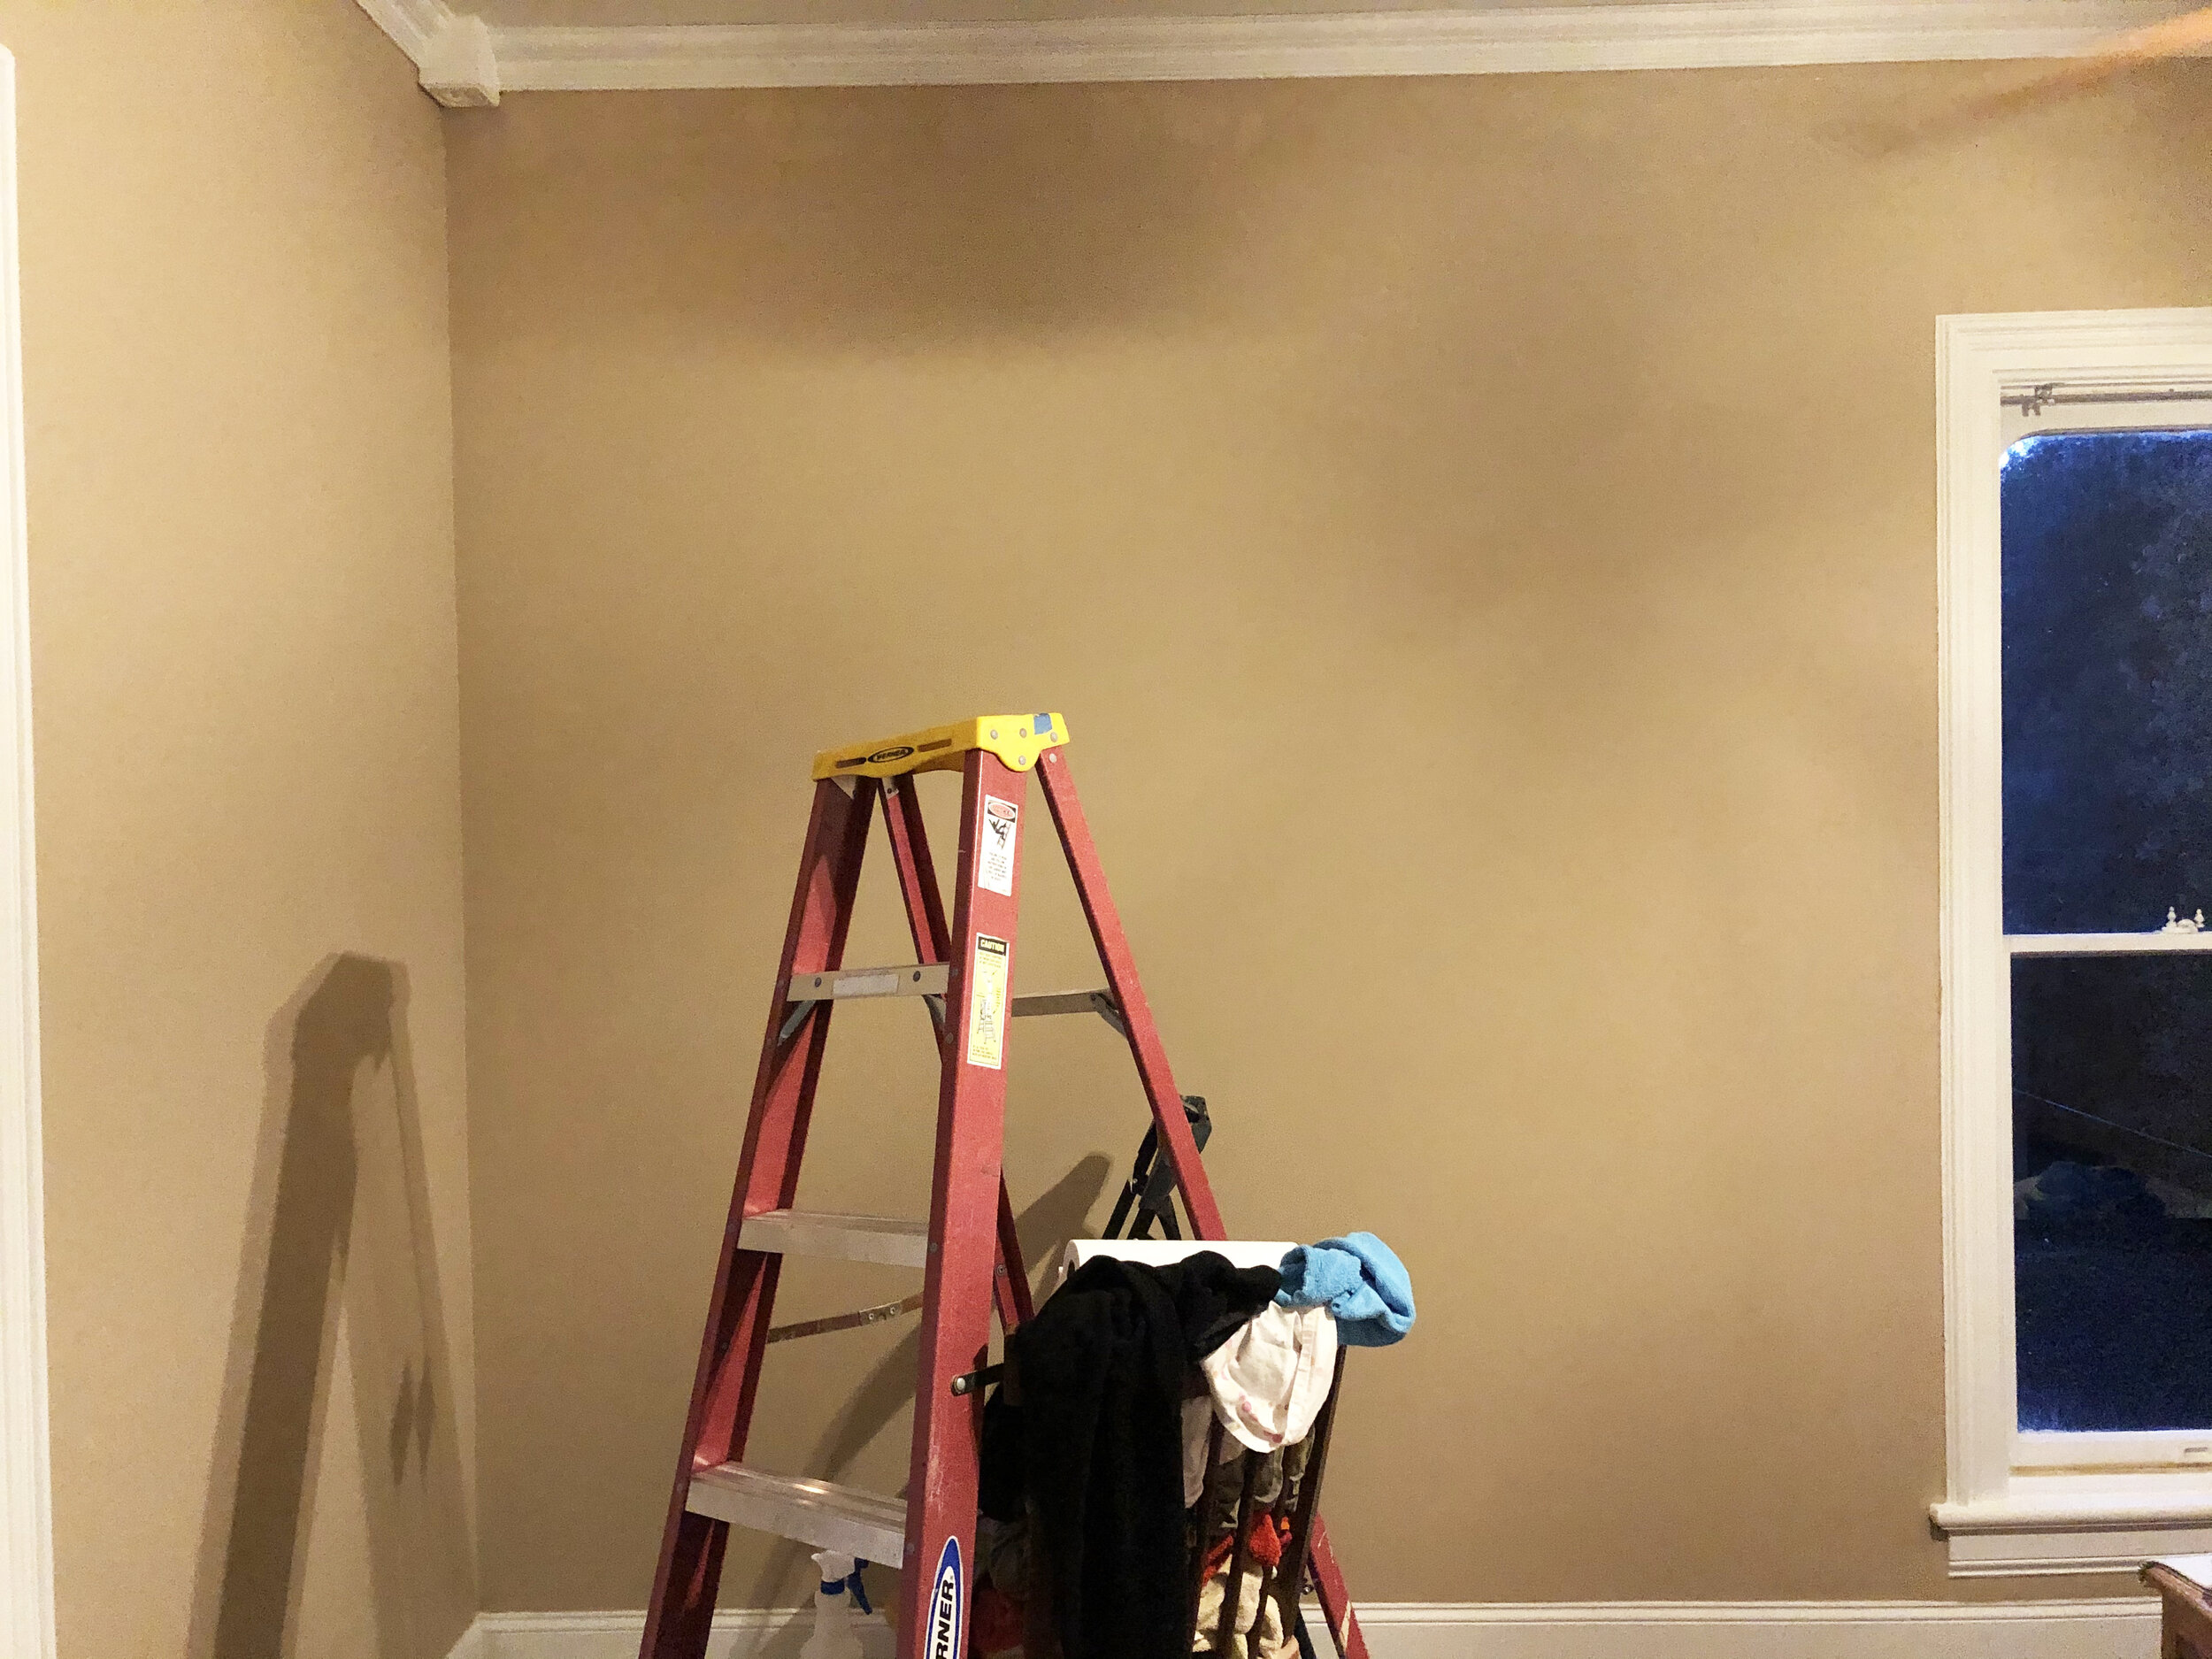
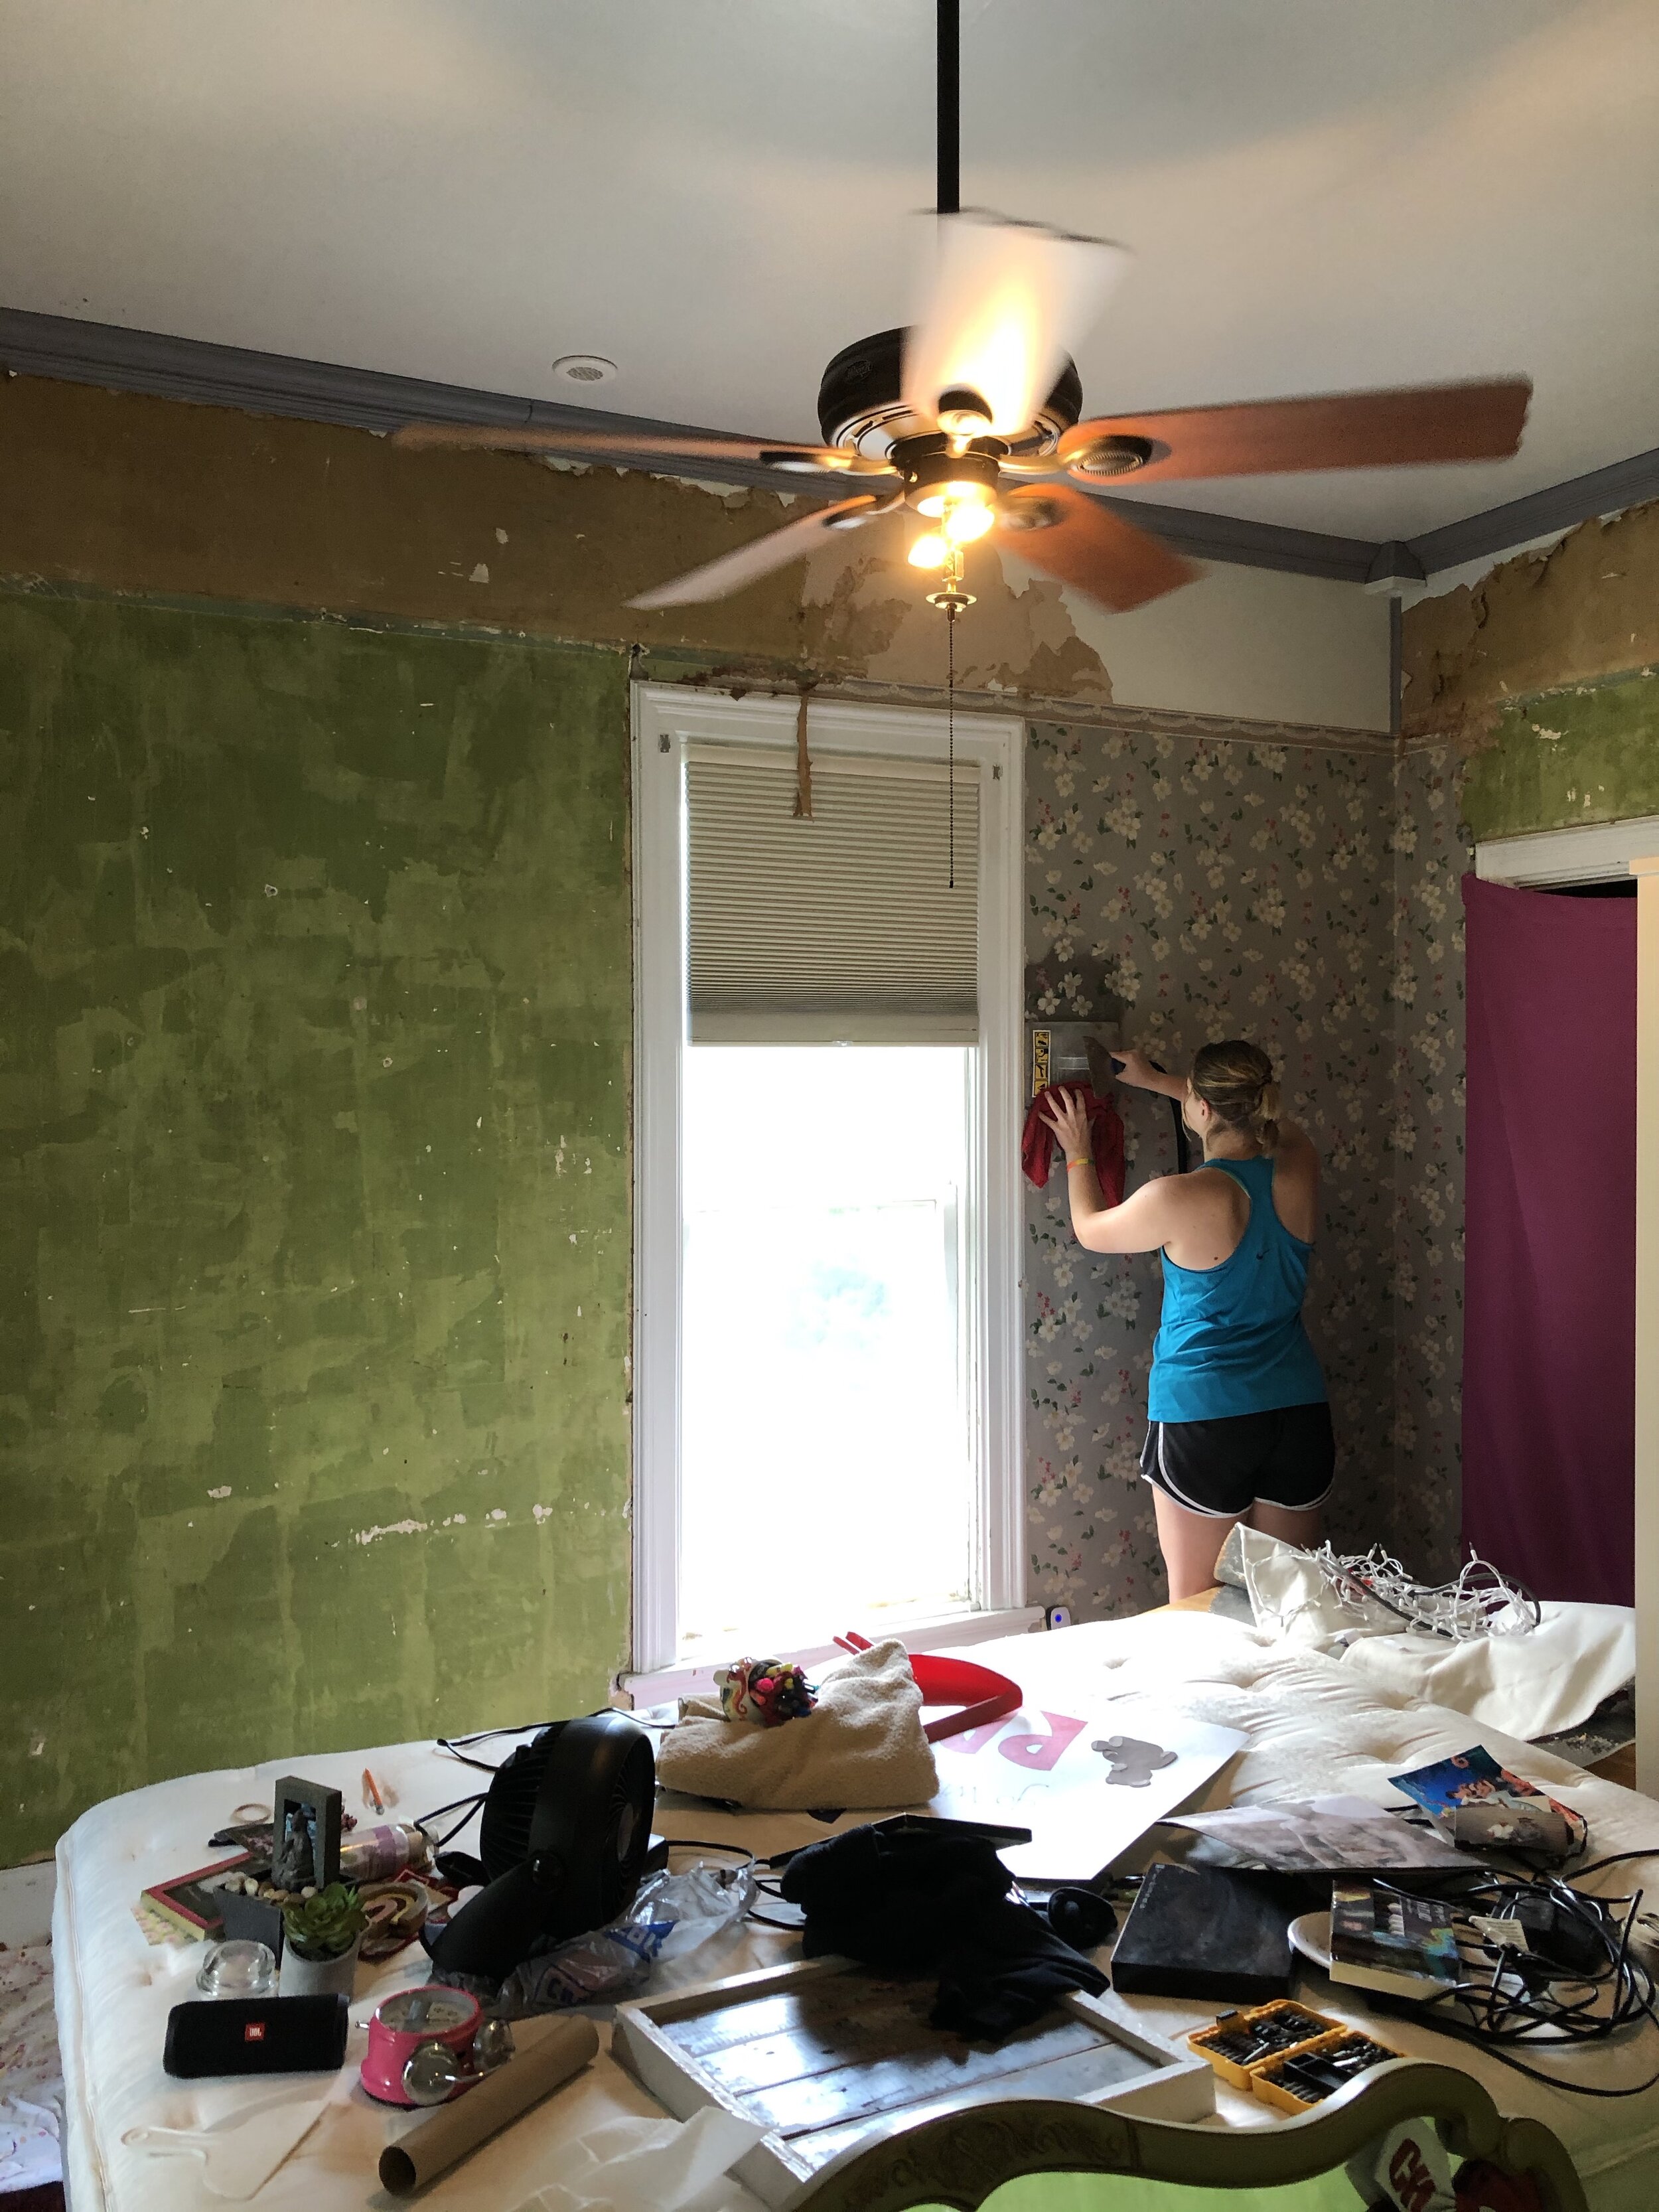
Finally, one day, I was tired of the badgering so I pulled out the steamer, set it up, showed her how it worked and promptly told her once she started she would be seeing it through and it was going to take forever and be a nightmare. She calmly agreed and I exited the room thinking this was going to take forever so I bought myself a reprieve. I'll be damned if she didn't have 3 walls done in 2 days. What was revealed was exactly what I had nightmares about, cracks on cracks on cracks. There was no turning back at this point.
Weeks later there was no further progress so she quietly moved her stuff to the guest room insisting that it would never be finished. So after much research and consultation with my friend David at Wadsworth Construction and Stacy at Blake Hill House I had devised a plan. Things were ordered, all the things and we waited for our Amazon Sub-Prime orders to show up.
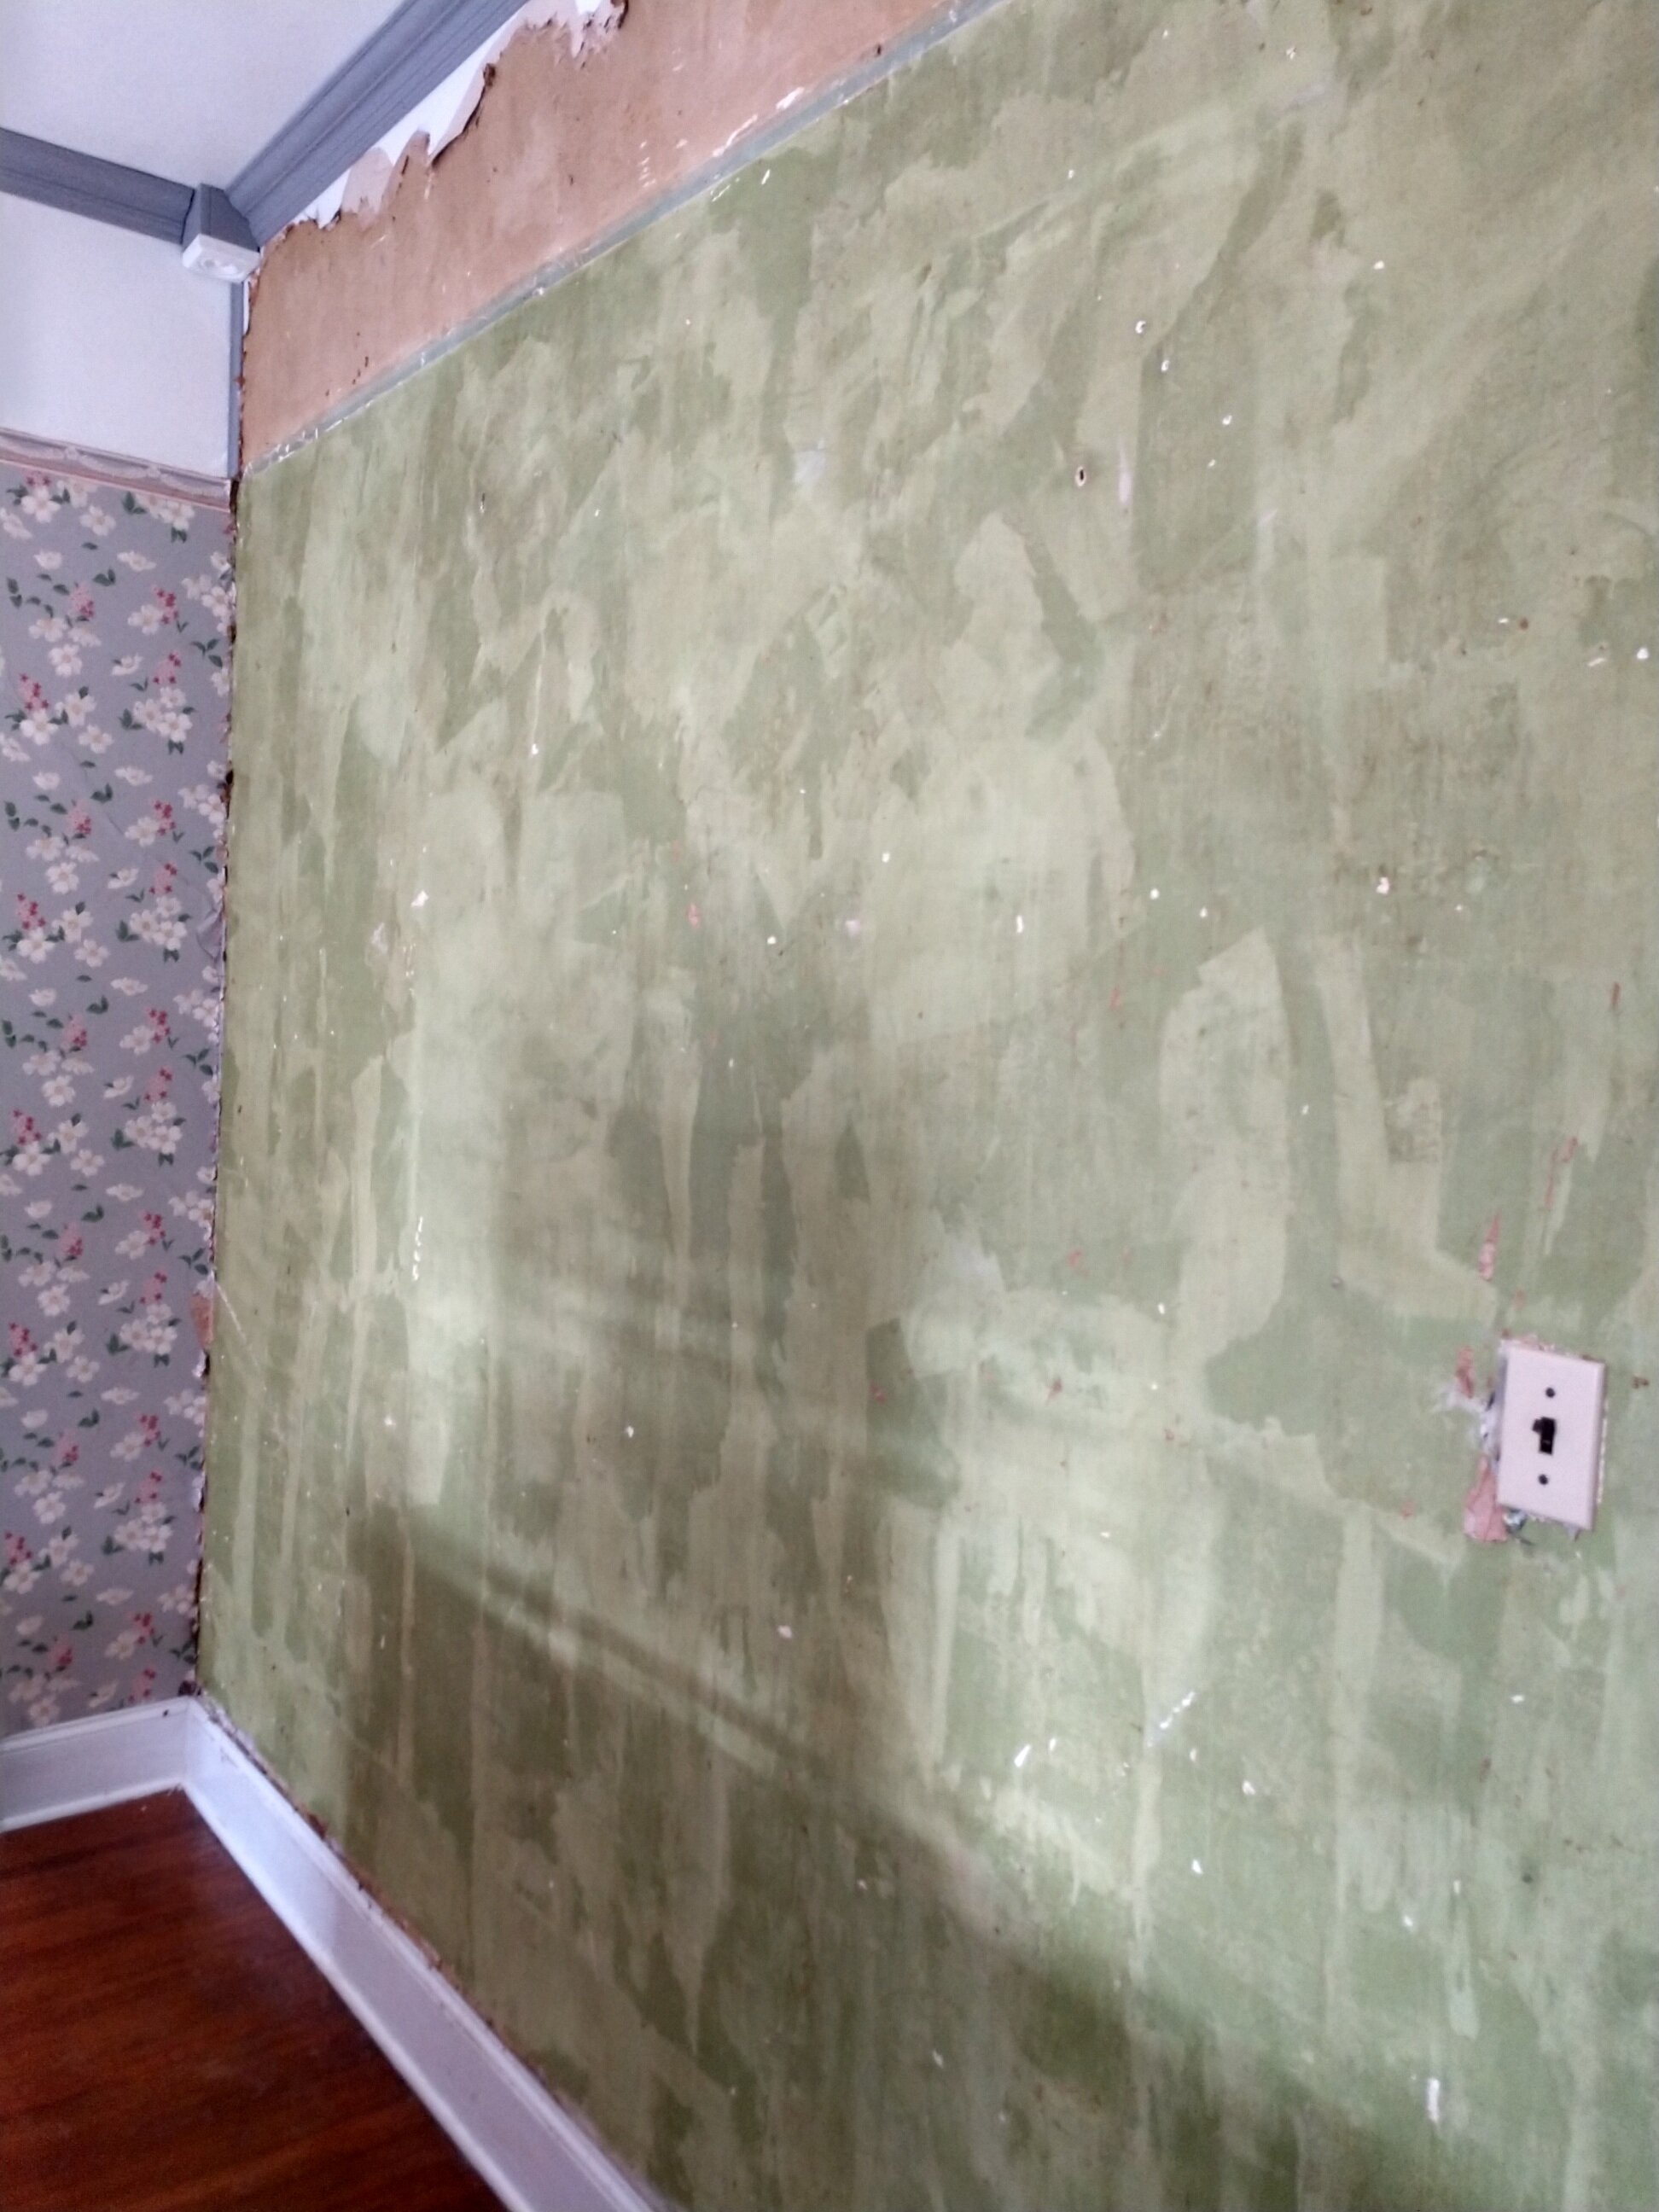
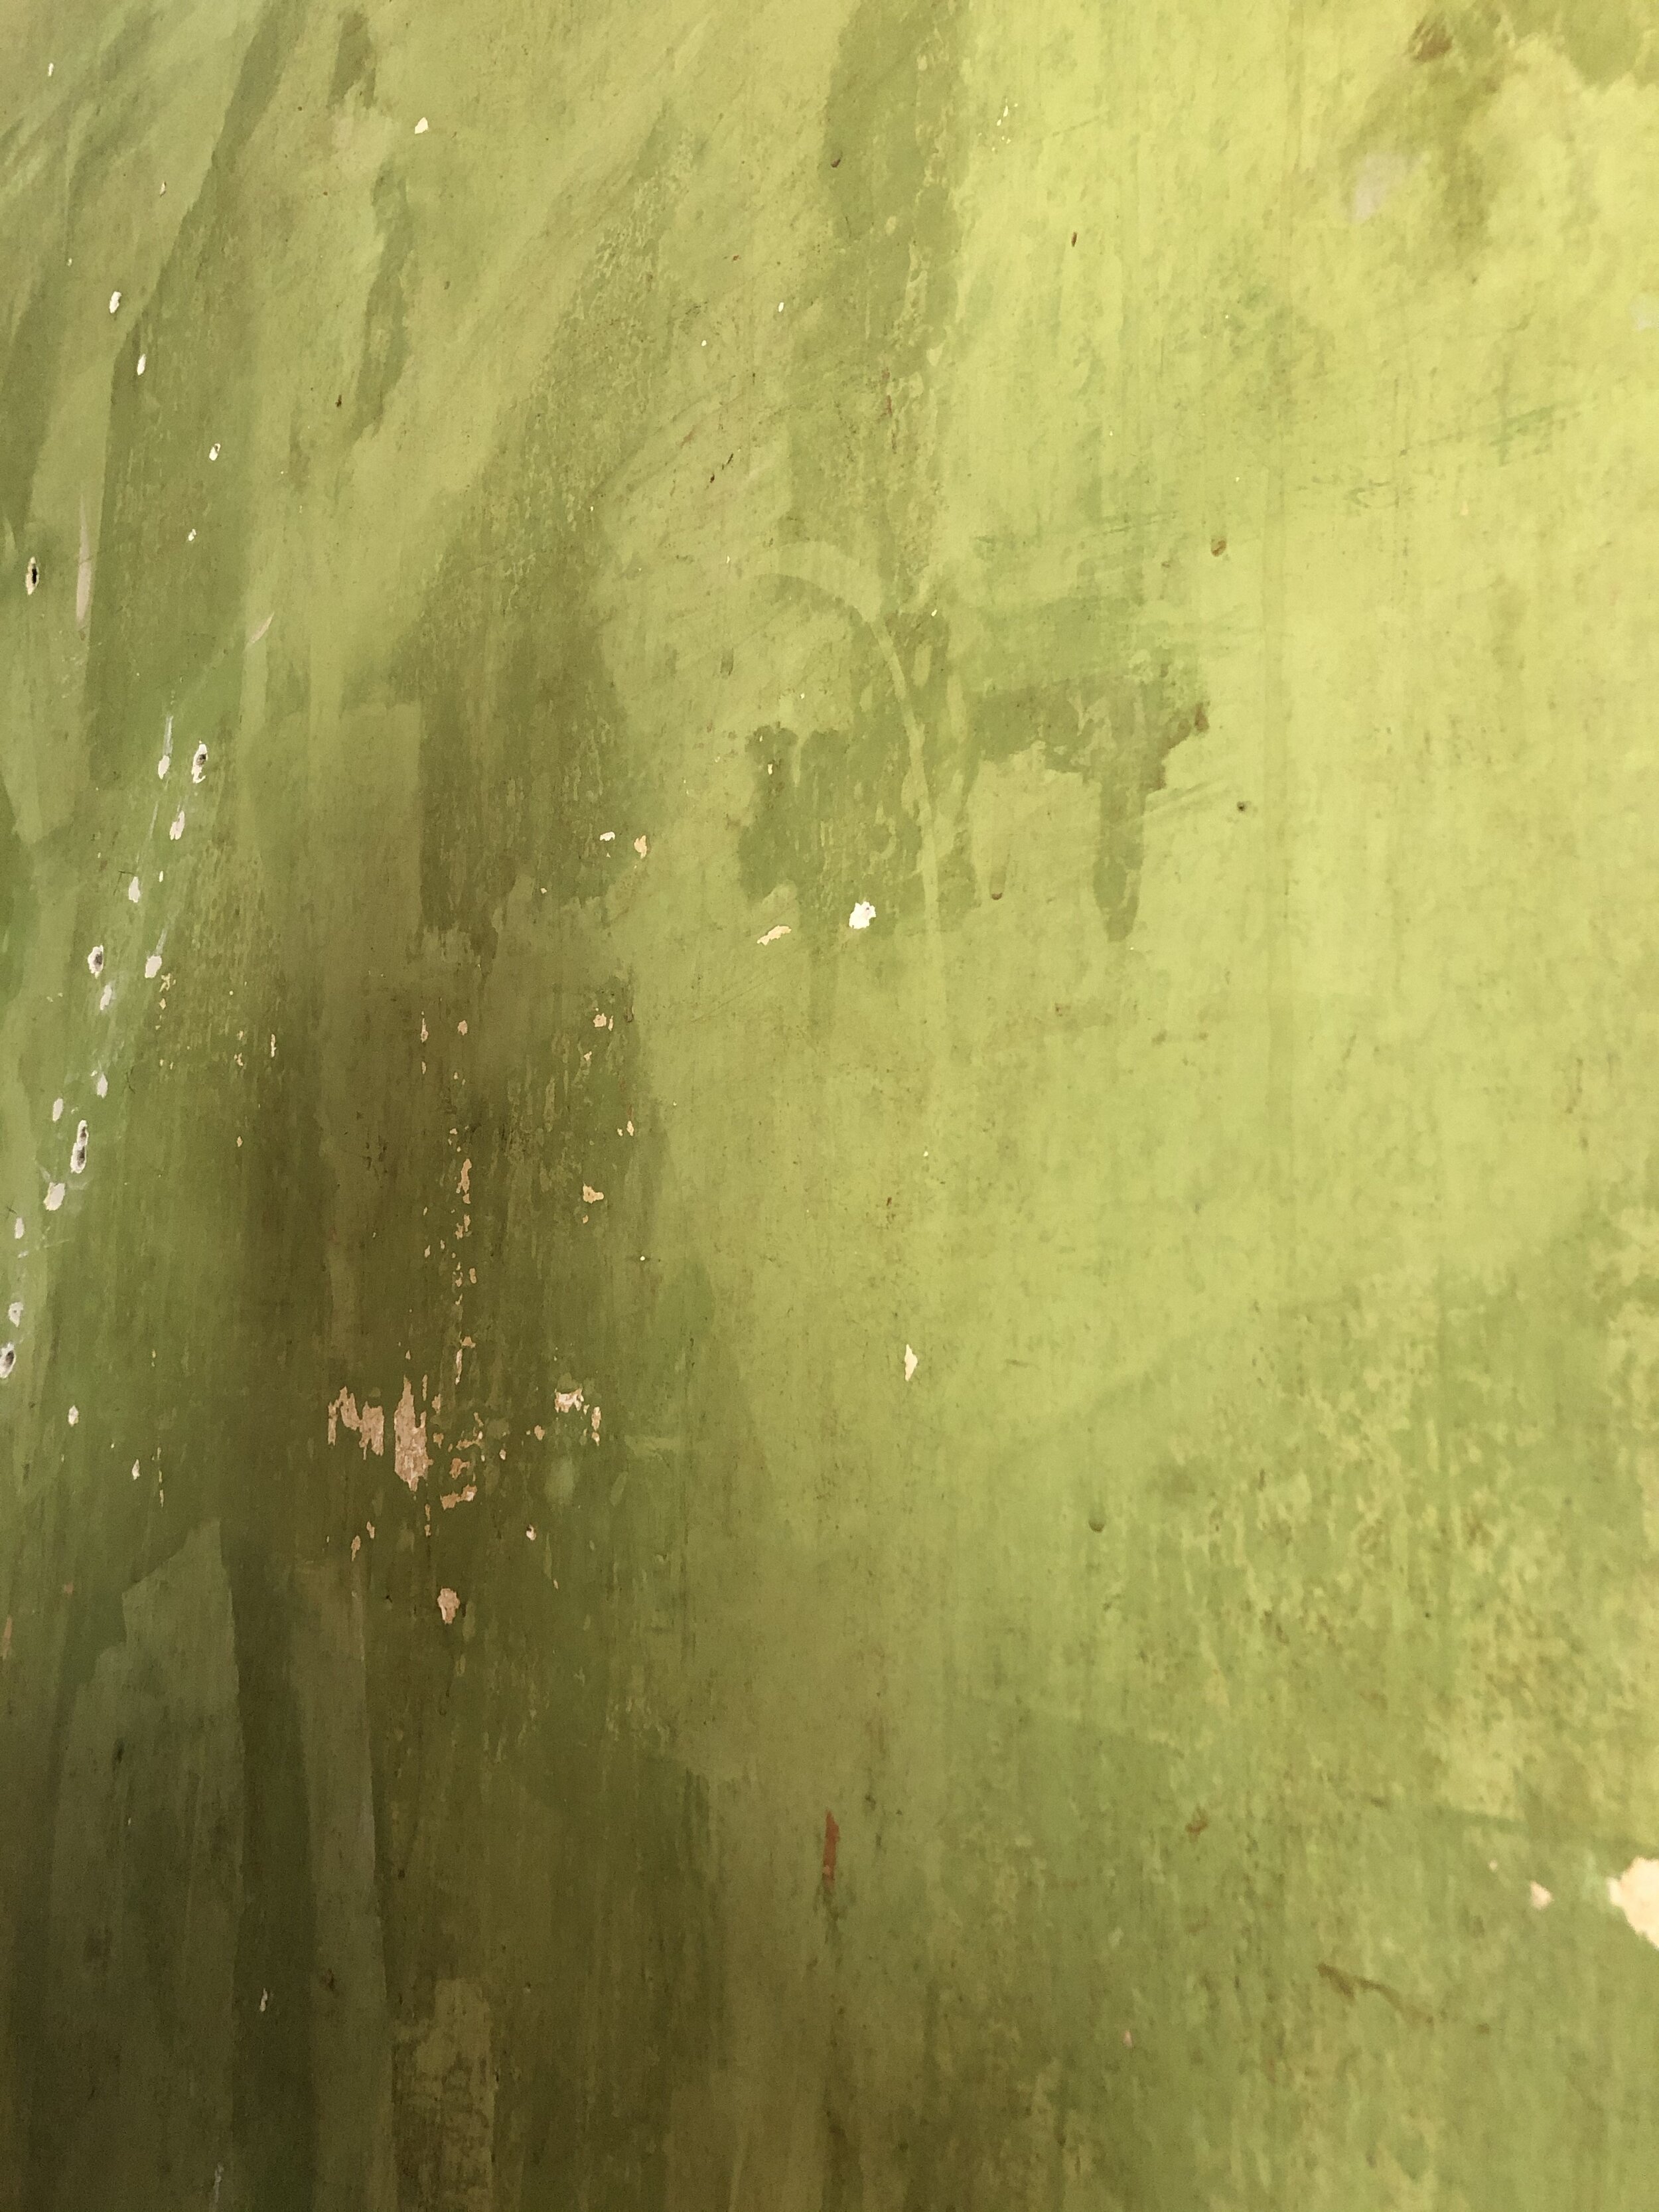
The walls in this room had lots of cracking. This cracking occurs when the plaster keys on the back of the lathe break free allowing the plaster to move, and crack. The only way to truly fix this and prevent it from happening again is to mechanically re-attach the plaster to the lathe. Sorry folks, just skim coating it will result in cracks coming back again. Trust me, you don't want to have to do this twice. To re-attach the plaster we used a modified (i.e. considerably cheaper) Big Wally's Plaster repair process (thanks Stacy for the tips). You will need plaster washers (we did use Big Wally's, order 10 times more than you think you will need), drywall screws, masonry bit, Loctite (guess the number of tubes you think you will need and multiply by 100), Elmer's glue (by the teacher size jug), paper towels (lots) various putty knives and a good spray bottle (not the dollar one at Wal-Mart, it clogs up quickly).
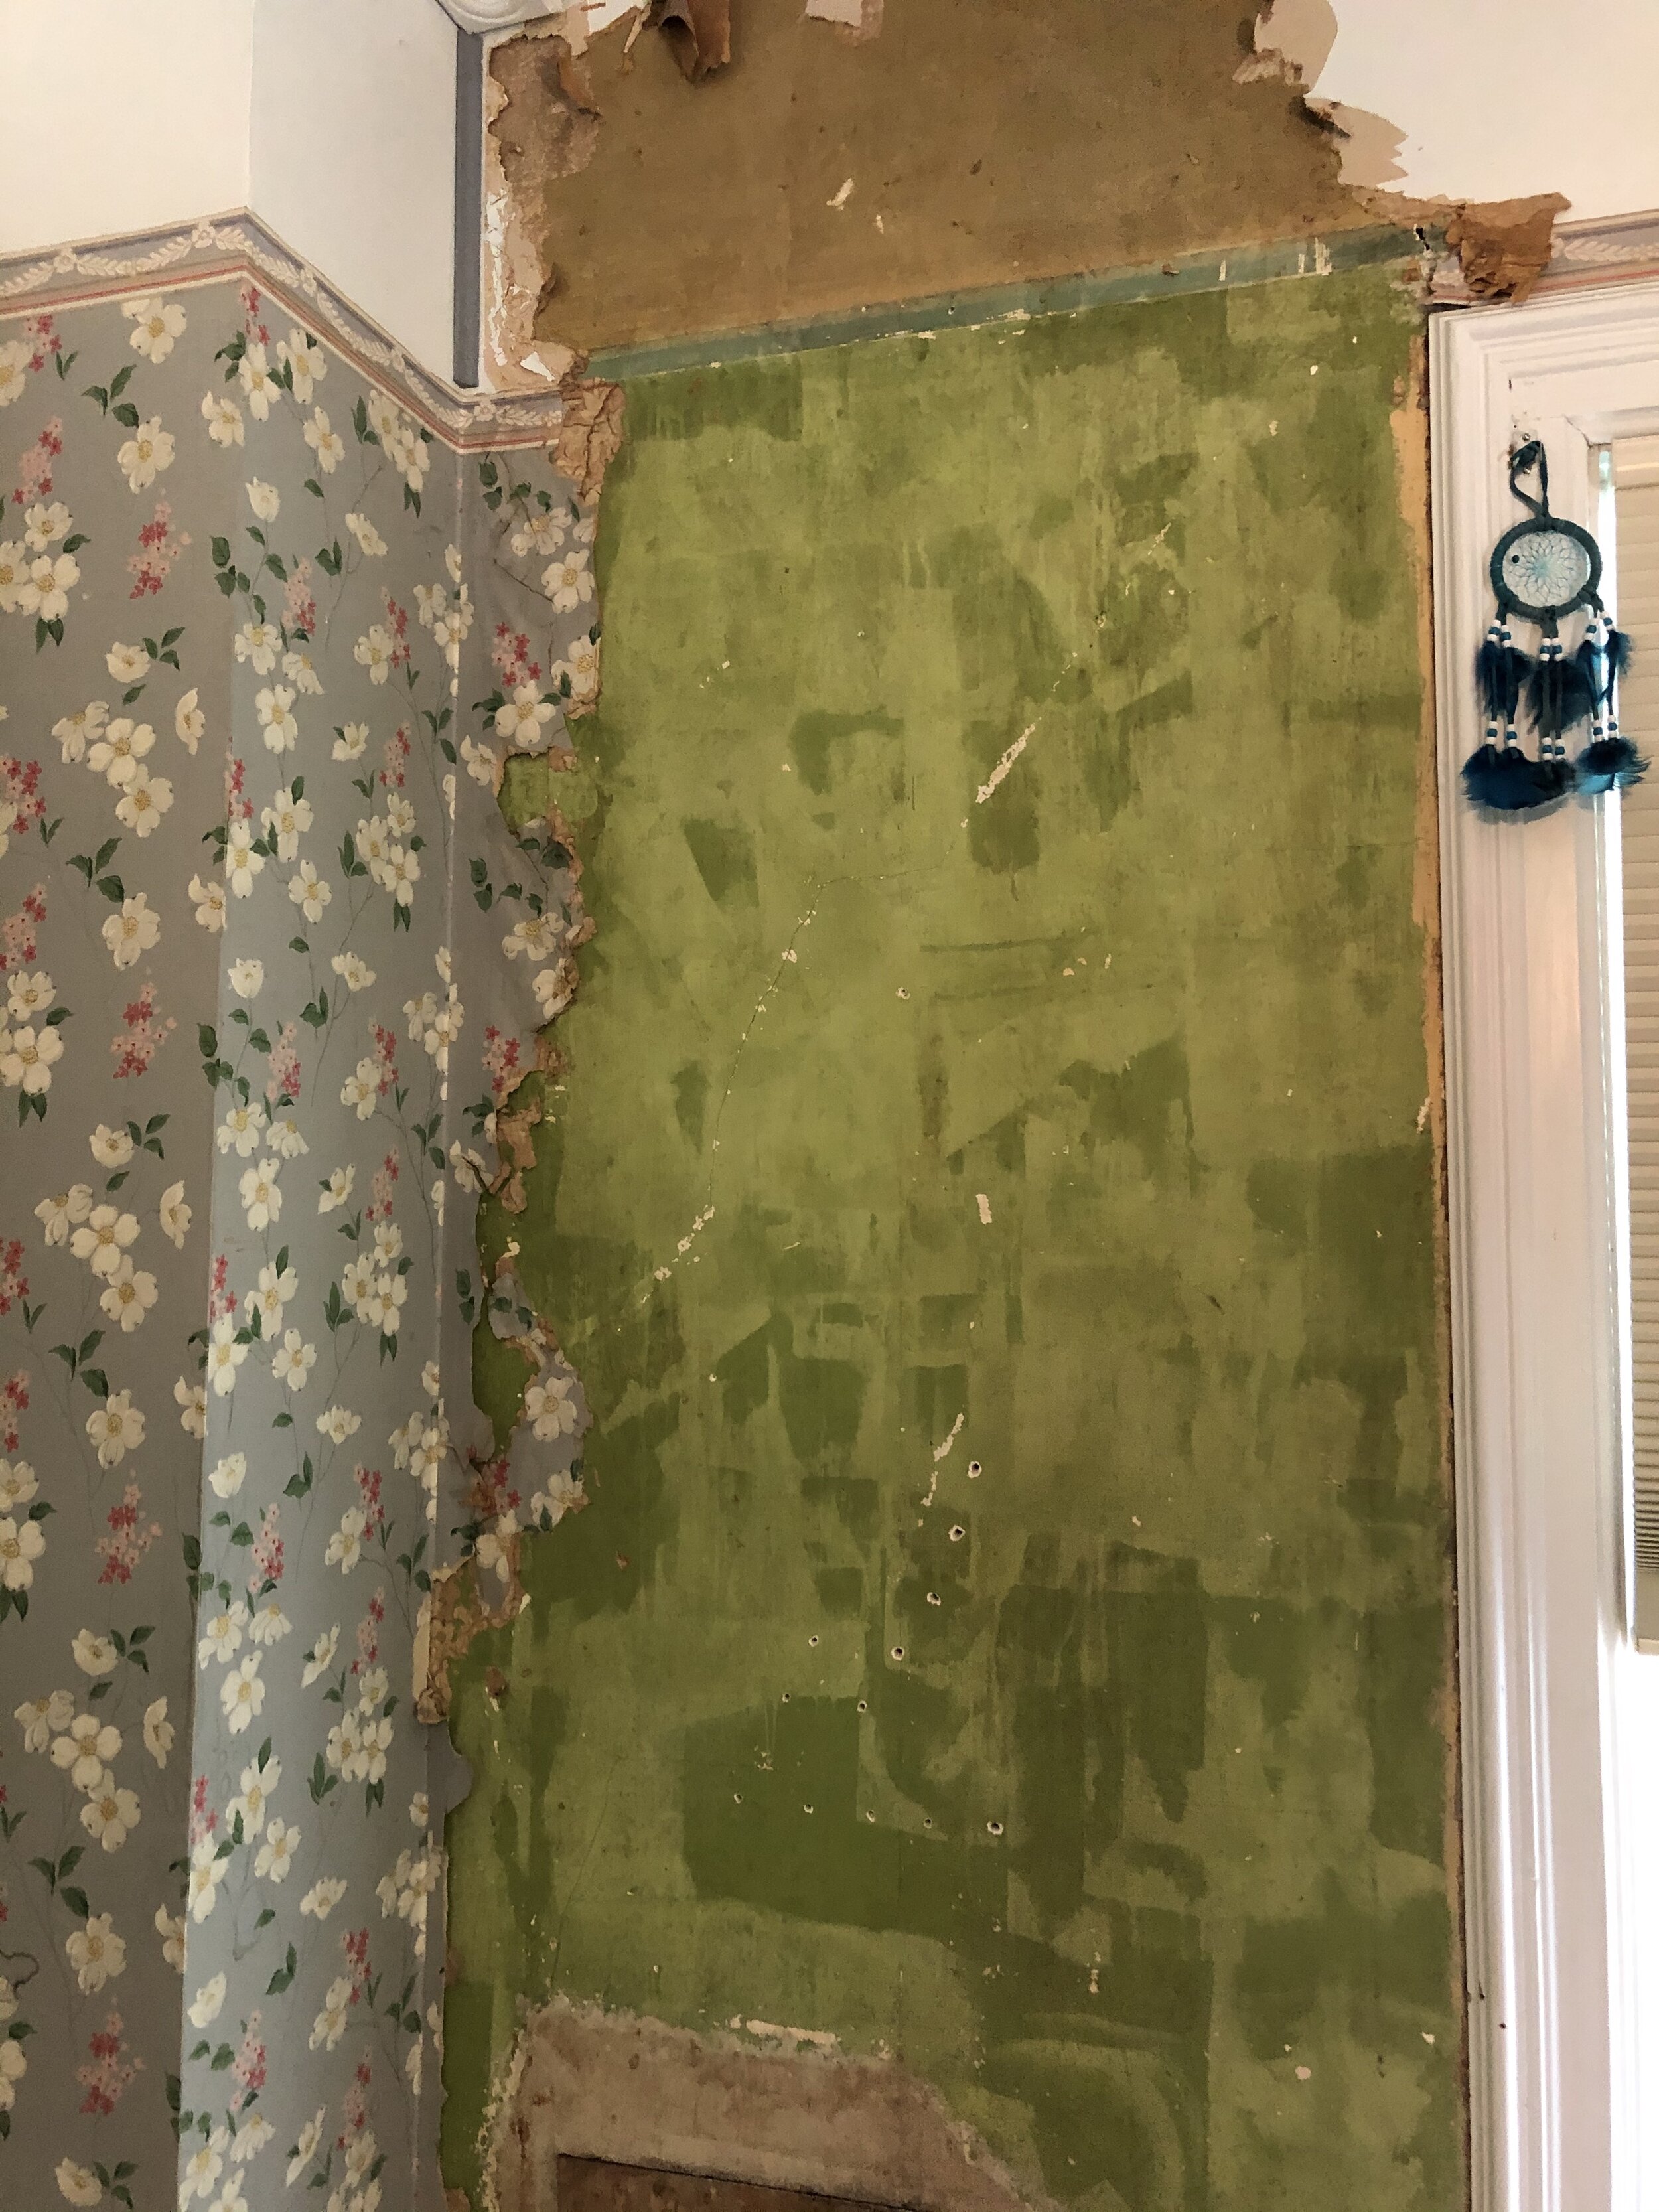
Starting on one wall, survey the wall for any and all cracks, mark them with a pencil and an X. Using the masonry bit you will drill a hole on the side of the crack, about 1-1 1/2" or so from the crack. This hole should be the depth of the plaster and you should hit a piece of lathe, stop once you hit the lathe, do not drill through it. If the bit does go in deep you were unfortunately in between lathes, pull out and circle the hole with your pencil and try again about 3/4" from there. You will do this about every three inches on both sides of the crack until you reach the end of the crack. Yes, it's a lot of holes, keep going. You will do this for all cracks on all of the walls.
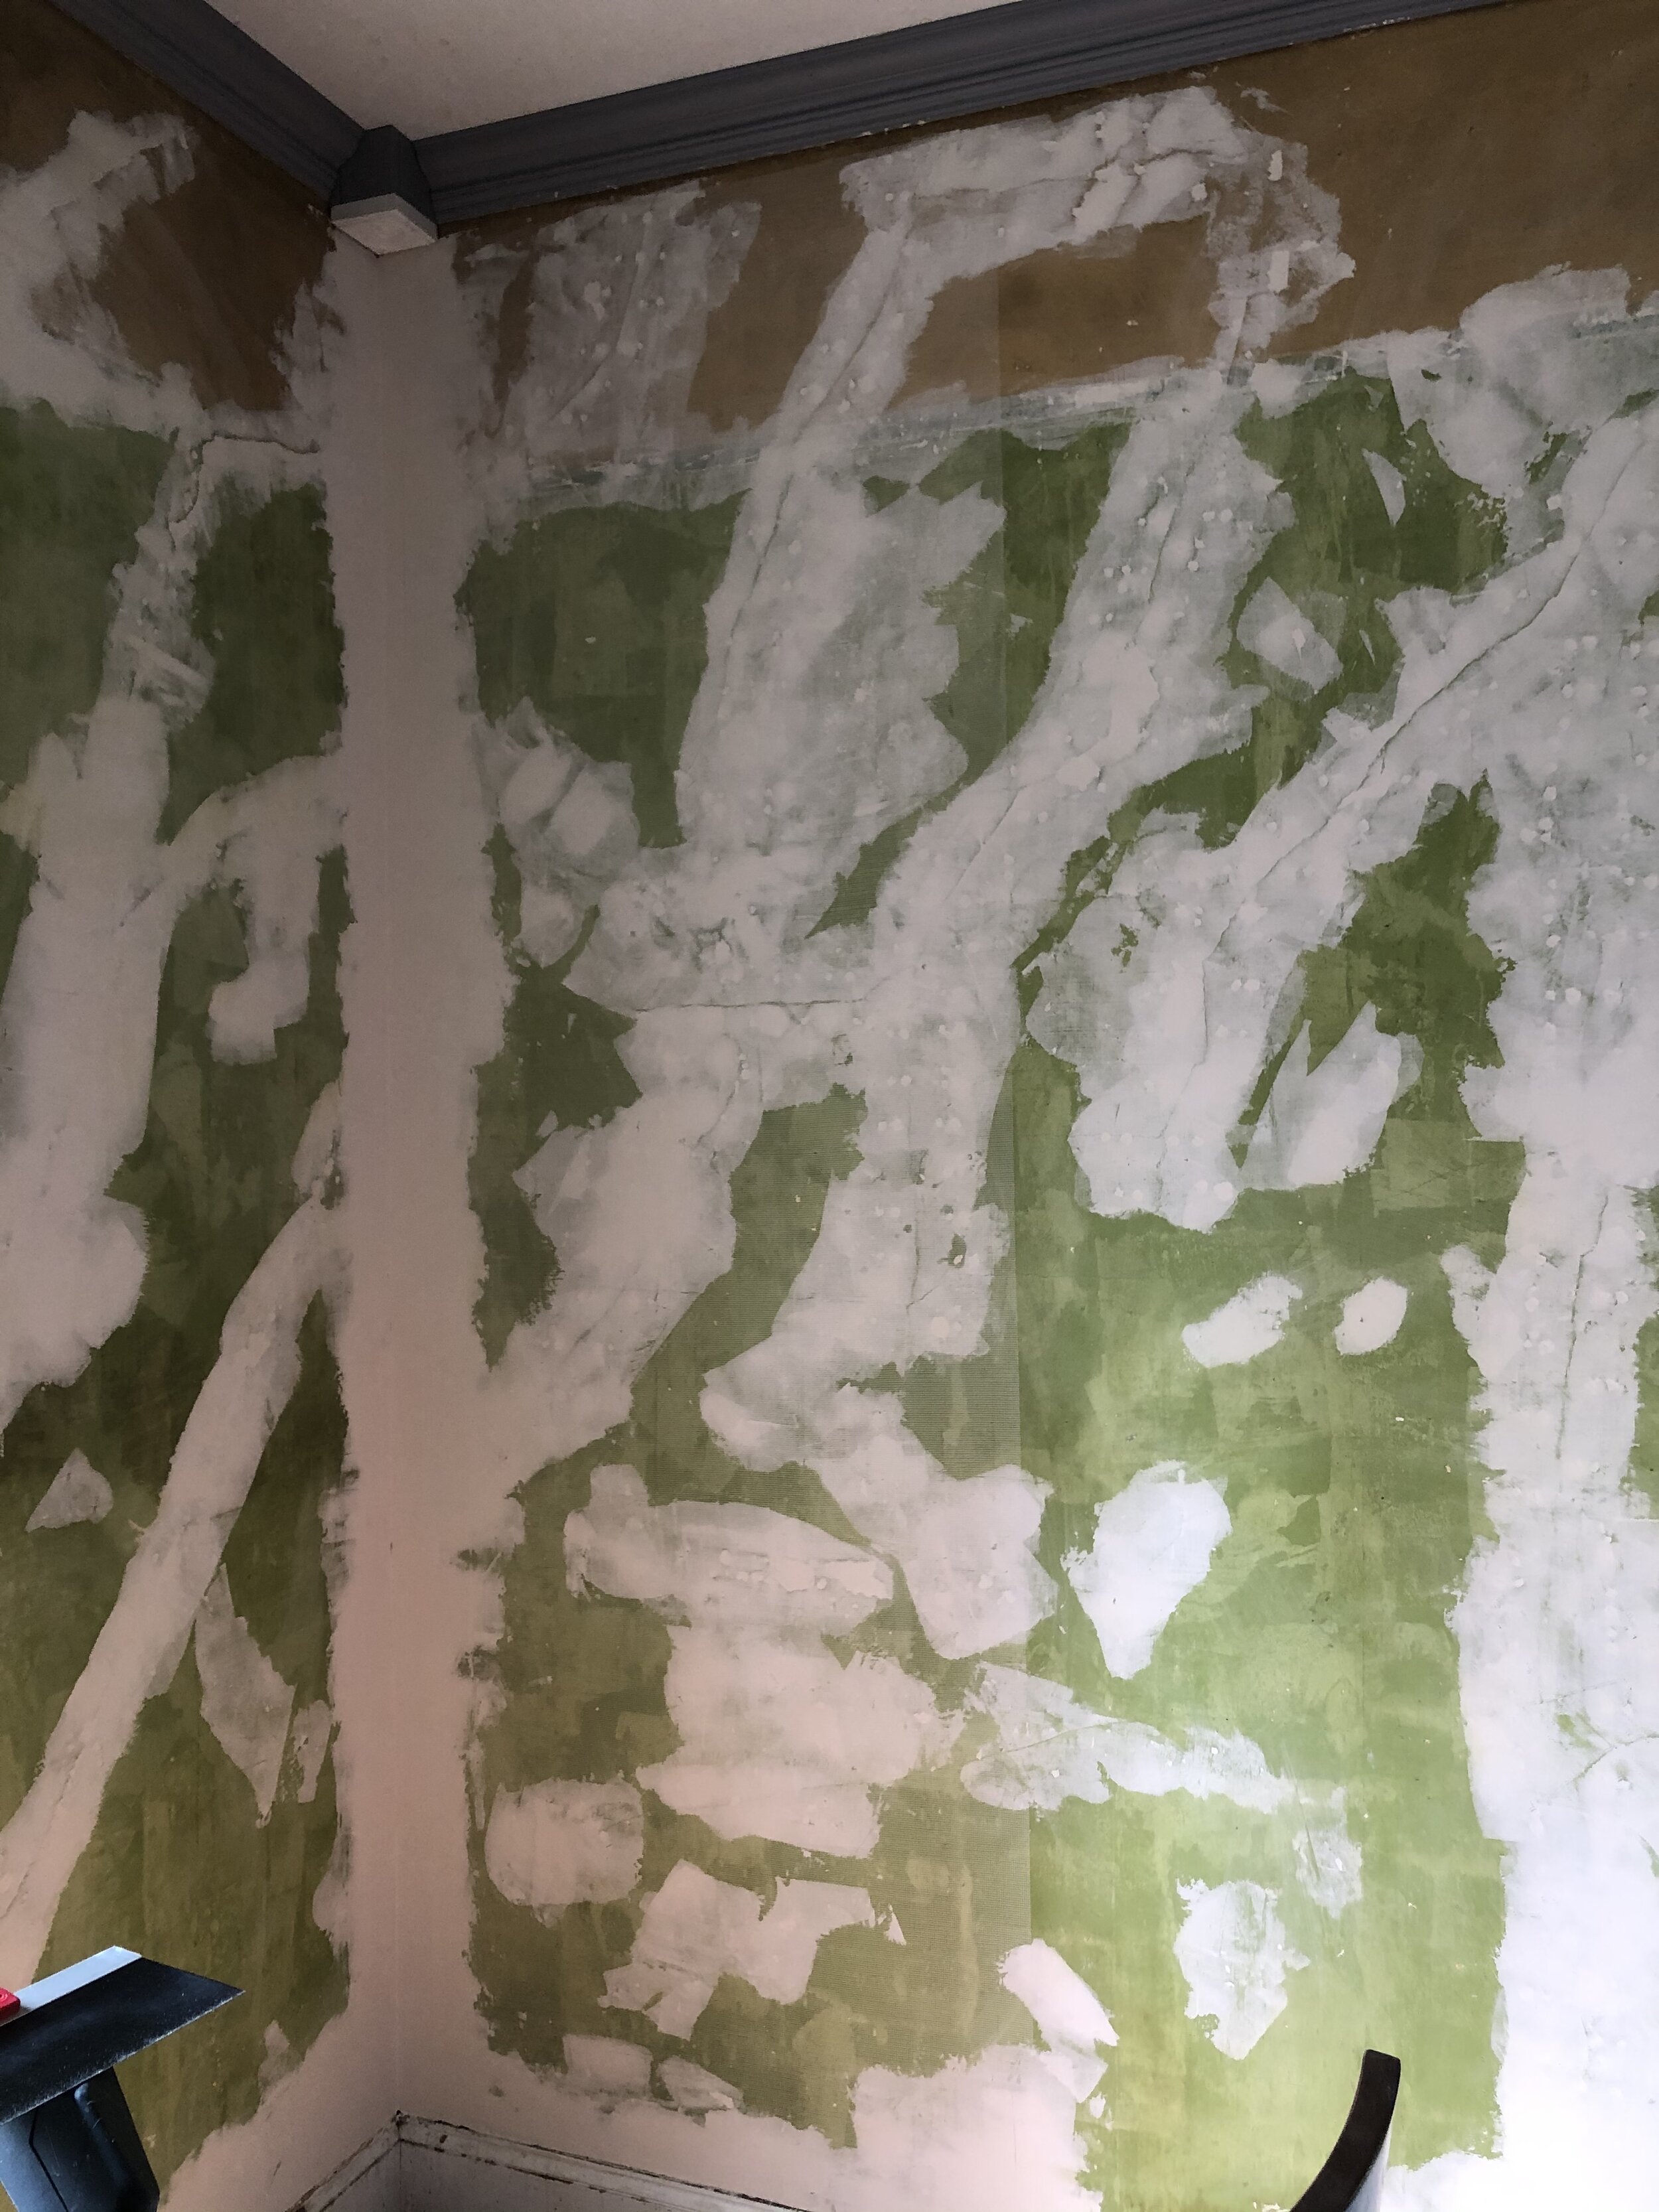
Our walls had some really damaged plaster around the baseboards, doors and windows where if you pushed on it or ran the shop vac over it the area would just crumble. This is not repairable. For these areas I went around the room and tapped on the plaster where it looked questionable. You will hear a difference, it sounds hollower in these areas. I outlined these areas with a pencil. I then went back and drilled more holes along the edges of these areas just like I did on the cracks. Once you have completed this you will want to use your shop vac and vacuum out all holes to remove the plaster dust and all of the plaster dust that is now on your floor.
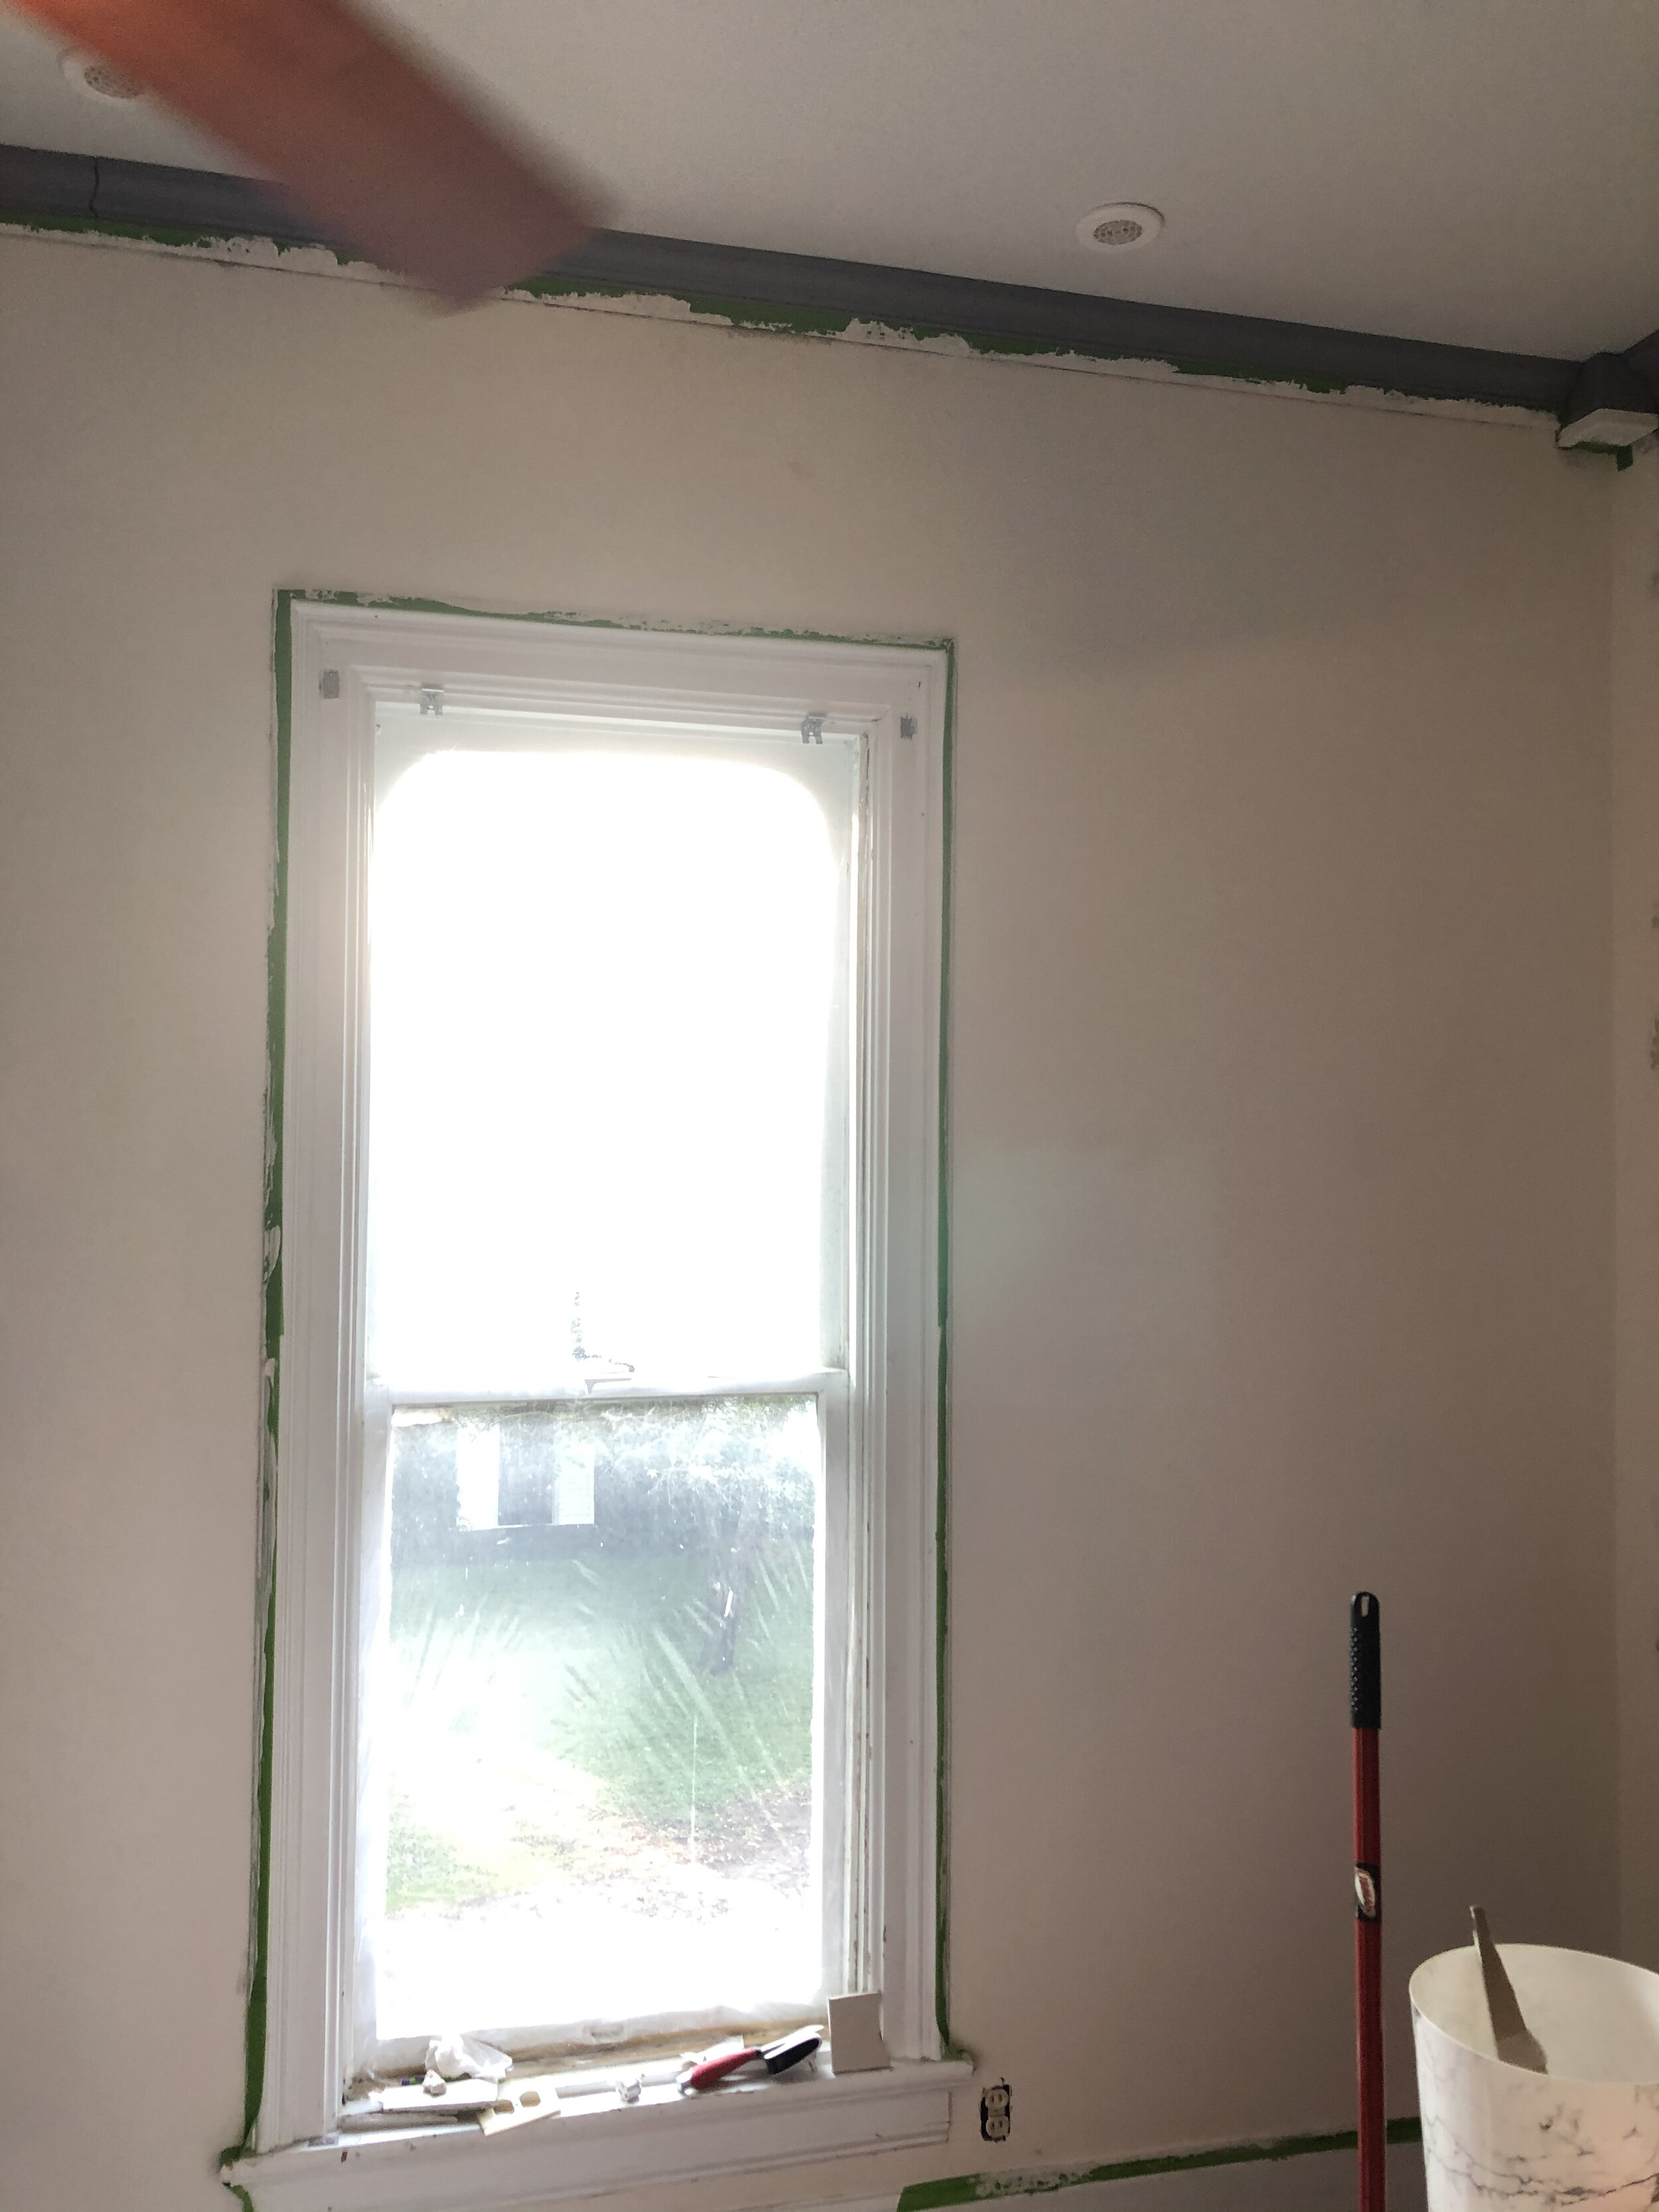
Next, tape off your millwork with painters tape, then tape plastic over the floor and up the sides of your baseboards so they are covered. The next step is to mix your Elmer's glue with water (50/50) in your spray bottle. Place the spray tip at each hole and give it a squirt or two. Doing this helps any plaster dust that might be left in the hole or on the lathe to soak up the mixture and harden. This is messy so have plenty of wet rags nearby and wipe down the walls as you go because the goal is for the mixture to leak out of the hole when you spray it in there to make sure you sprayed enough. Allow this to dry overnight (Stacy said she doesn't always wait overnight but it's 2020 and I wasn't taking any chances).
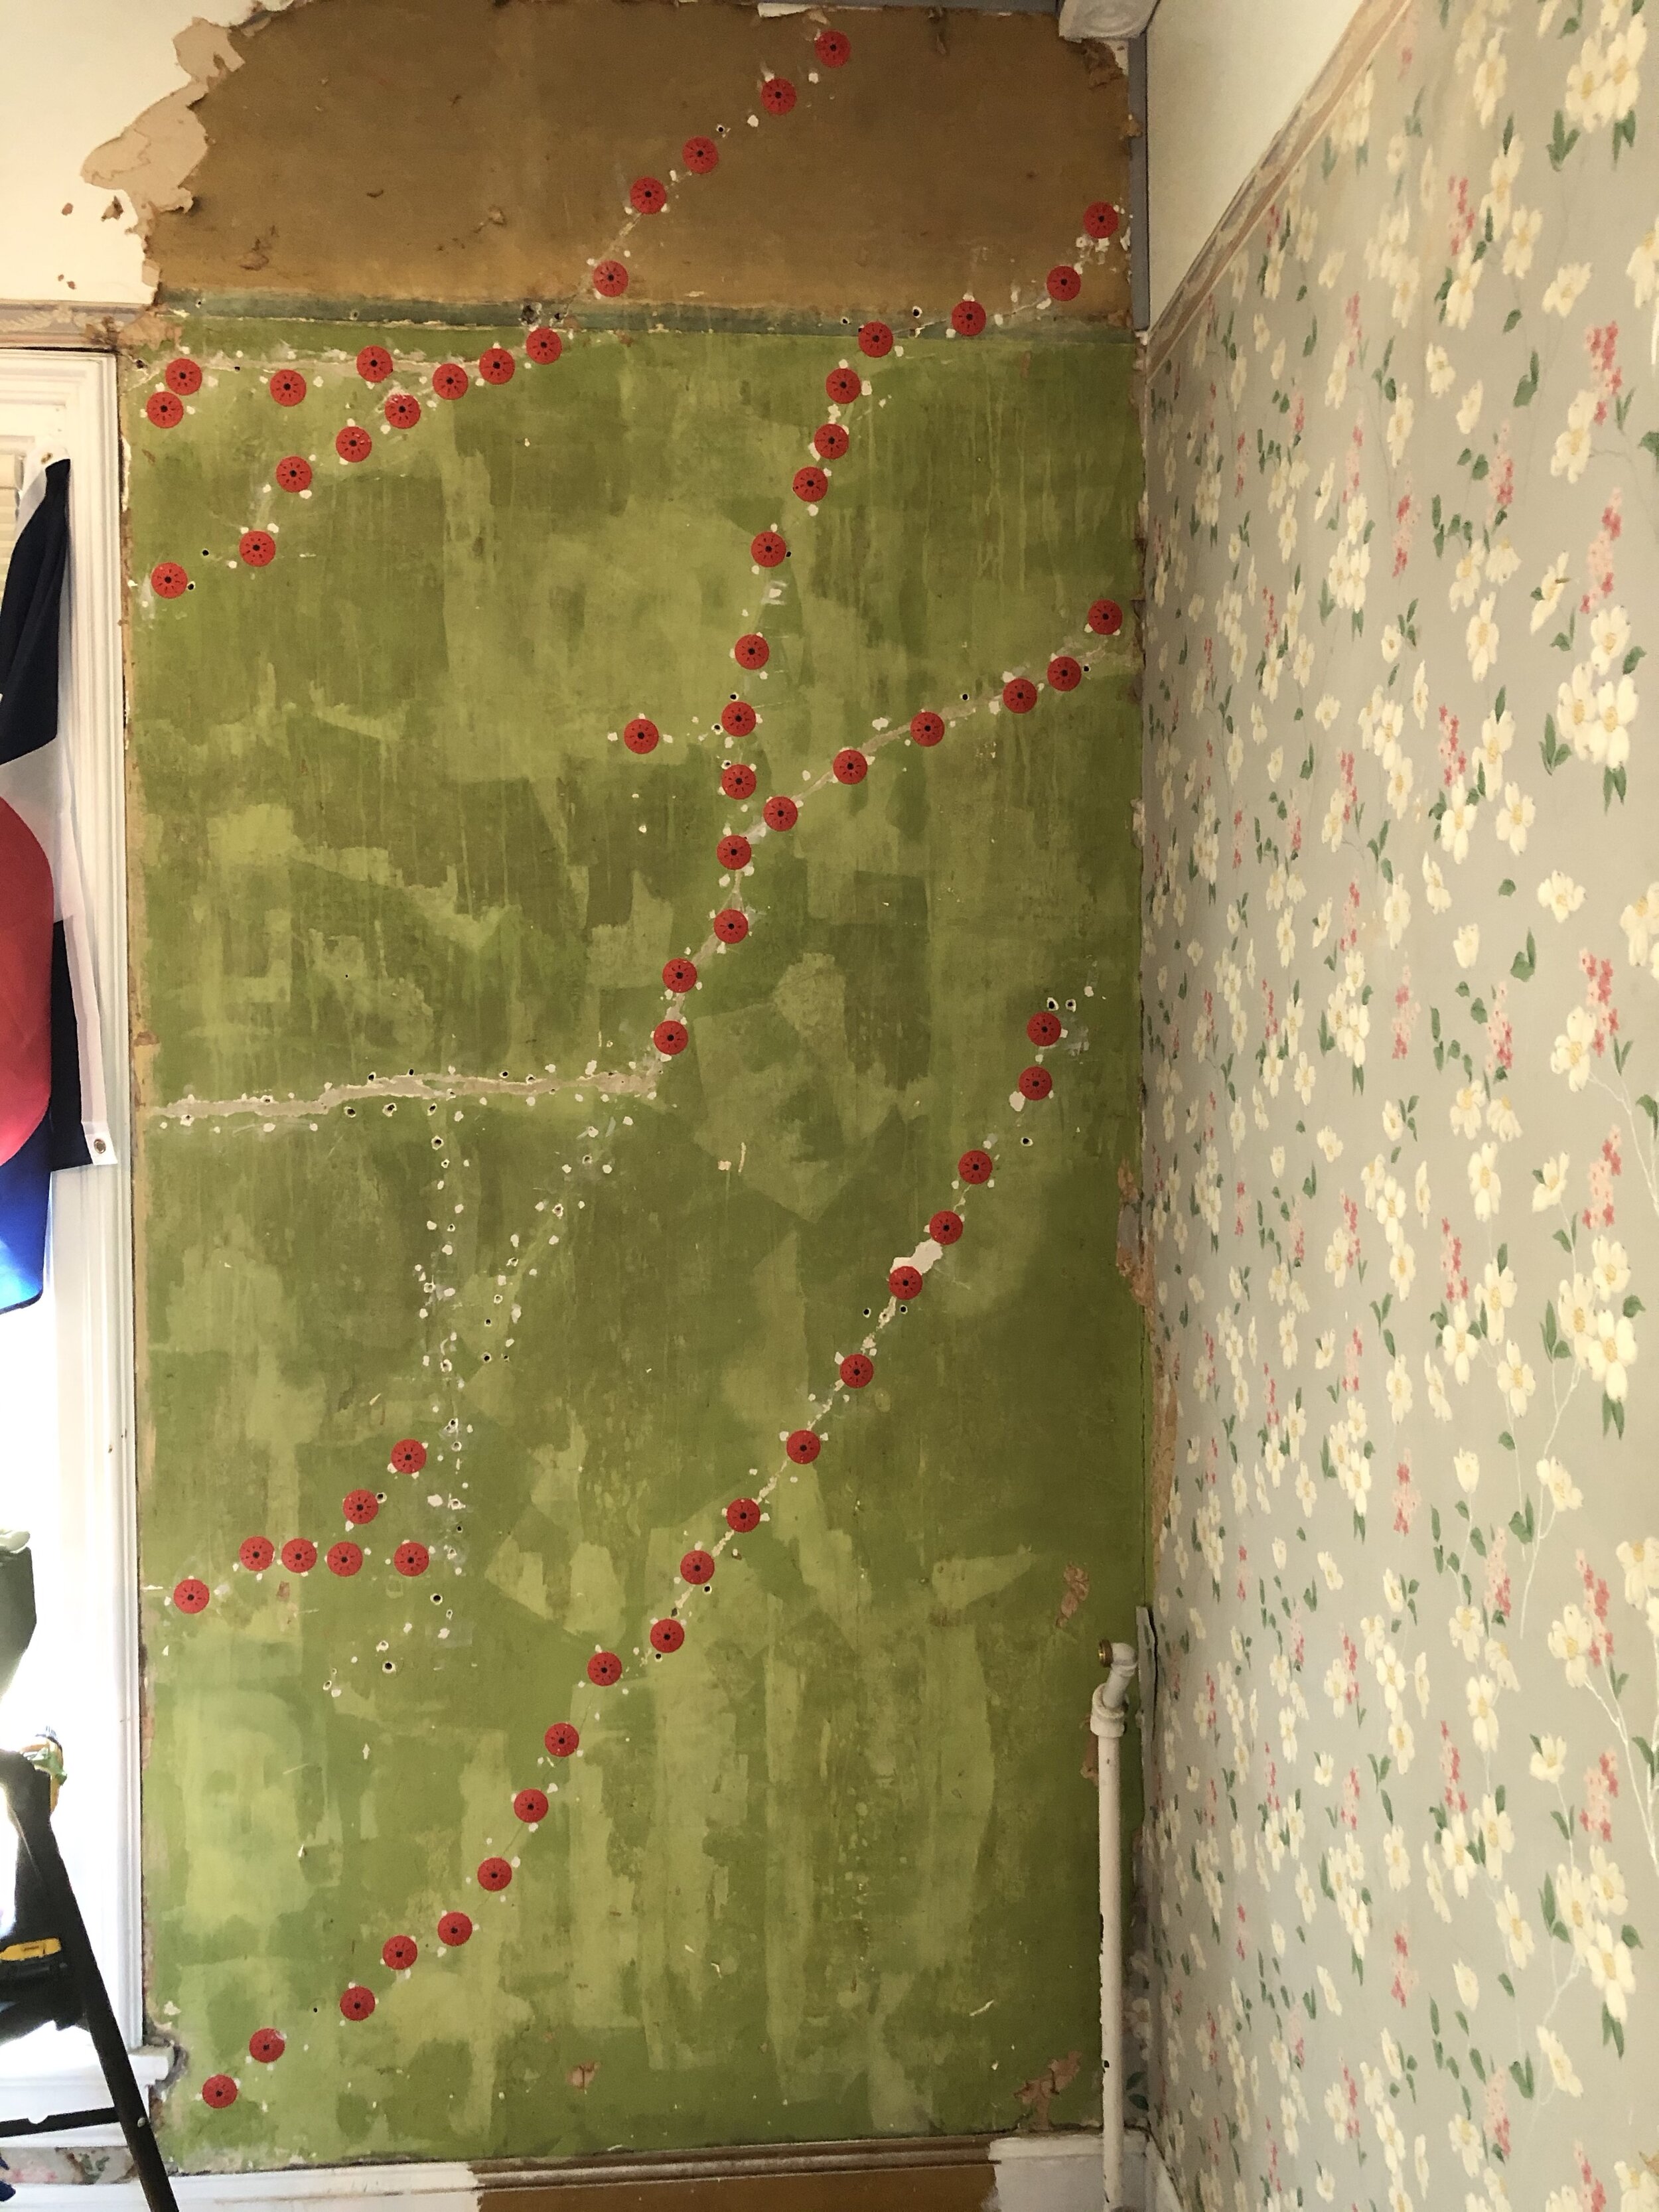
Now it's time for the Loctite. So much Loctite! Cut the tip of your tube to about the size of the holes you drilled. Lock and load it in the caulk gun and squirt it in the hole. The goal here is to make sure you get enough in there that it gets between the plaster and the lathe. Keep squirting until it starts to ooze out of the hole and stop. If you're working solo, do about 1-2' of holes at a time. Once you have those holes filled you need to use the plaster washers and a screw and screw one in between each of the Loctite holes or fairly close to them making sure that you are screwing into a piece of lathe. You will see that the plaster actually gets pulled tight to the lathe when you do this. Once you have that section done, using your putty knife, scrape away any excess and clean the knife on some paper towels. Keep doing this same thing until you've filled all of your holes, avoiding the ones that you circled. Let sit overnight. I made the mistake of only ordering two bags of plaster washers so this was a long process broken into sections, we're talking weeks. Order extra washers. Once the Loctite has set you go back and remove the washers and your plaster has now been, mechanically re-attached to your lathe. Yay!
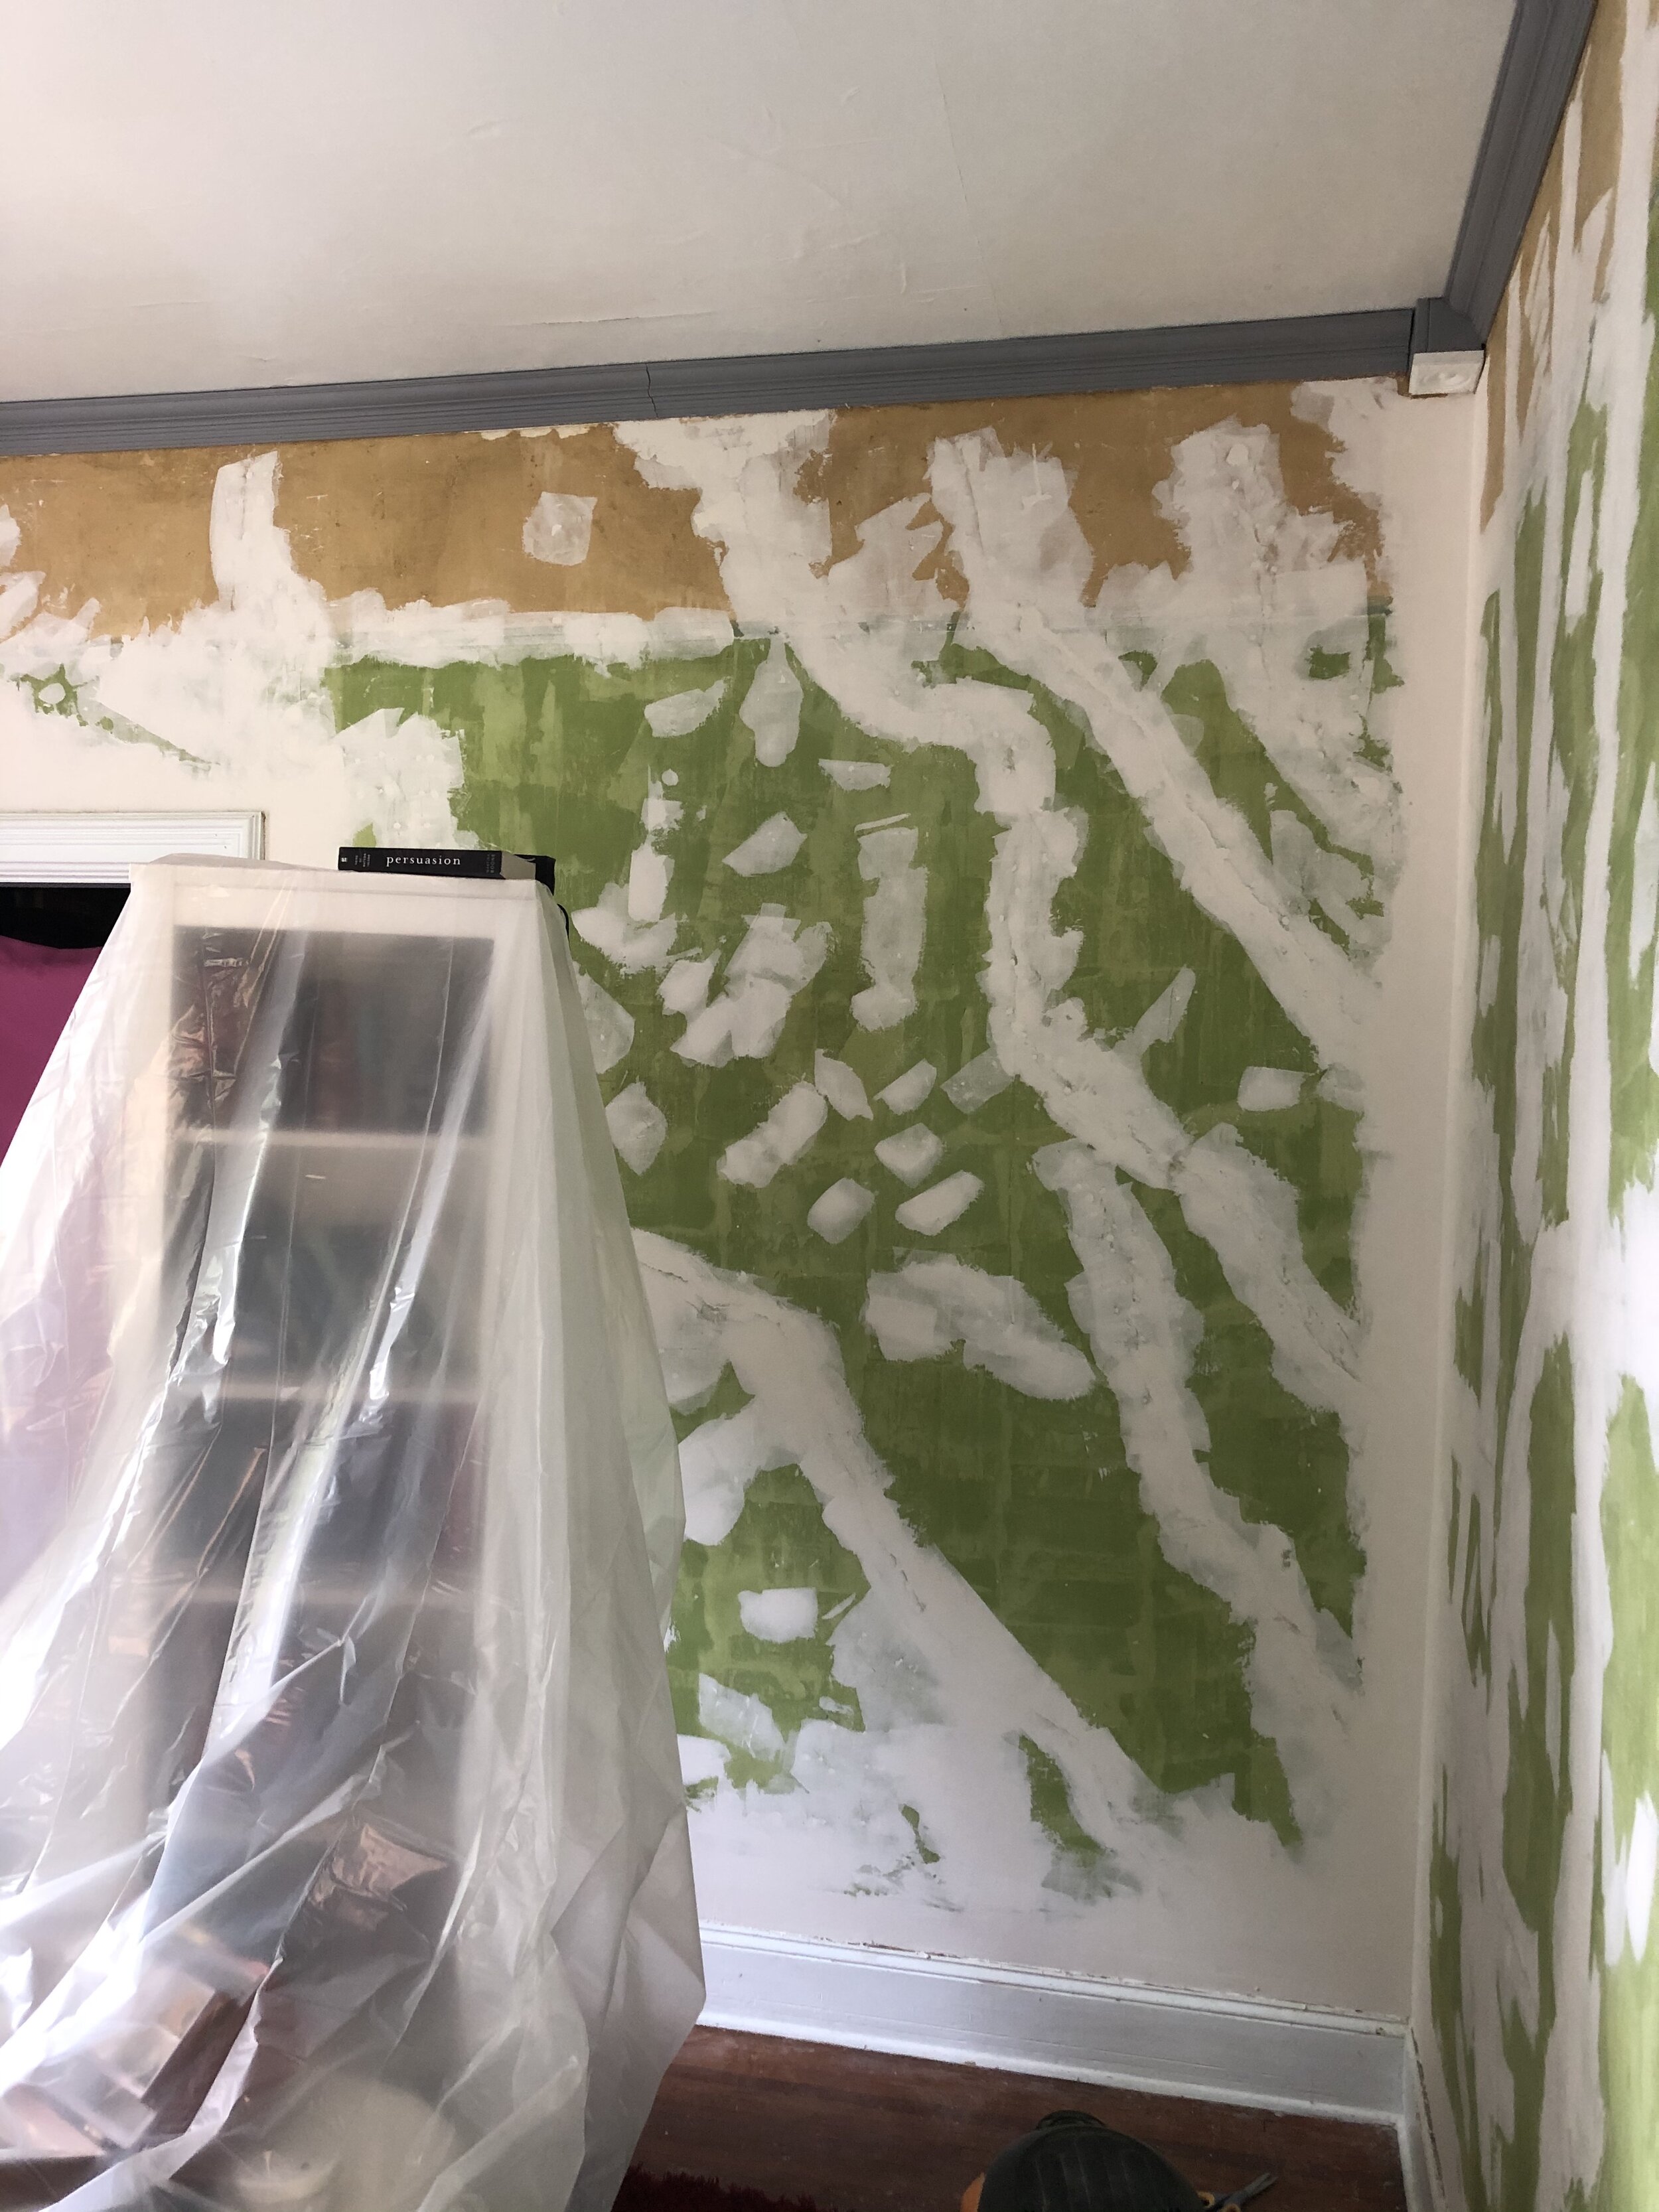
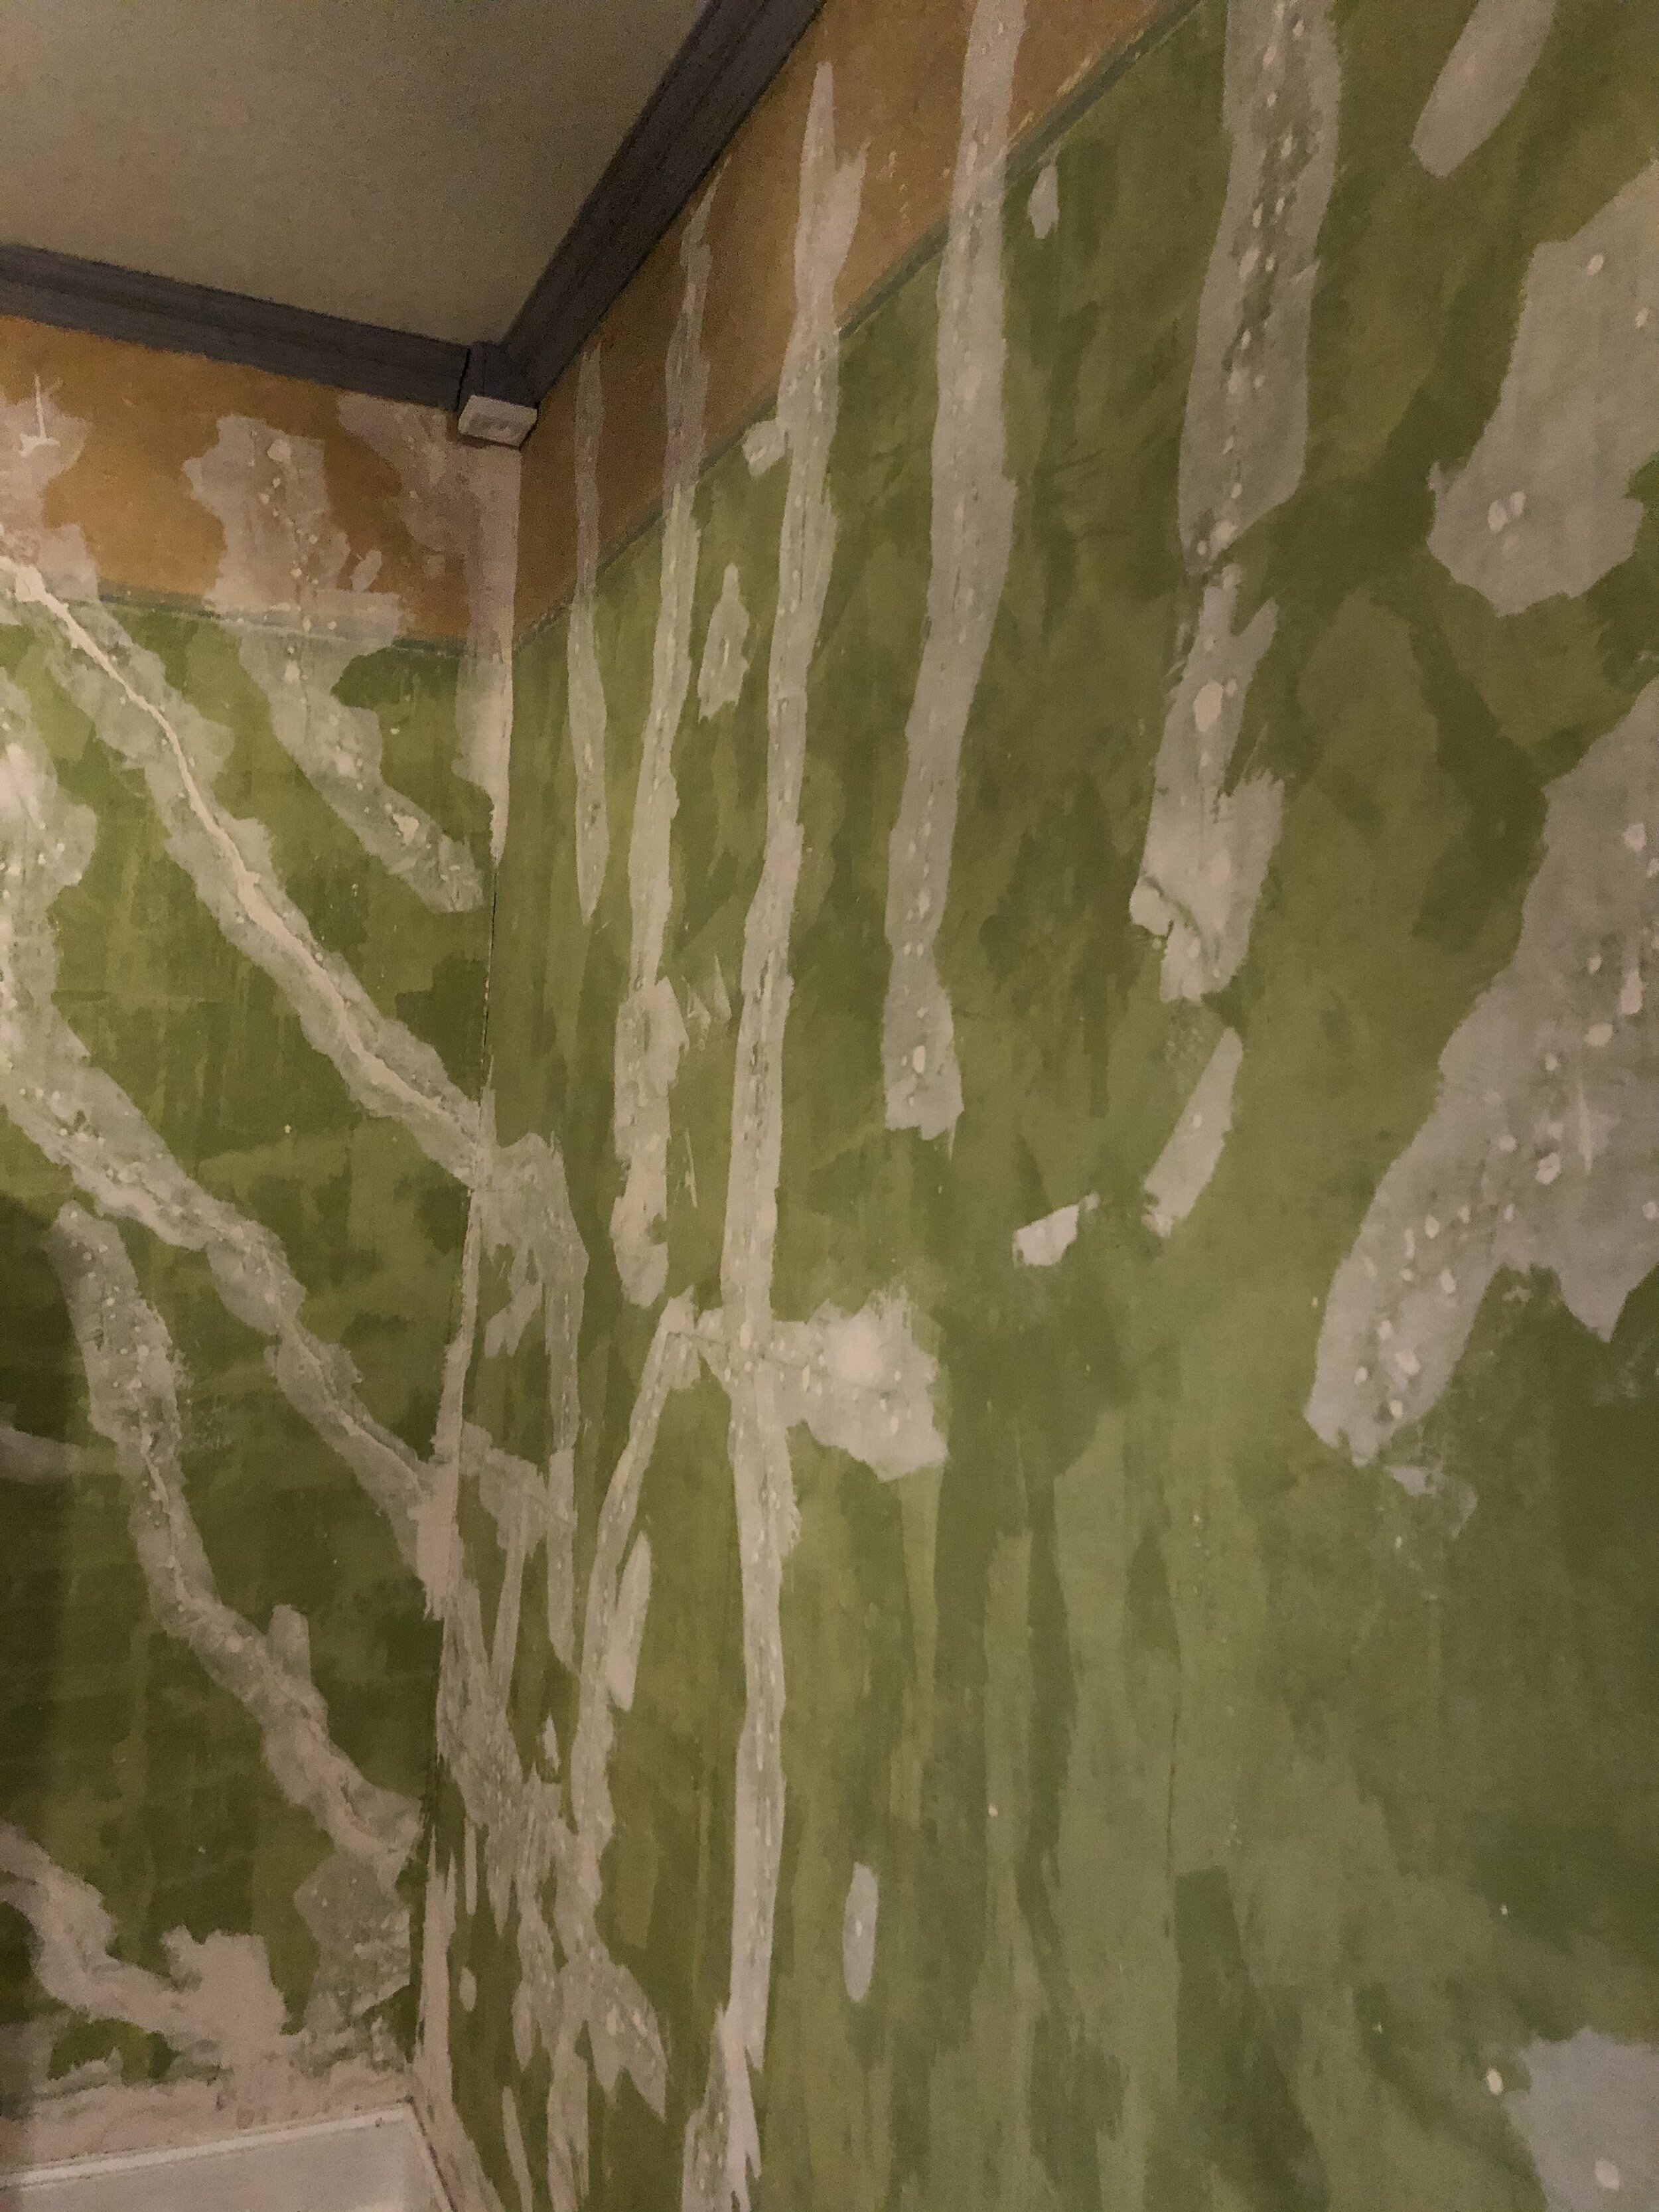
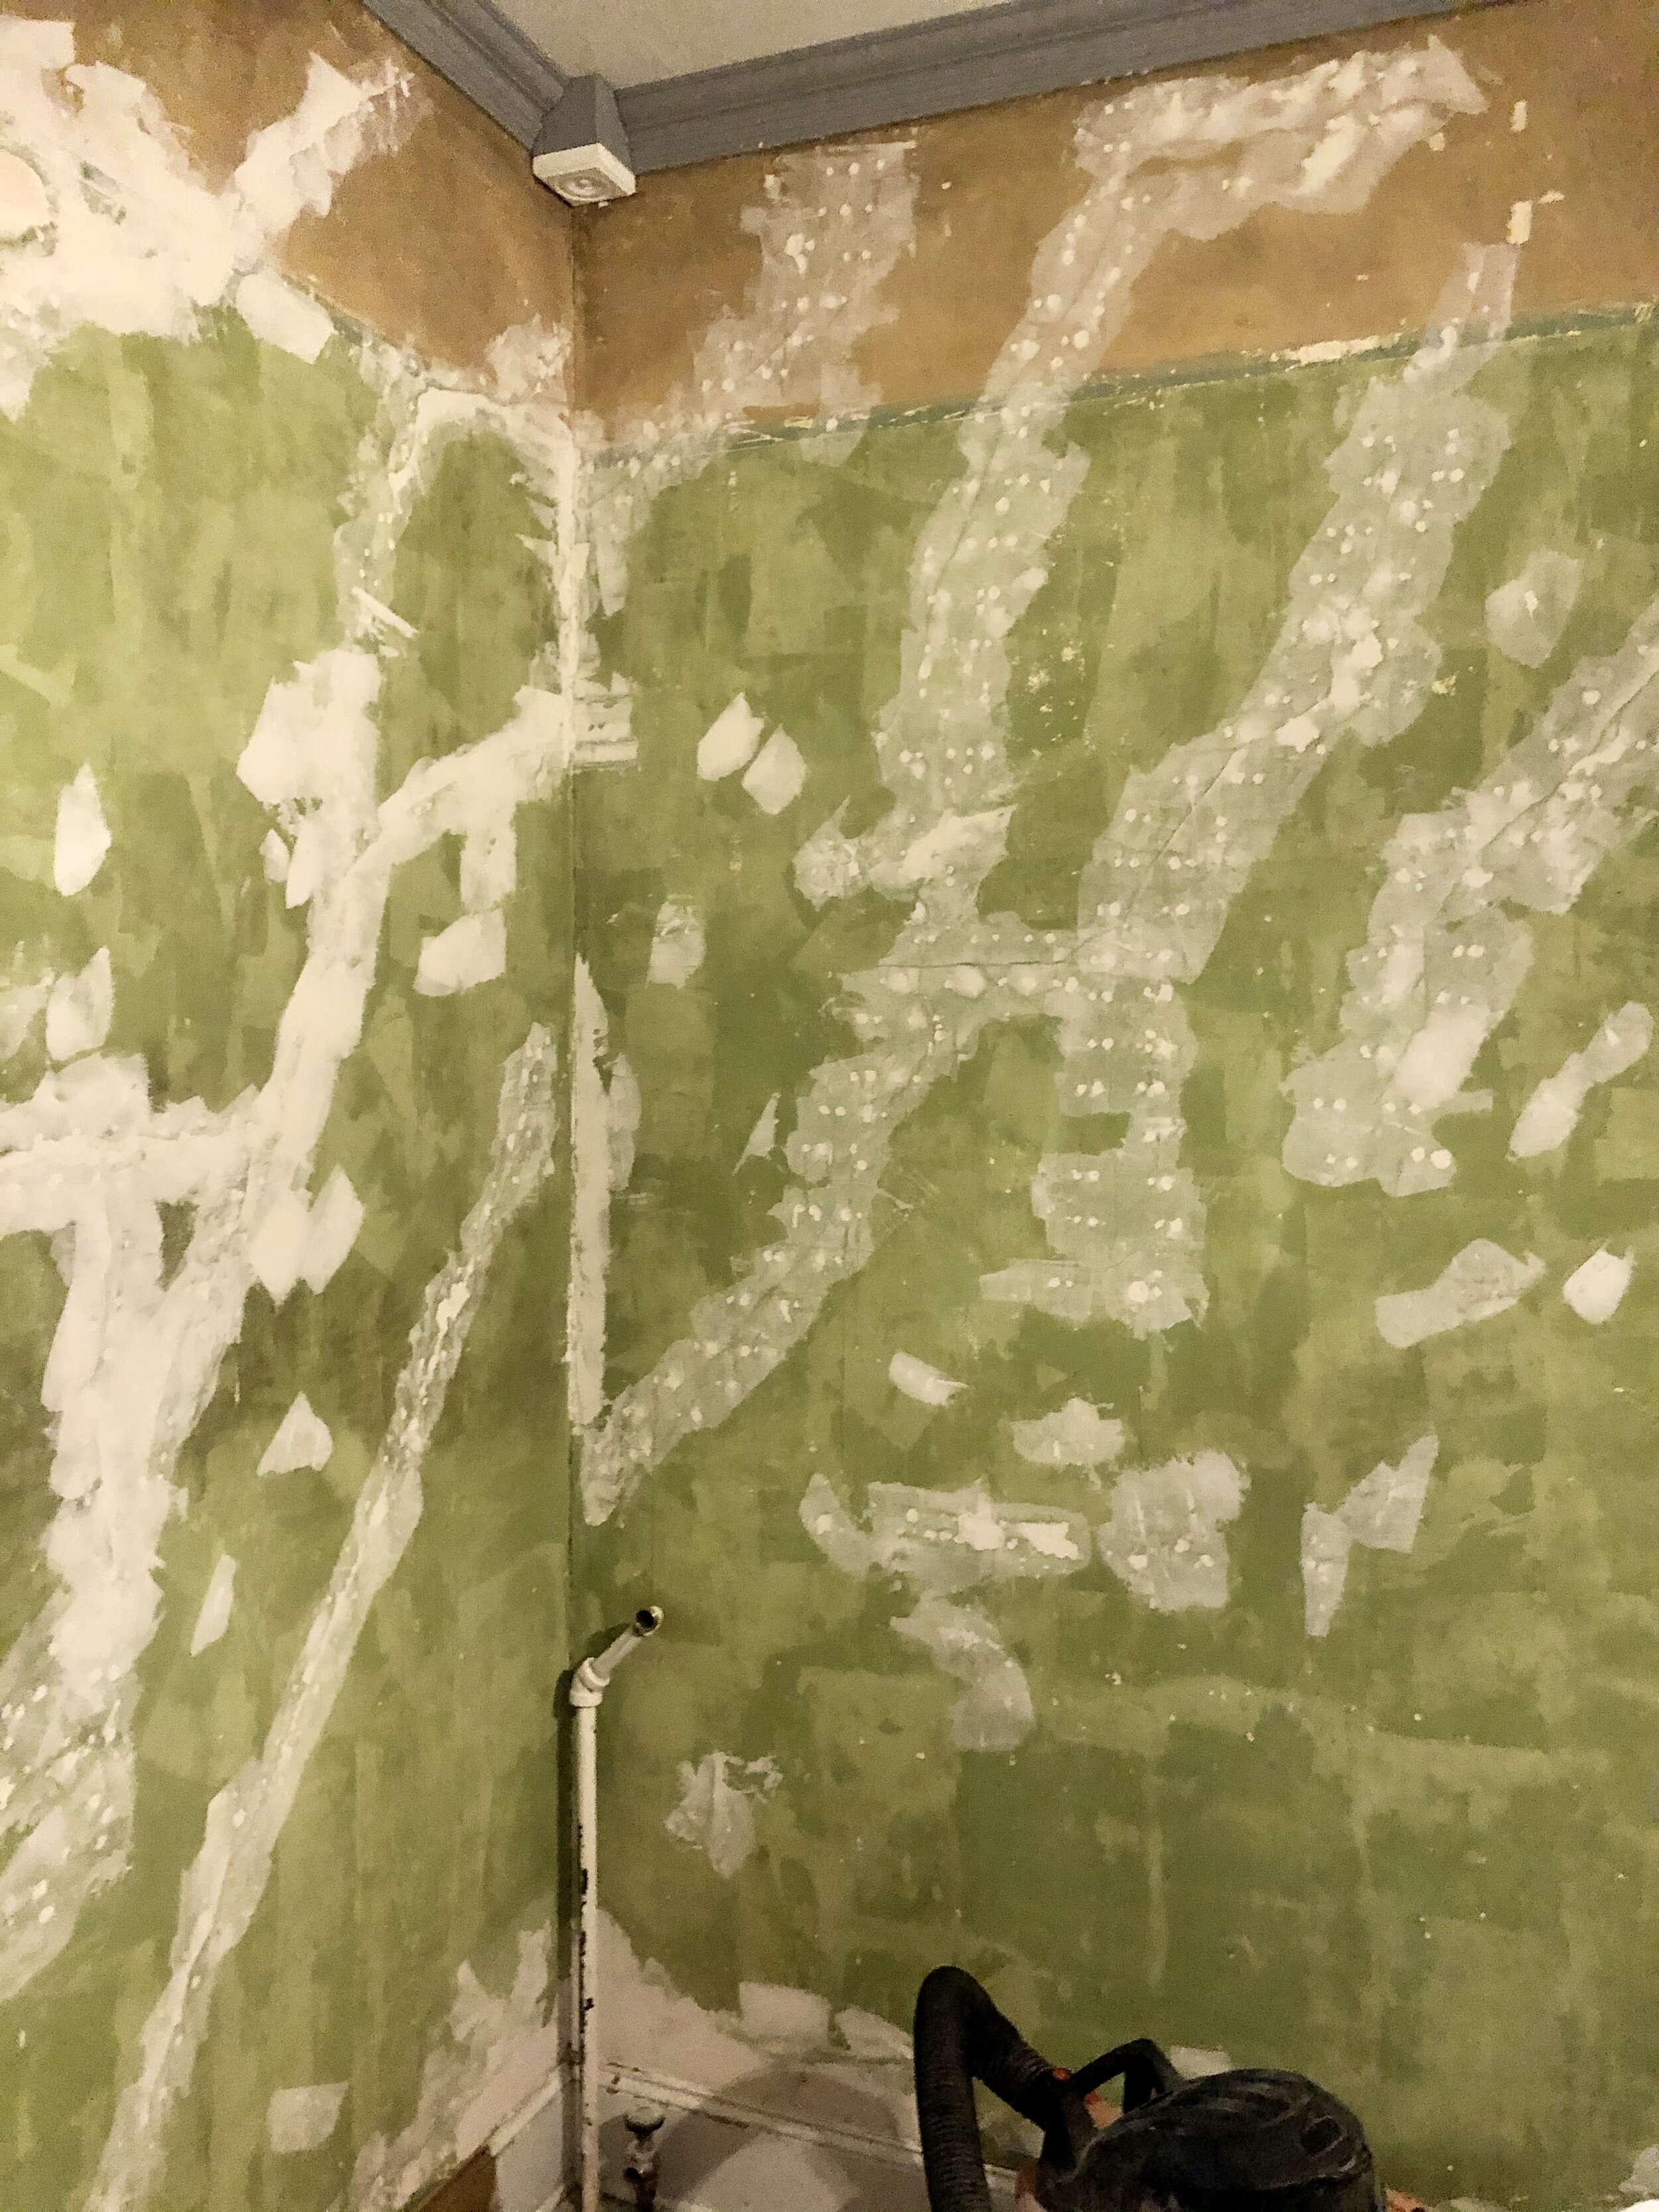
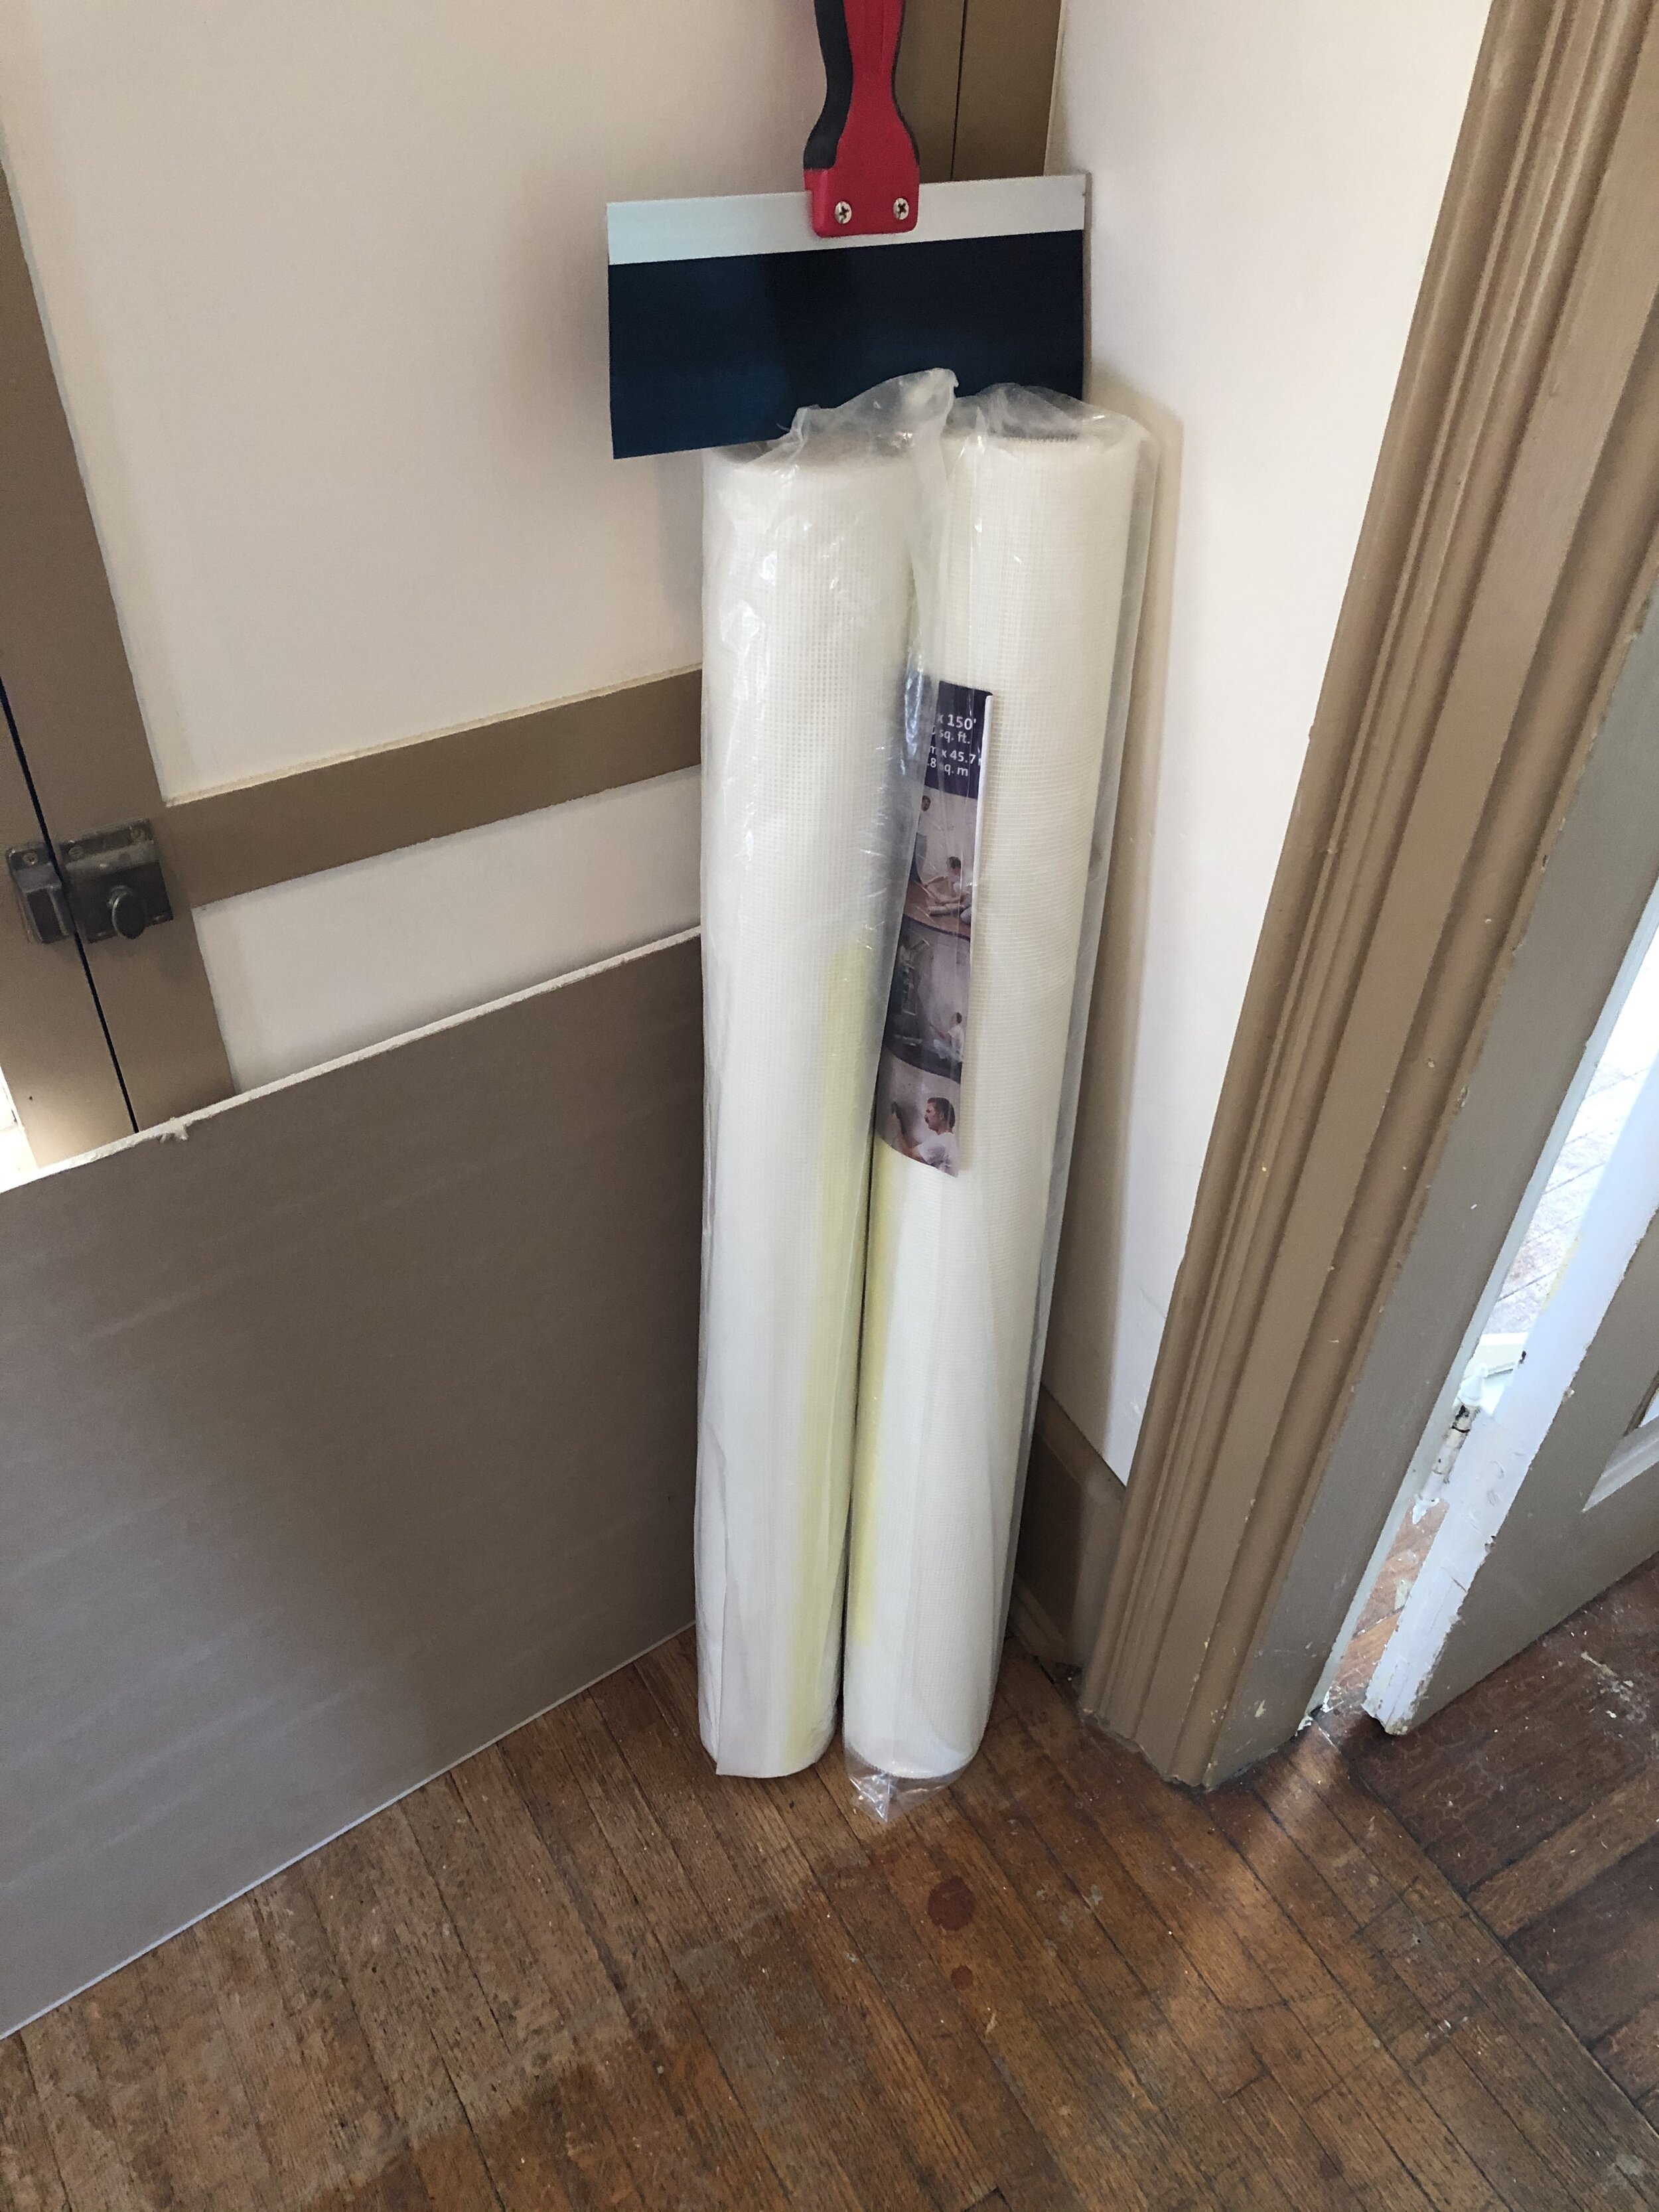
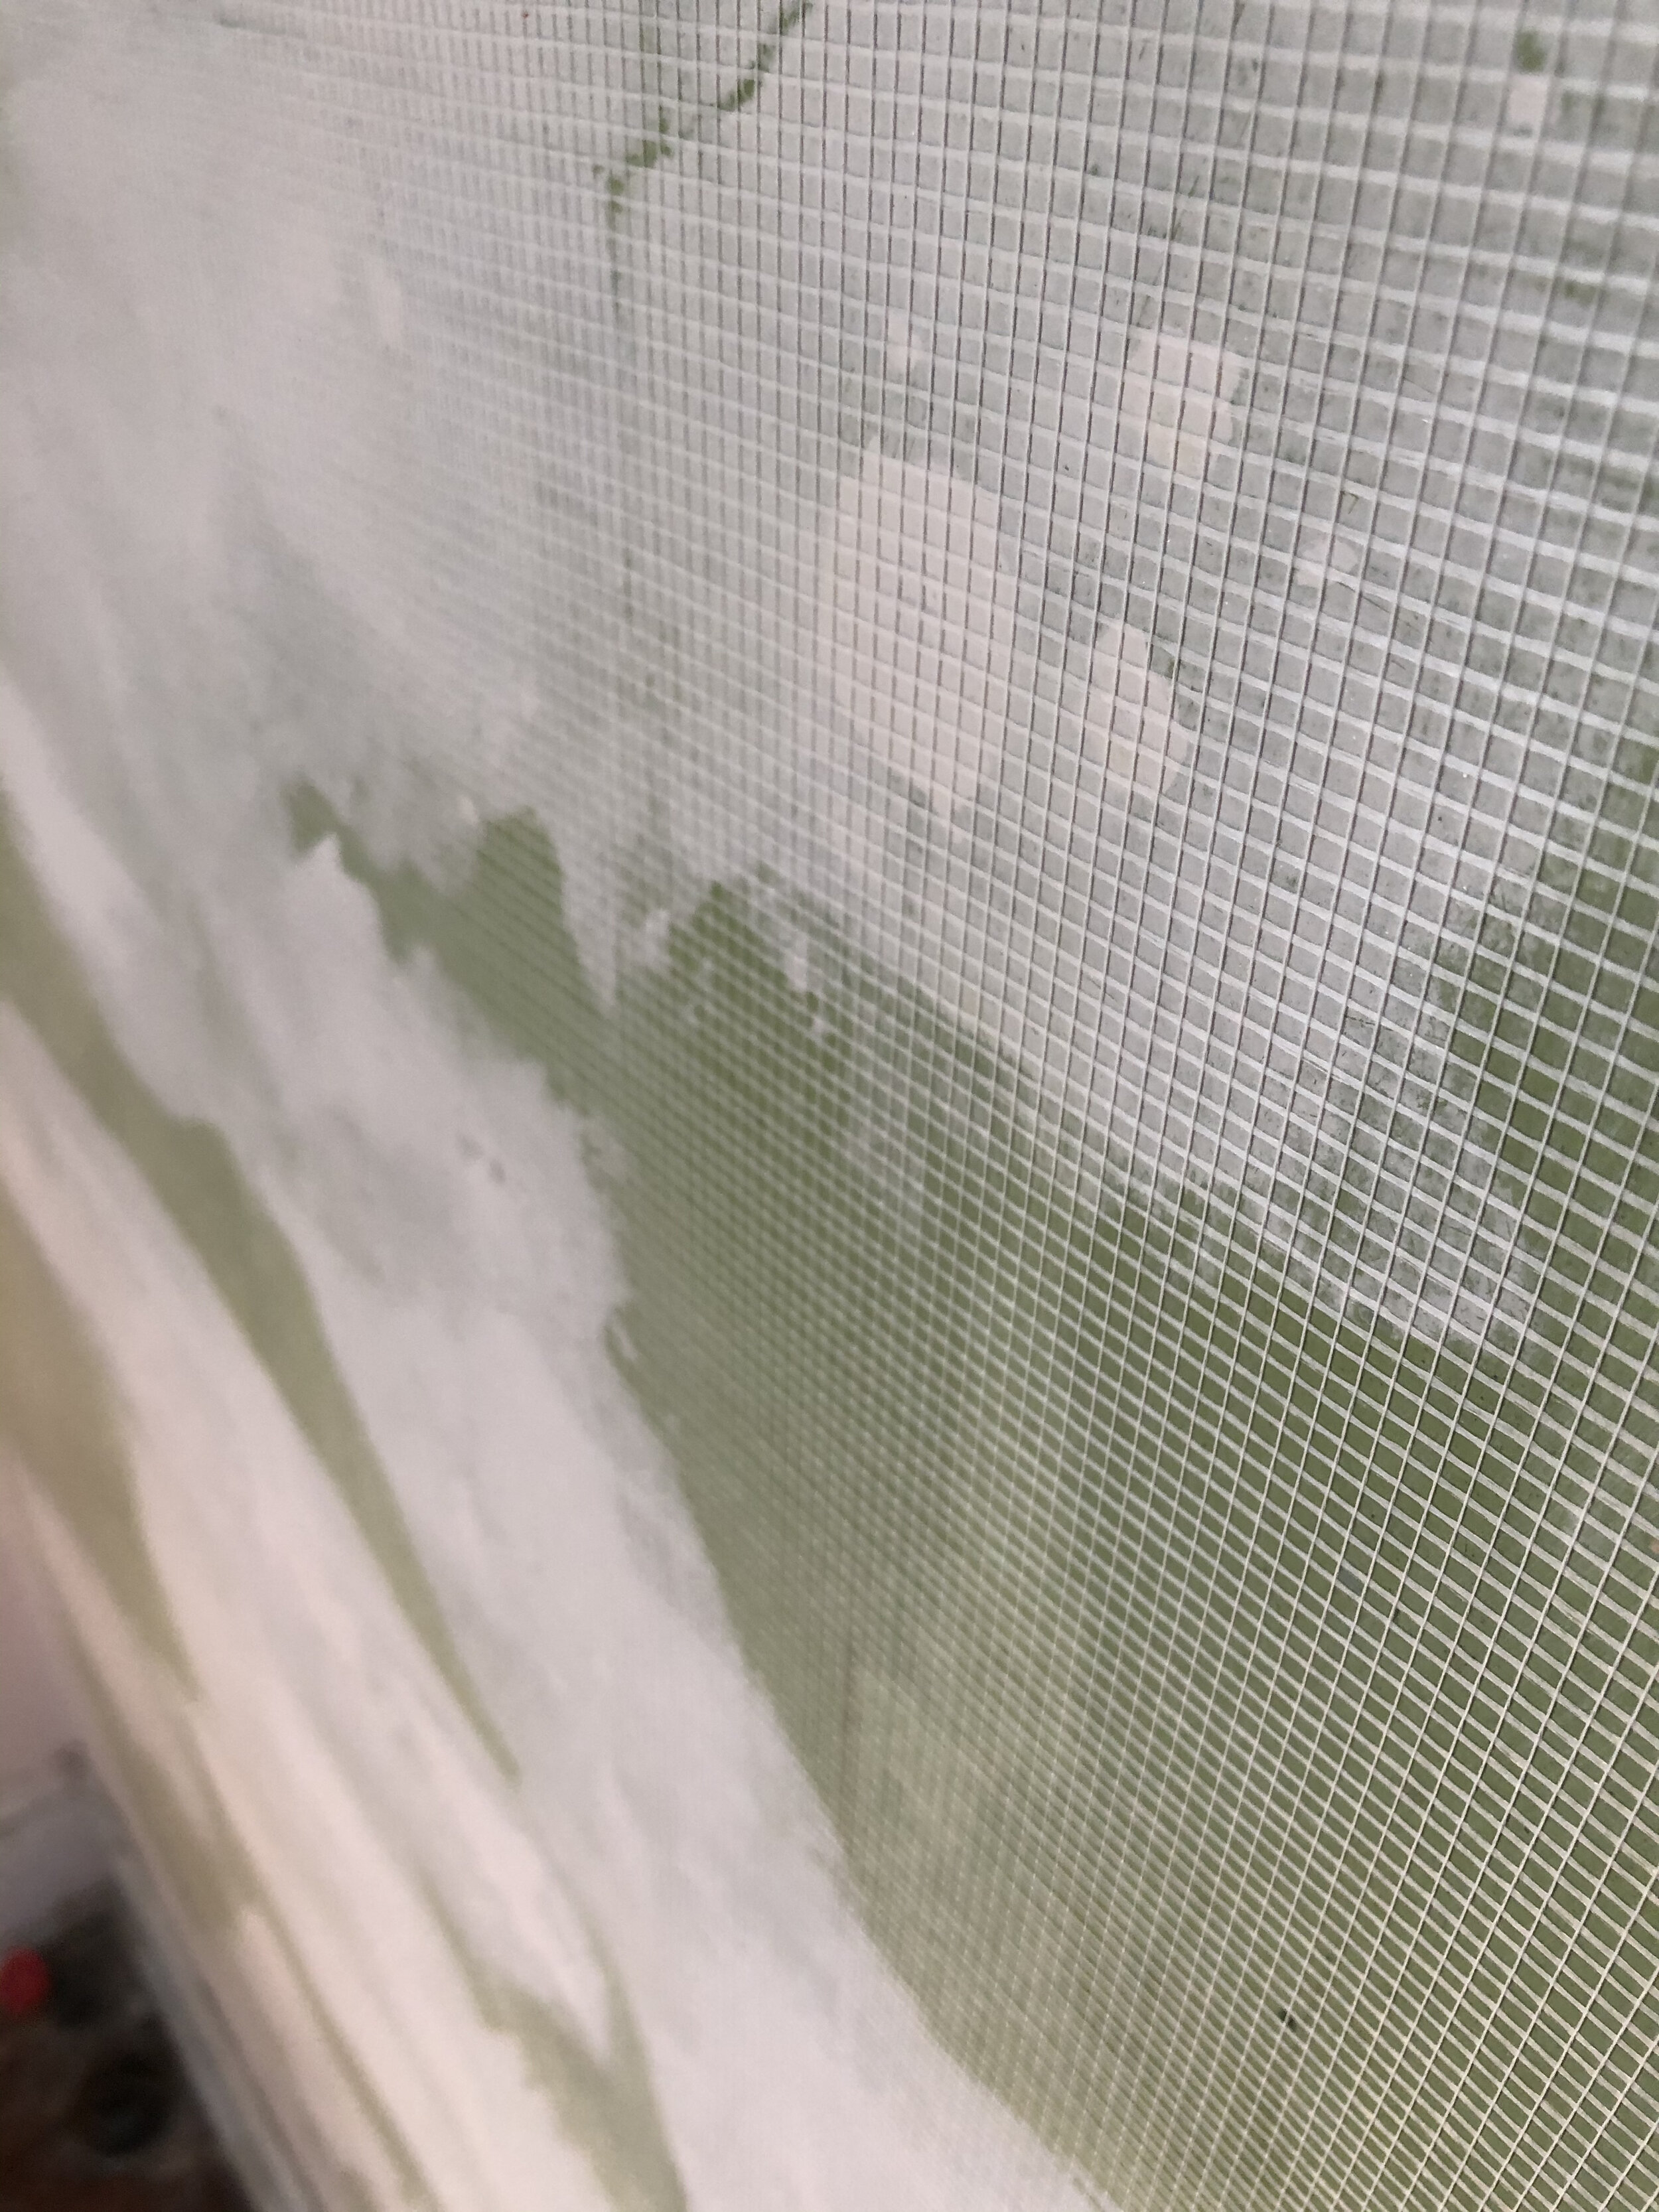
Once you have your plaster re-attached you are going to use a utility knife and a small putty knife to remove the questionable plaster in the areas that you had noted earlier. Re-attaching the plaster around these areas helps to keep the plaster from continuing to fall apart outside of the affected area. Using 3/8" drywall I cut pieces to fit into these areas and screwed them in place with the drywall screws. No, it will likely not be perfect squares so just scribe the drywall to whatever it looks like and patch it in. Shop vac as necessary. You will want to fill in any crevices and junctures where you patched in drywall with thin layers of drywall mud until the walls are level. Next, scrub your walls good with TSP and then with clean water. Our walls appeared to have color in the original plaster under the 3 layers of wallpaper. If you are dealing with painted walls you may want to prime them before moving on, we did not. We decided to be extra through and also covered all of our walls with FibaTape fiberglass mesh once they were cleaned. Theoretically one could skip the plaster repair process above and just use the fiberglass mesh but I'm not much for taking chances. You can also use a window screen, which I'm guessing is considerably cheaper and set that into a layer of drywall mud but if you want simplicity, the FibaTape is where it's at.
Having never done smooth walls before I was extremely intimidated by the next step. Googling I came across the Magic Trowel and thought that's just what we need, a "magic trowel". “Looks so easy, so easy any idiot can do this,'' they said. “It'll be fun,” they said! Dropped that in my Amazon cart and a week later we were ready to go. What a freaking mess! Skip the magic trowel, trust me on this one, just don't.
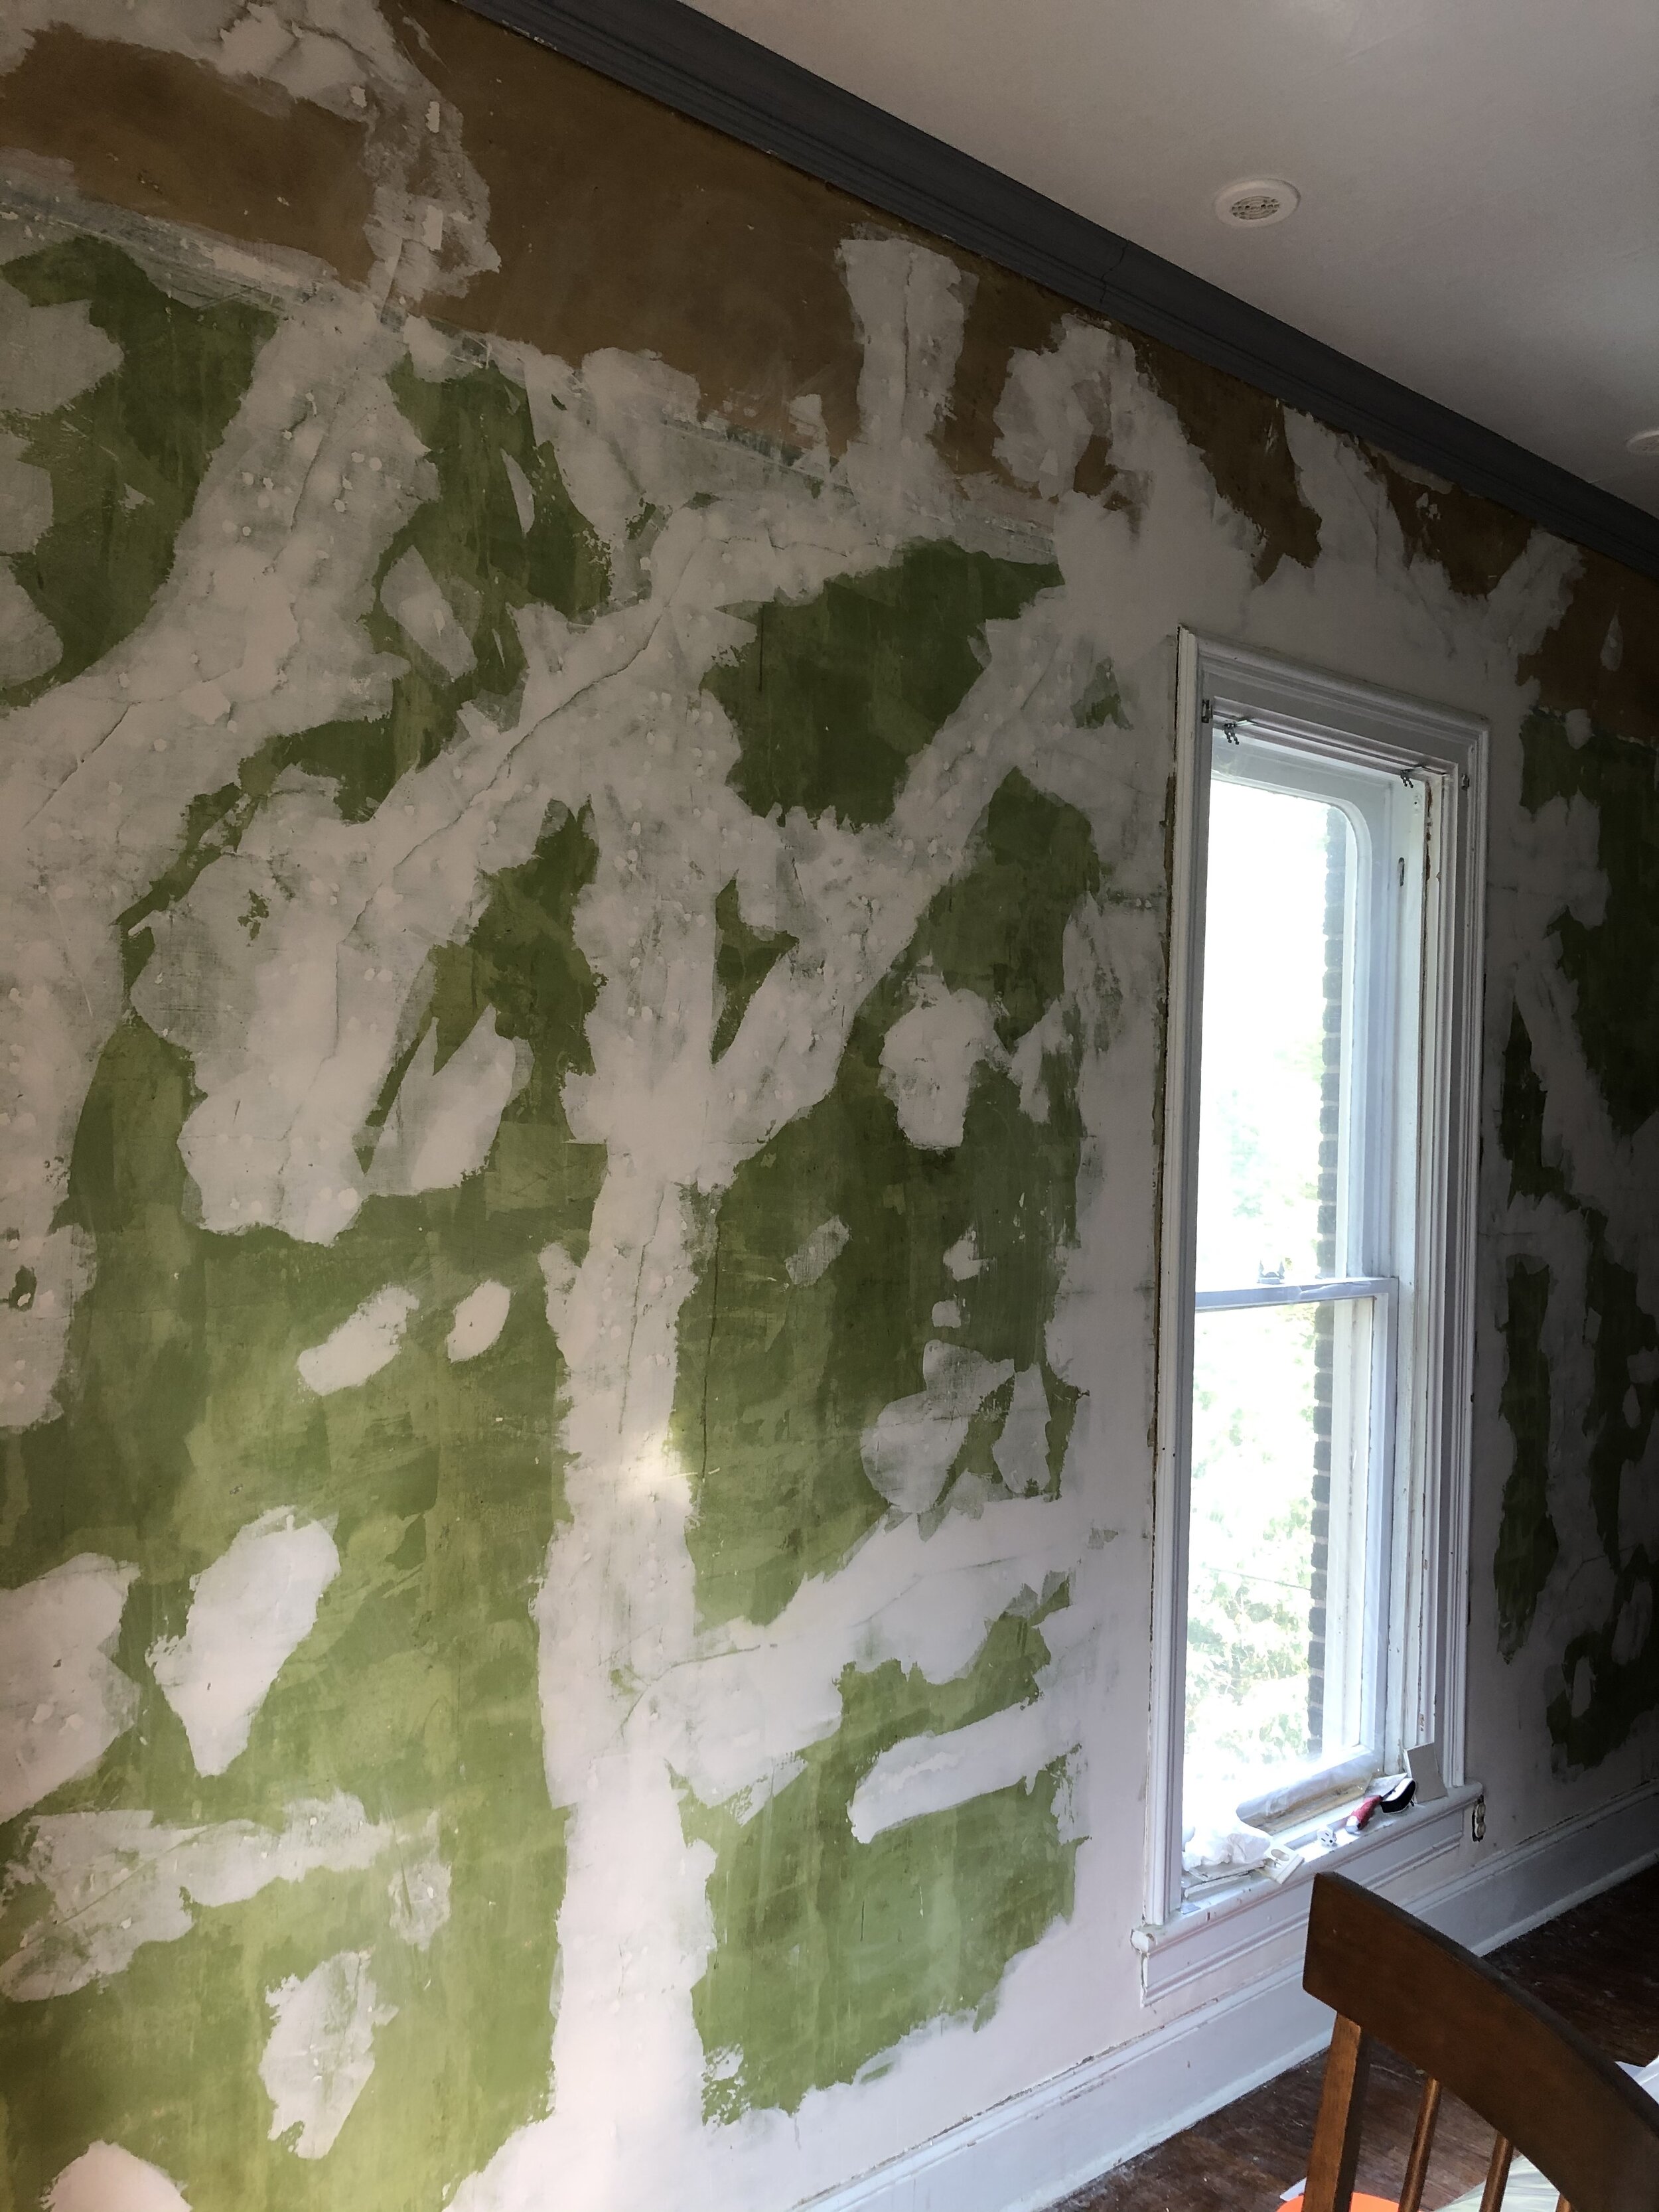
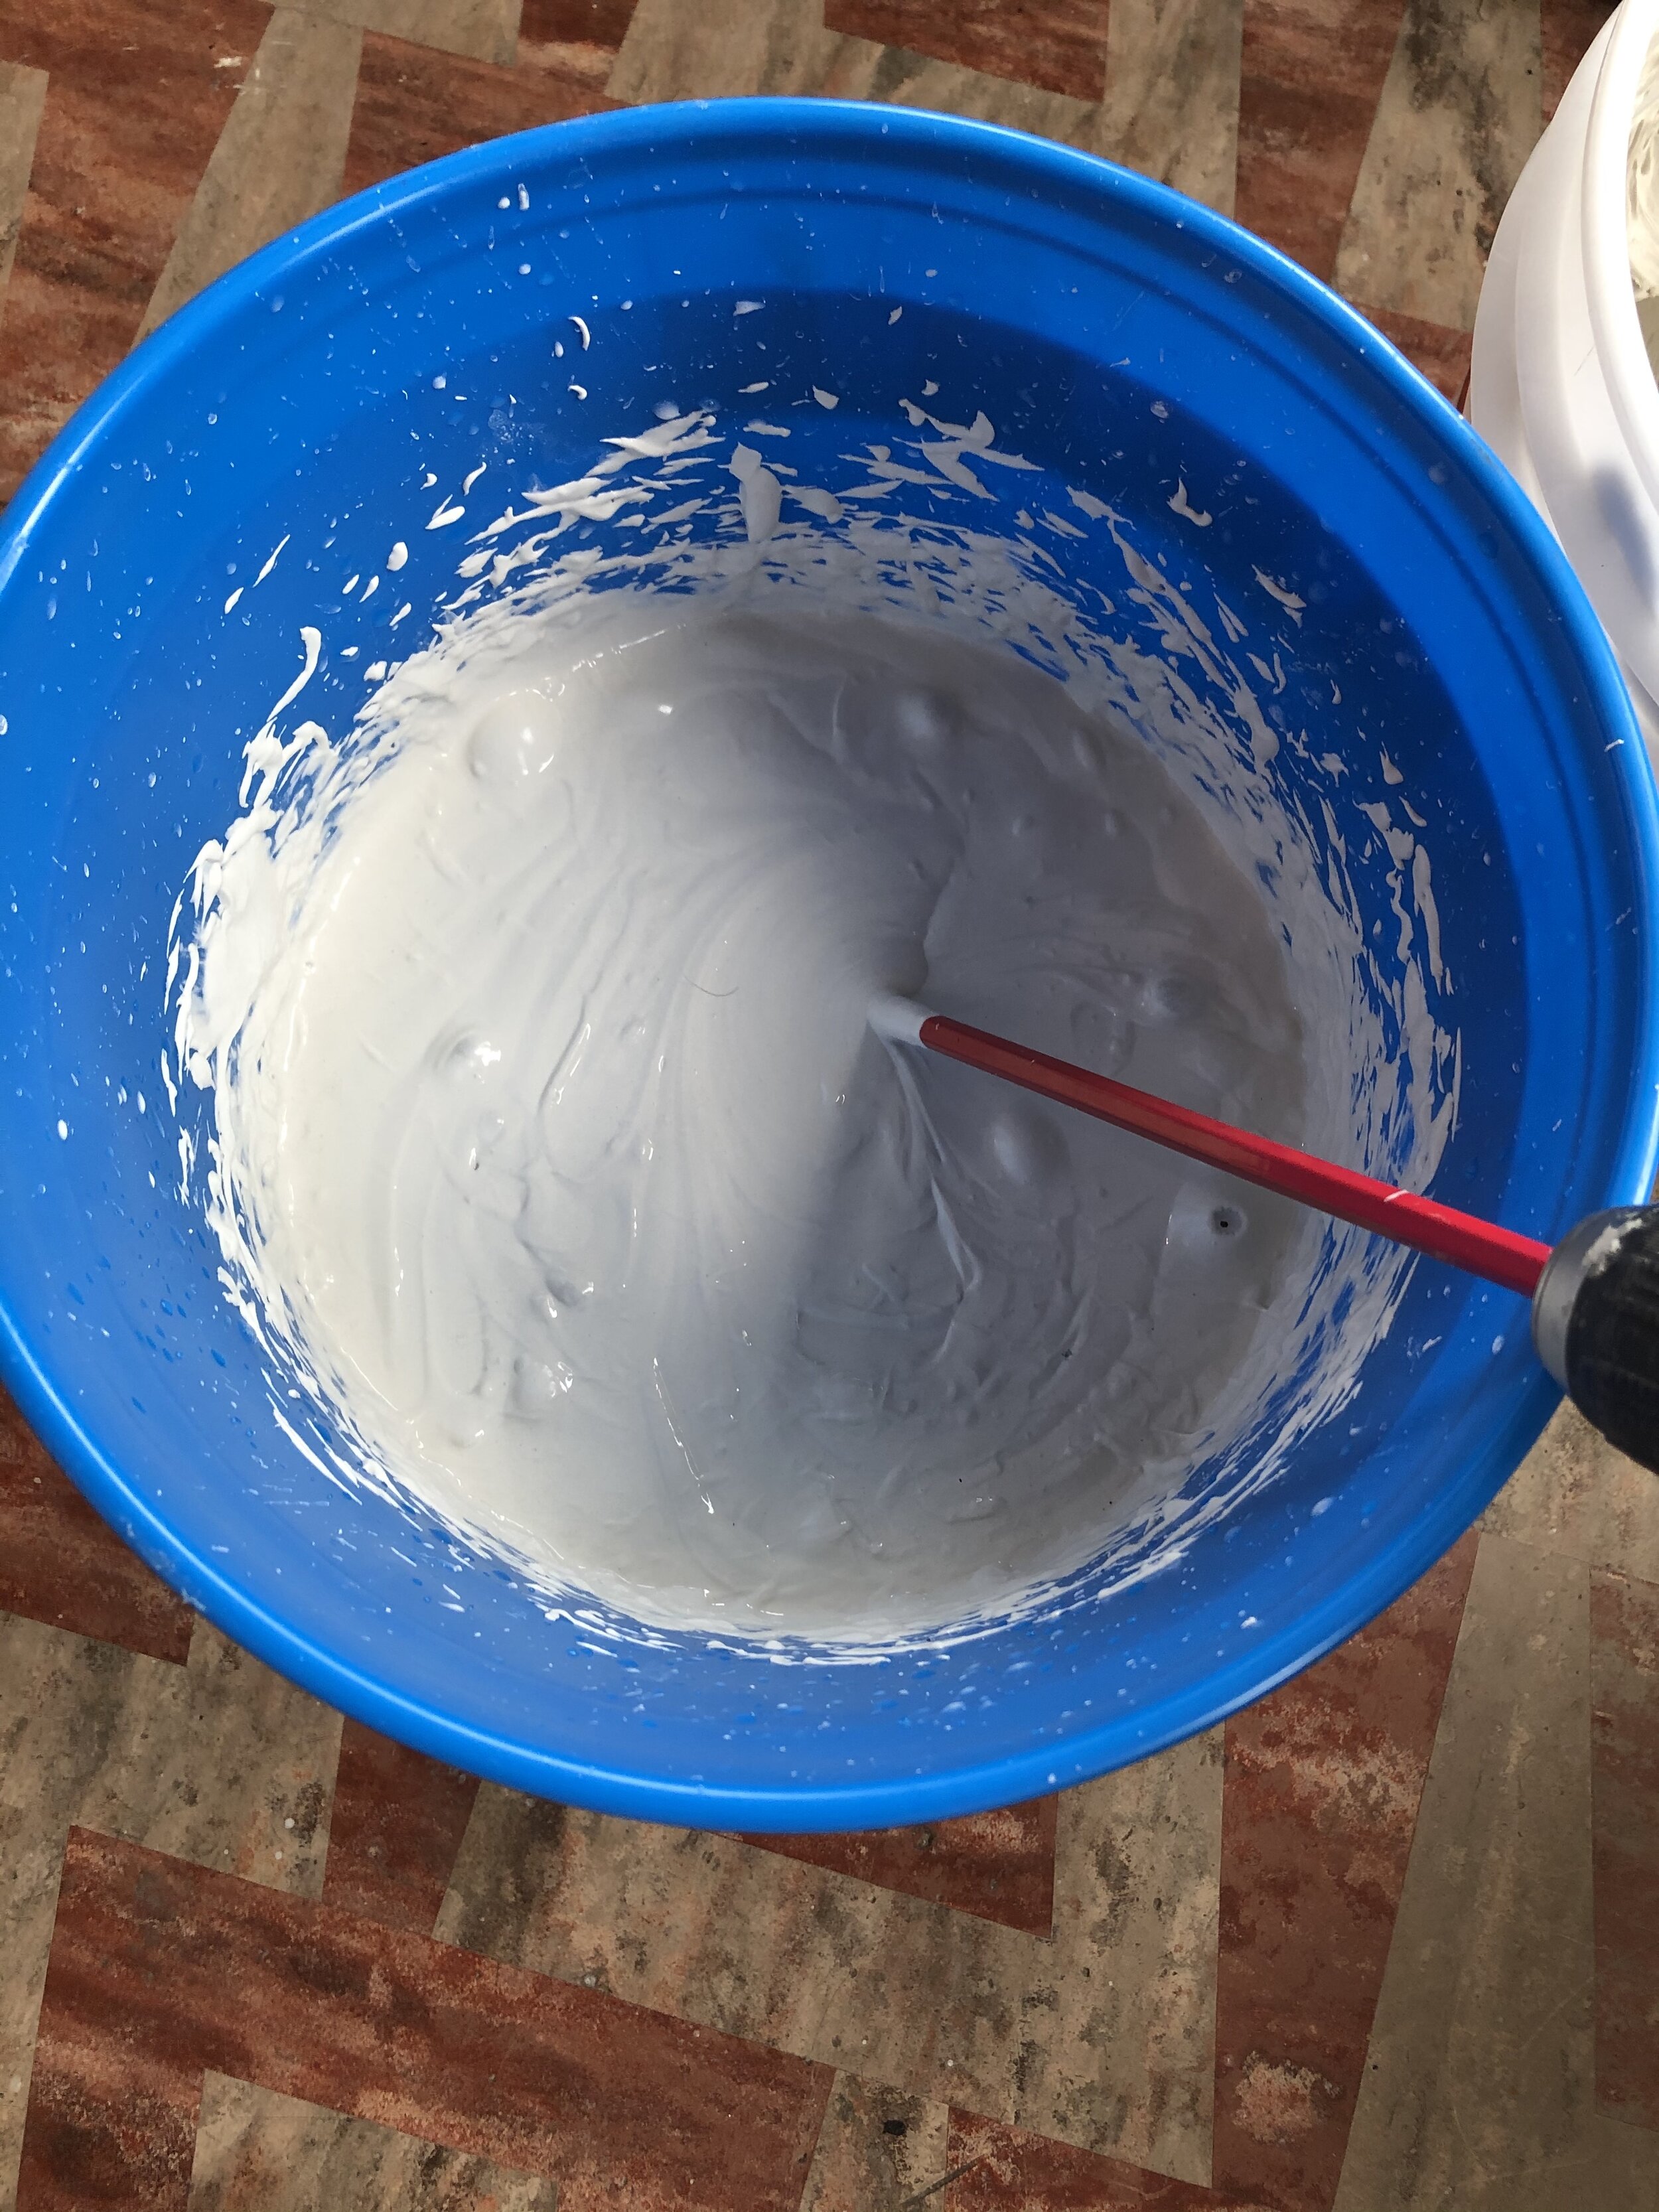
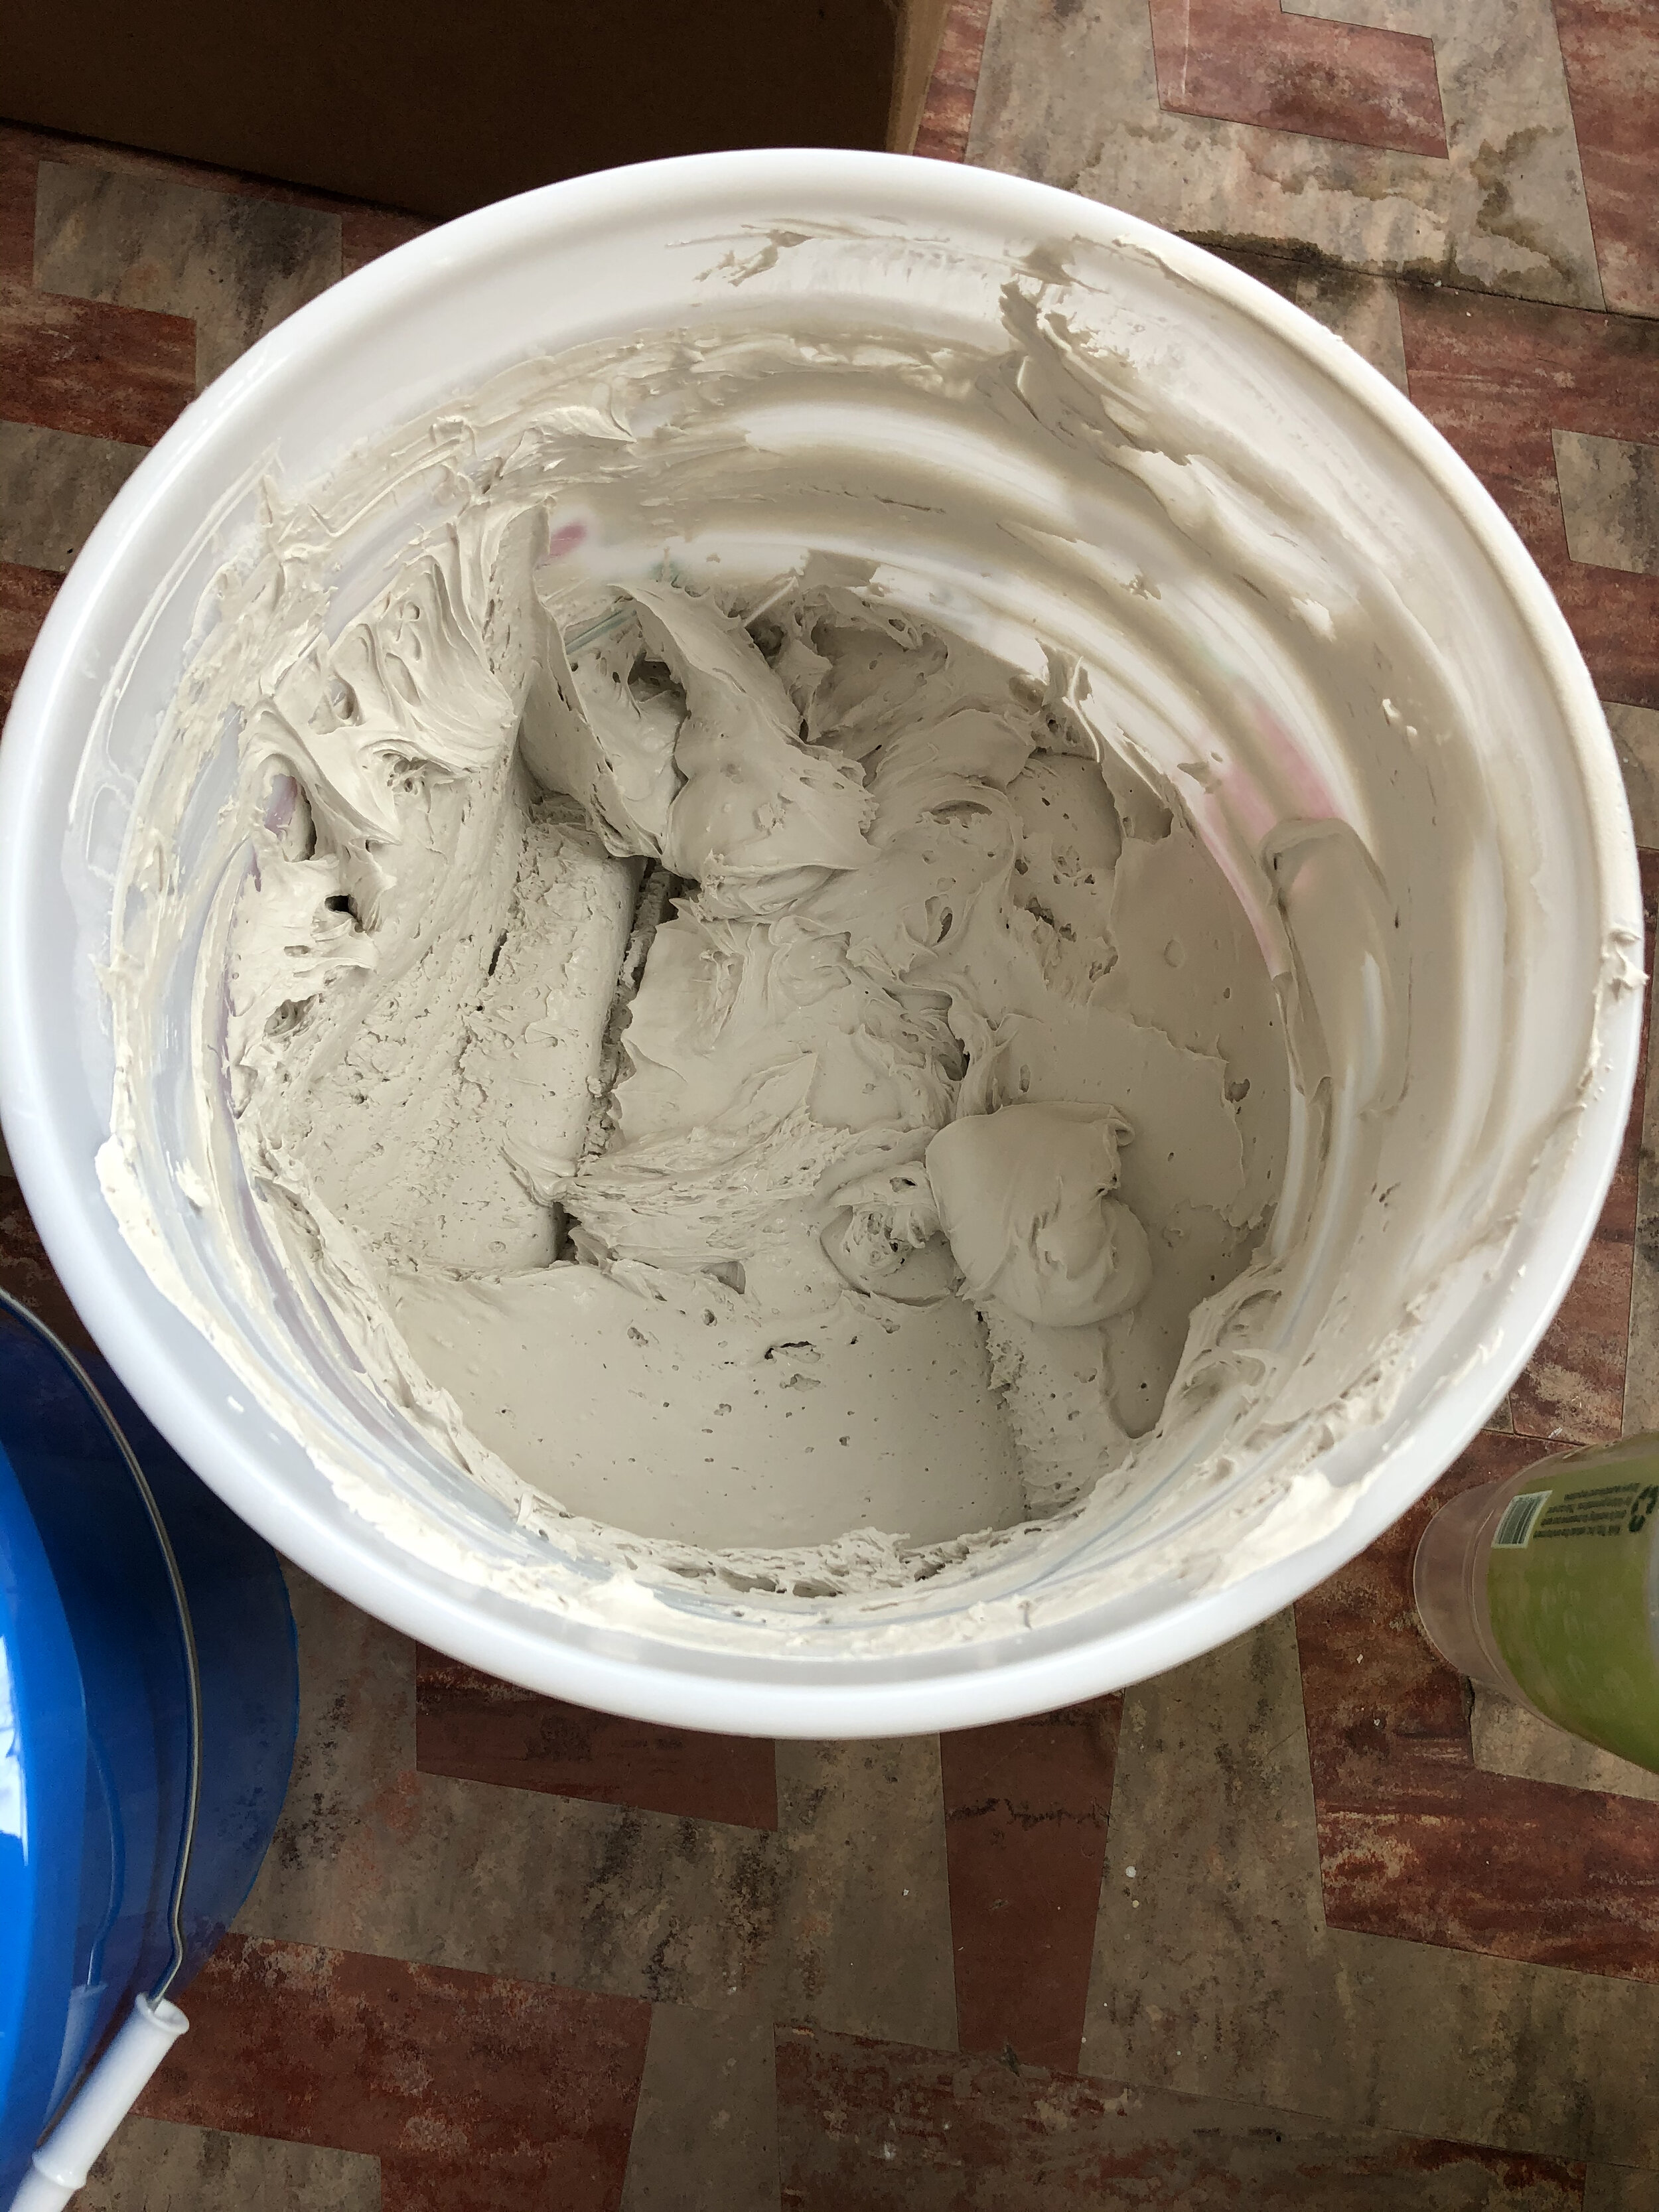
So after the Magic Trowel incident I turned to my trusty $15 drywall repair tool kit from Wally World and did exactly what David told me to do in the first place, very thin layers of skim coat. We used the premixed drywall mud in the green lidded bucket, thinned it down to yogurt consistency and away I went with my 12" drywall knife and mud pan. This is a workout with 10' tall ceilings. Slow and steady is the key here and thin layers, 4 of them to be exact, drying 24 hours in between coats, making sure you knock down any edges between coats with your knife. Once you are satisfied with the thickness of your skim coating use a drywall sander to lightly sand everything down. If you did thin coats this shouldn't be terribly time consuming.
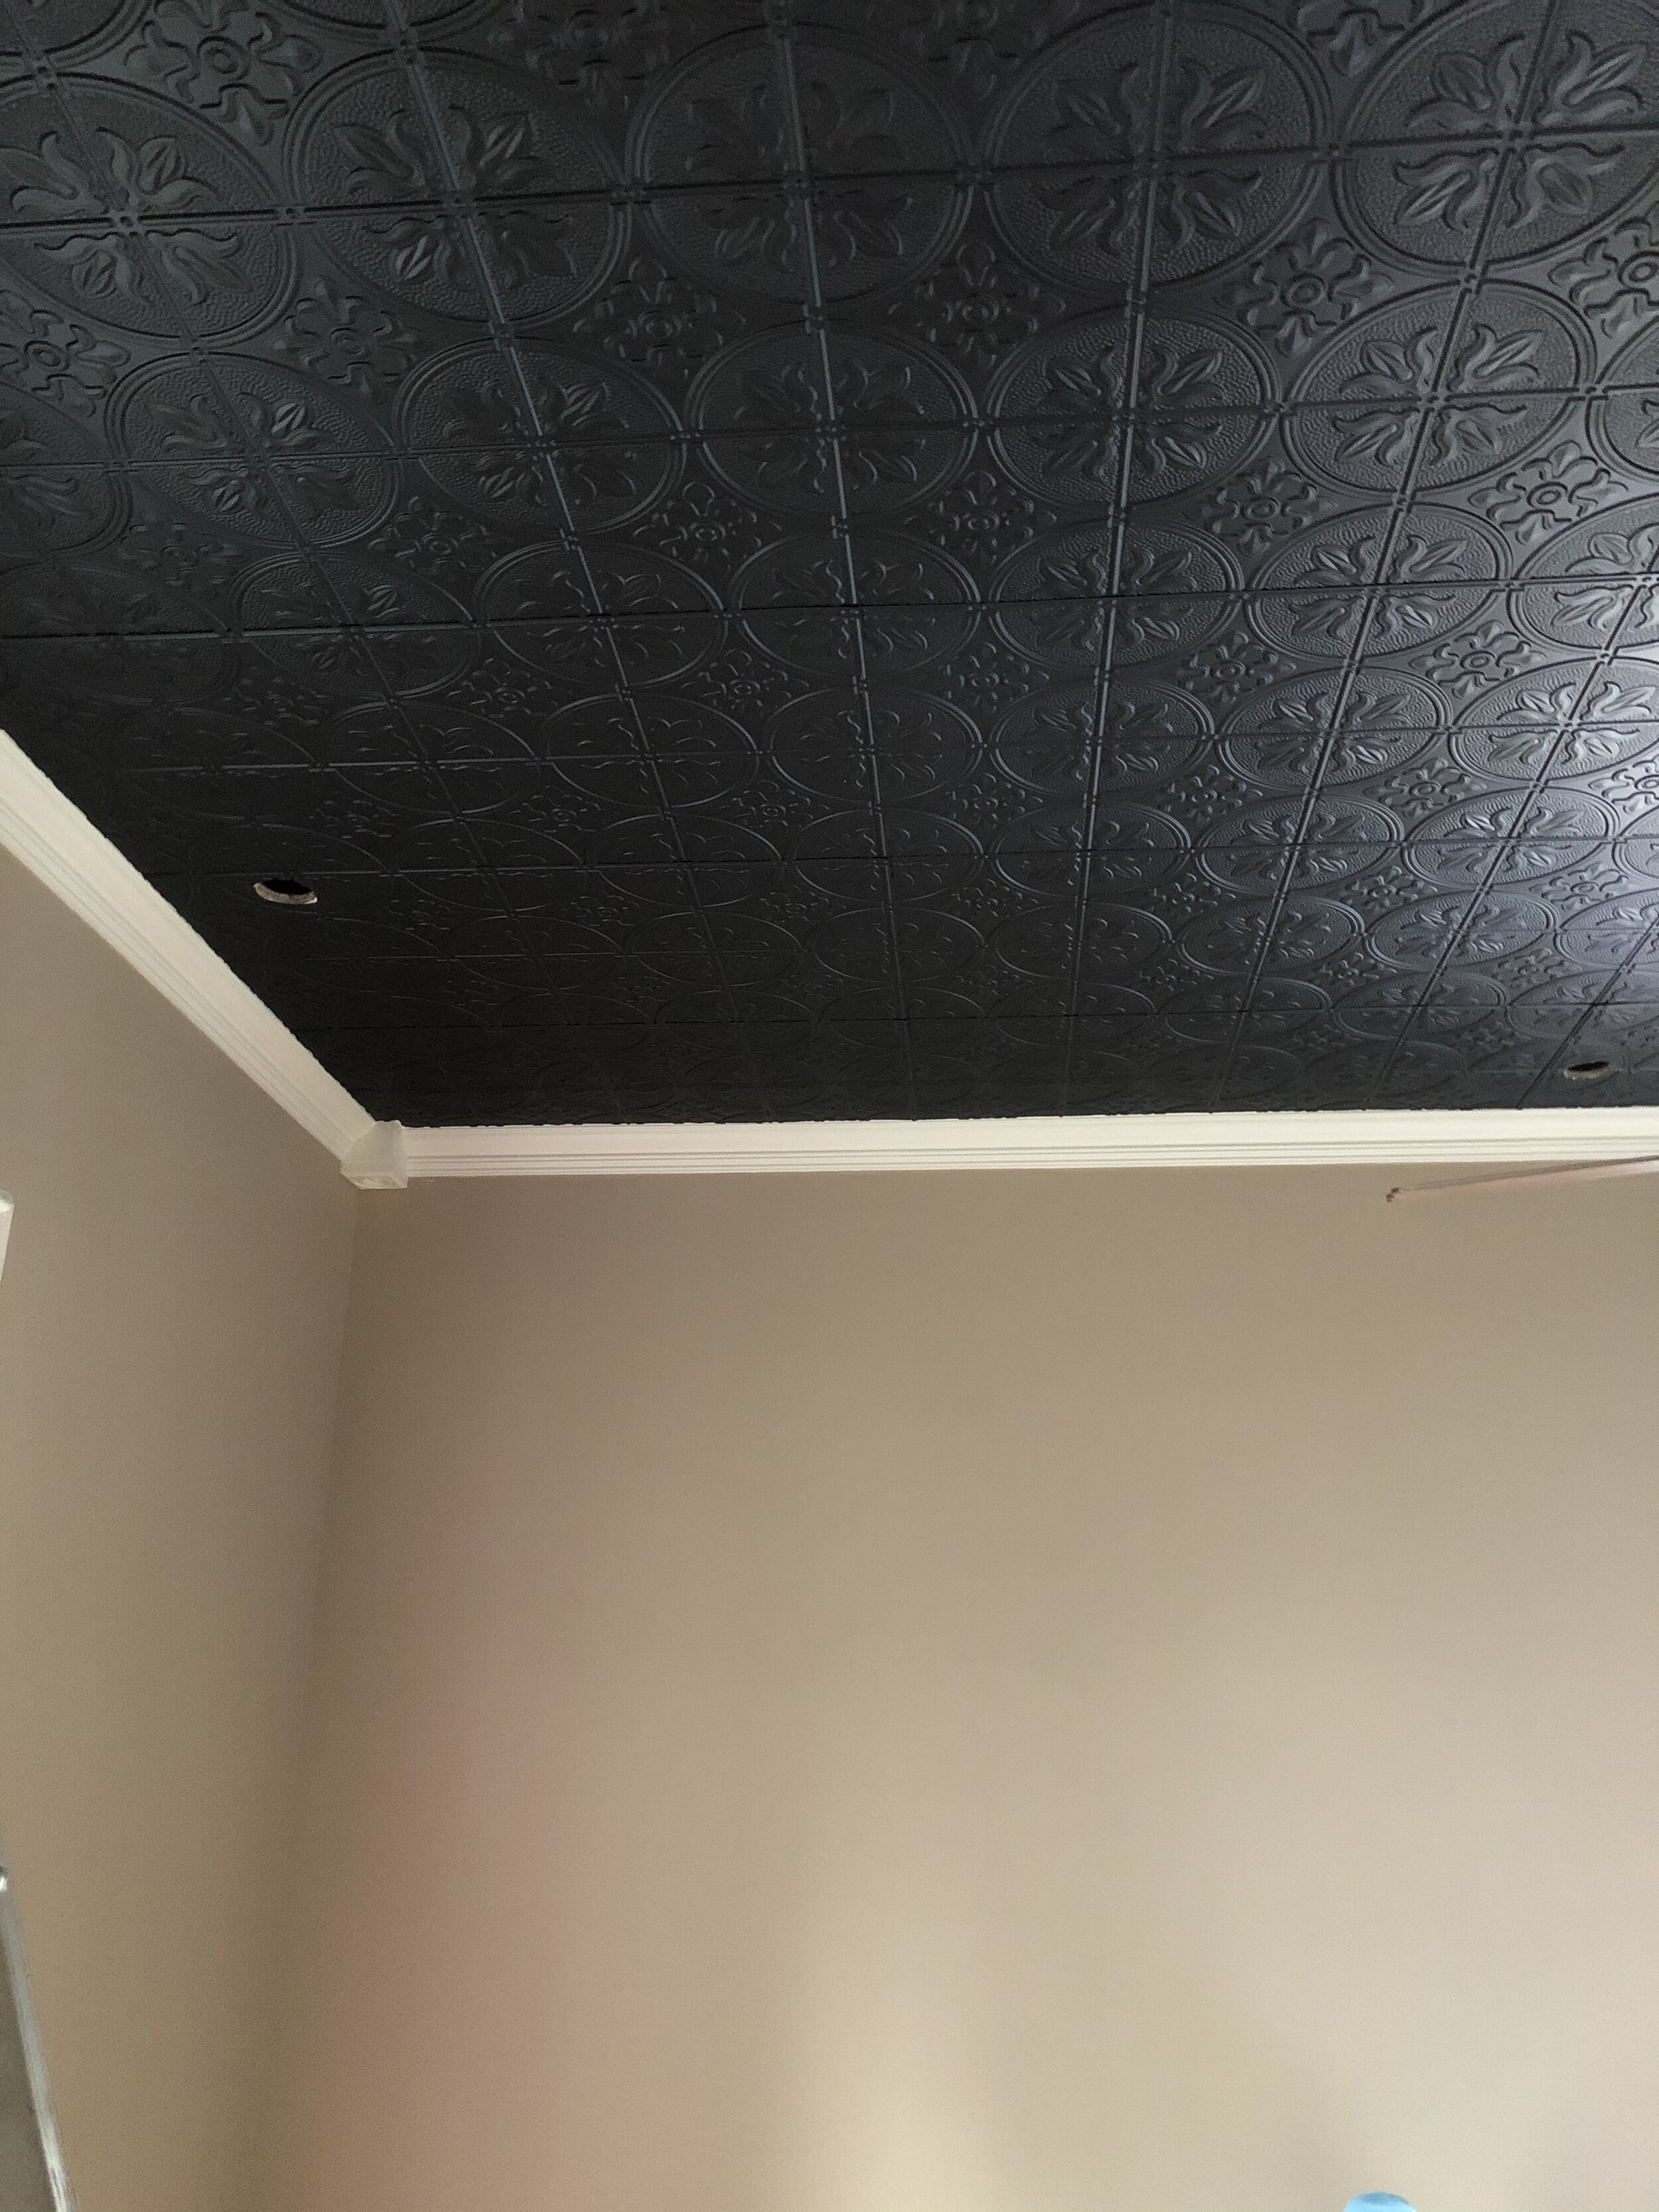
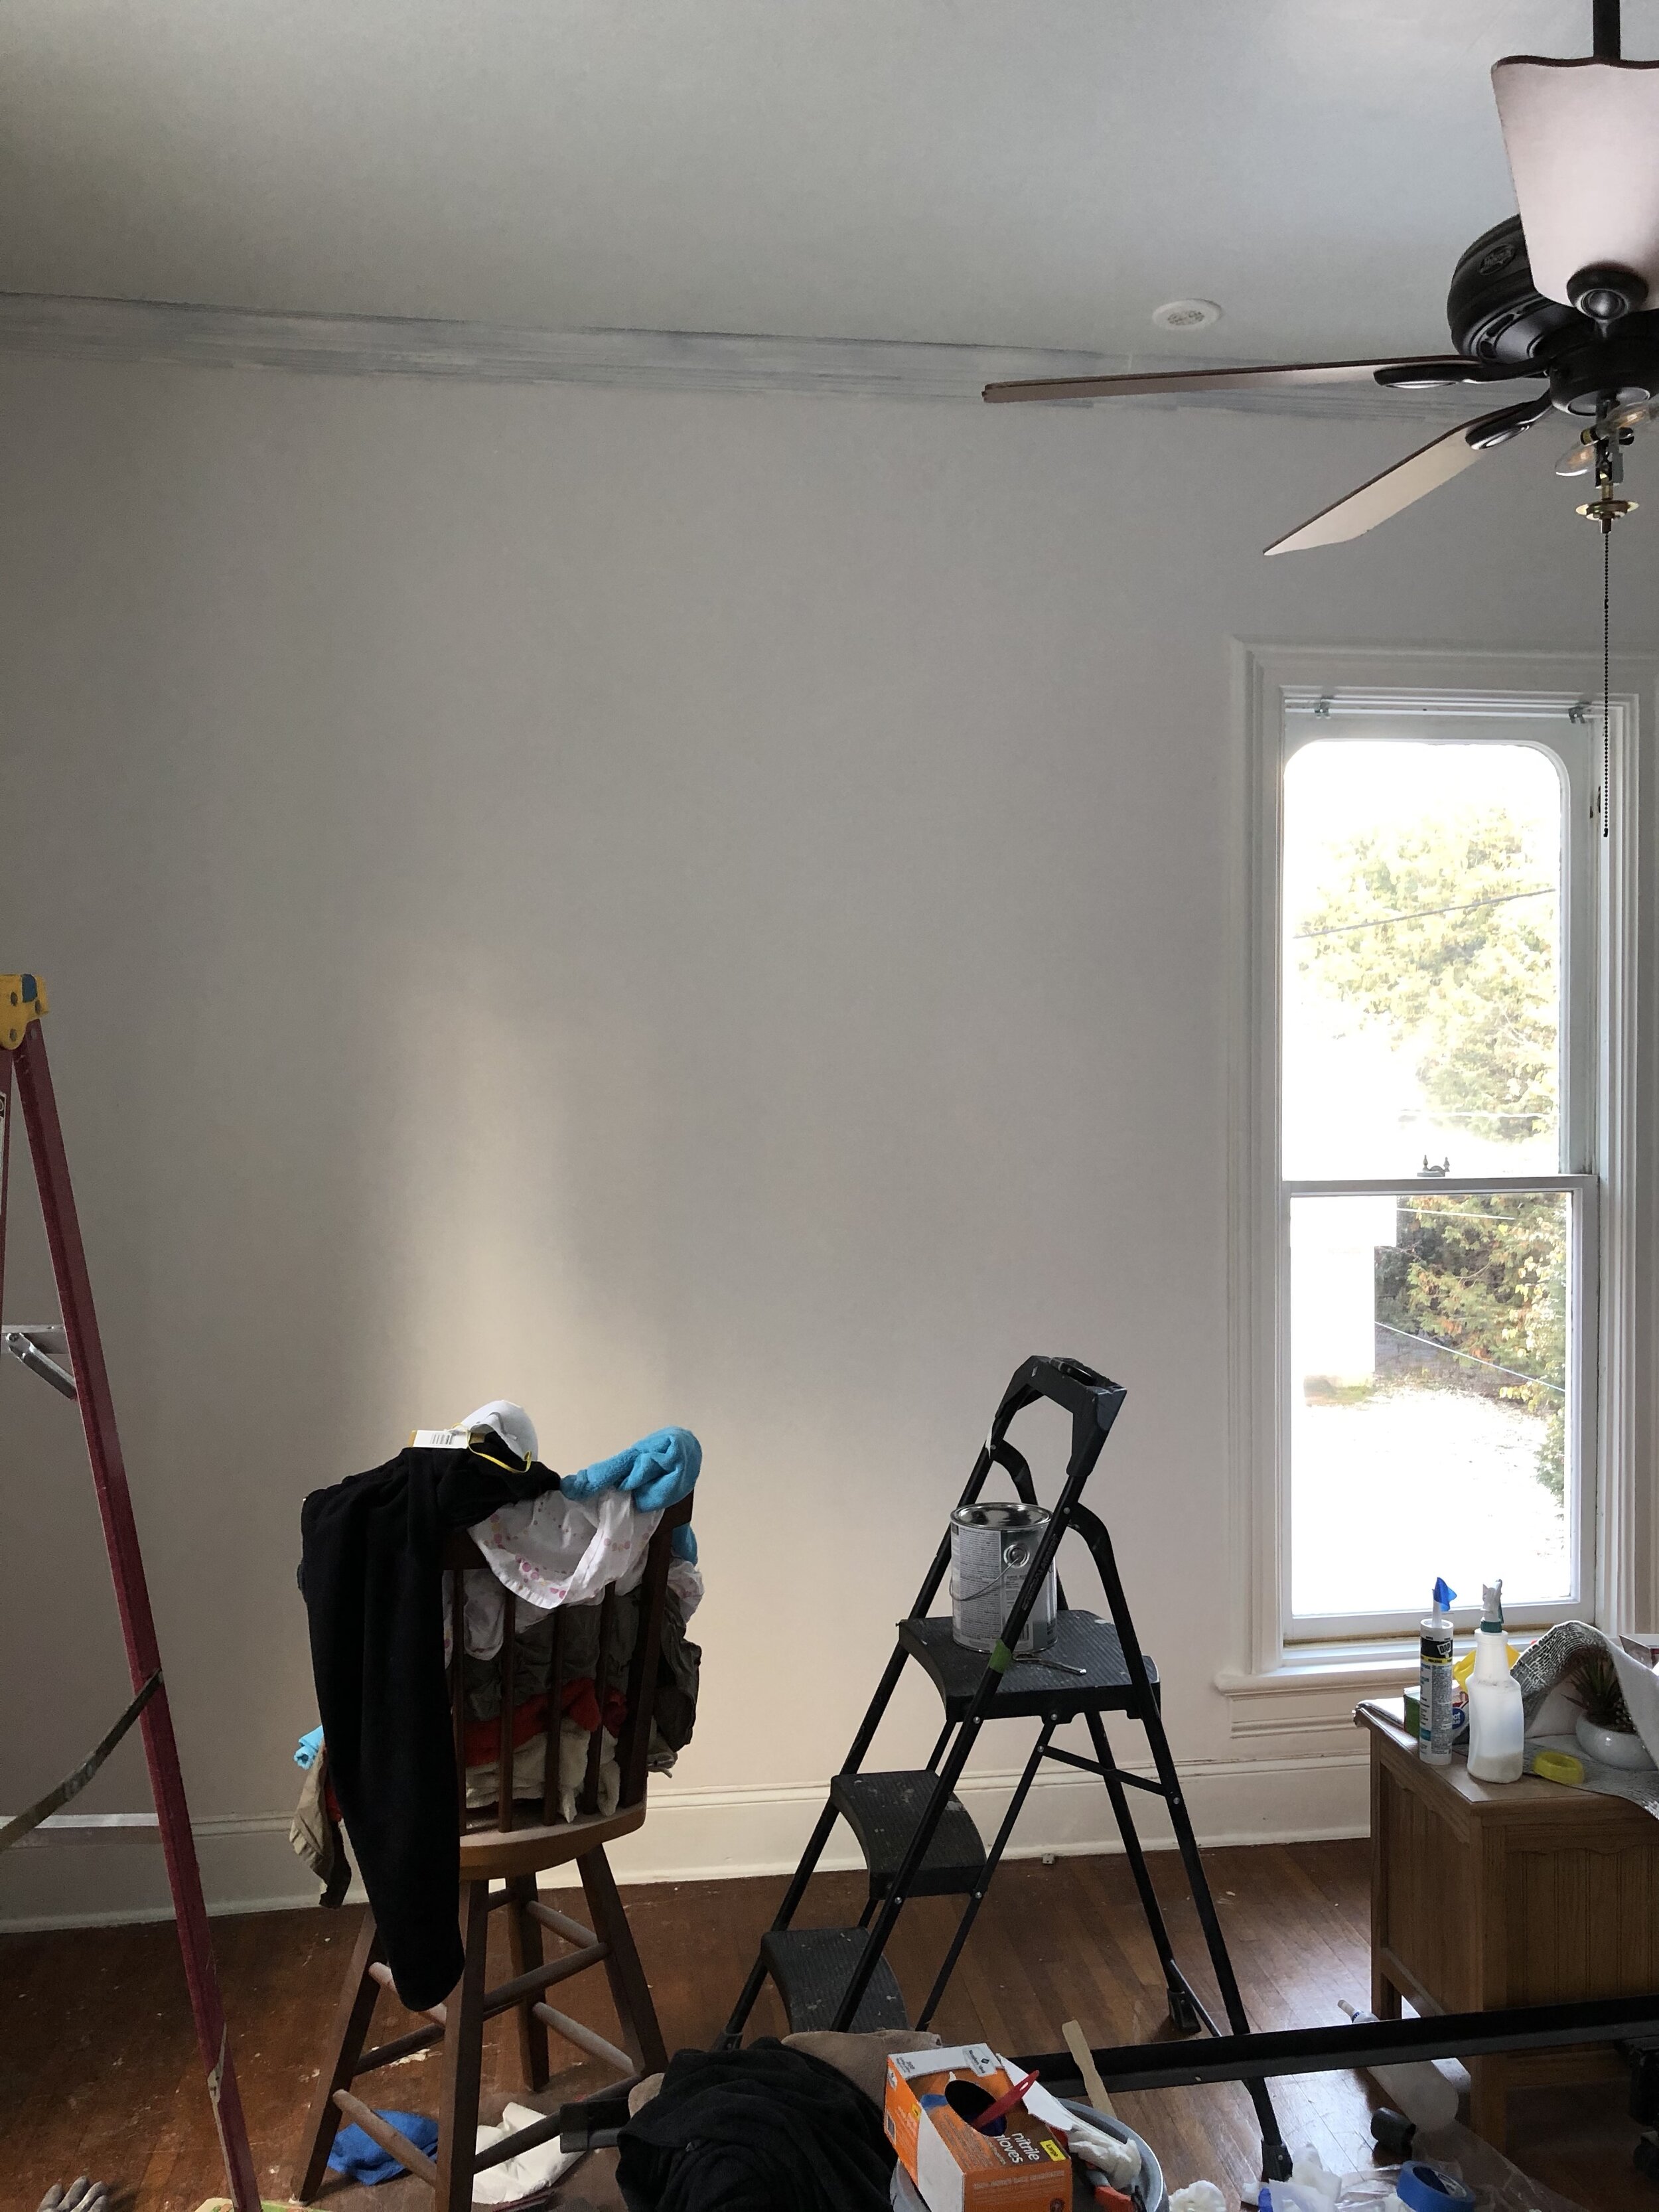
Now that the dusty part is over, wipe down your walls to remove any drywall dust and then vacuum up the room good. The final step in this process for us was to apply some drywall primer to all of the walls and then paint. We also installed a new ceiling in the room to cover the wallpapered ceiling and cleaned up the botched crown molding install that the previous owner had installed. This was a very long project, mostly because I drug my feet. Emma did most of the demo and the Big Wally's repair and Nick was there to help with the mesh application and the Magic Trowel debacle. The room turned out great and I learned that I have some pretty badass knife skills. On to the next room! Once I contemplate it for a while...