
How to Start Seeds Indoors!
So this is our third year starting seeds and it never gets any less magical. You start with these weird little objects that don't look like much and then you cover them in dirt, water them, put them in the sunshine, and then you get beautiful plants in a few weeks. It's a really fun science project or something you can give your kids to do while you work from home during the COVID-19 pandemic nightmare. As long as the seeds are covered in dirt and water, you are likely to get something to grow!
I'm never brief so I'll give you a short version:
Step 1 - Dirt and containers
Step 2 - Pick out your seeds!
Step 3 - Put seeds in the dirt!
Step 4 - Water your seeds and give them lots of sunshine and love!
Step 5 - Plant them and enjoy!
The long version:
Step 1: Dirt and containers

I’m obsessed with the Jiffy Professional Greenhouse pods. So fun!
You can start seeds in pretty much any kind of clean container that you can poke drainage holes in… Egg cartons, yogurt cups, strawberry boxes, or those salad containers from the co-op. You just need a container that won't wilt if you get it wet. My peat pots always start to disintegrate by the time they are ready to plant so don’t worry if you can’t afford anything fancy. Any kind of generic planting trays will also work just fine. Trays are great because it is nice to be able to water your seeds from below (dump water in the tray vs. pouring water on dirt that may disturb your seedlings) and trays allow you to do that.
You should use something at home or eco-friendly, but out of laziness and the upcoming apocalypse - I love using these Jiffy Greenhouses because they are really cute and I like that they make little "seed mounds" that are easy to manage. Little kids will love helping with this because it looks like a little magical dirt mound that expands when you pour the water on it. They are like $8 at Walmart or Home Depot.
Step 2: Pick out your seeds!
Where do you even start? I know most people like vegetable seeds and herb seeds but I grow mostly flowers.

No point in going small. Plant lots of seeds and get lots of flowers!
I’m a little biased but Seed Savers Exchange is where you should buy your seeds. Non-GMO, open-pollinated, and a wonderful mission to conserve and promote heirloom seeds.
Floret is fabulous if you like flowers. If you don’t like flowers then we should break up.
Row 7 Seeds is incredible but has a somewhat limited selection. You should just buy one of everything they have in stock.
Botanical Interests also has lots of really cool seeds!
My best advice is to plant things you like! In my first year starting seeds, I planted some of everything to see what I could grow and what I had time to maintain. You may love gardening and want plants everywhere or you may hate it and only want parsley in your kitchen window.
Step 3: Put seeds in the dirt!
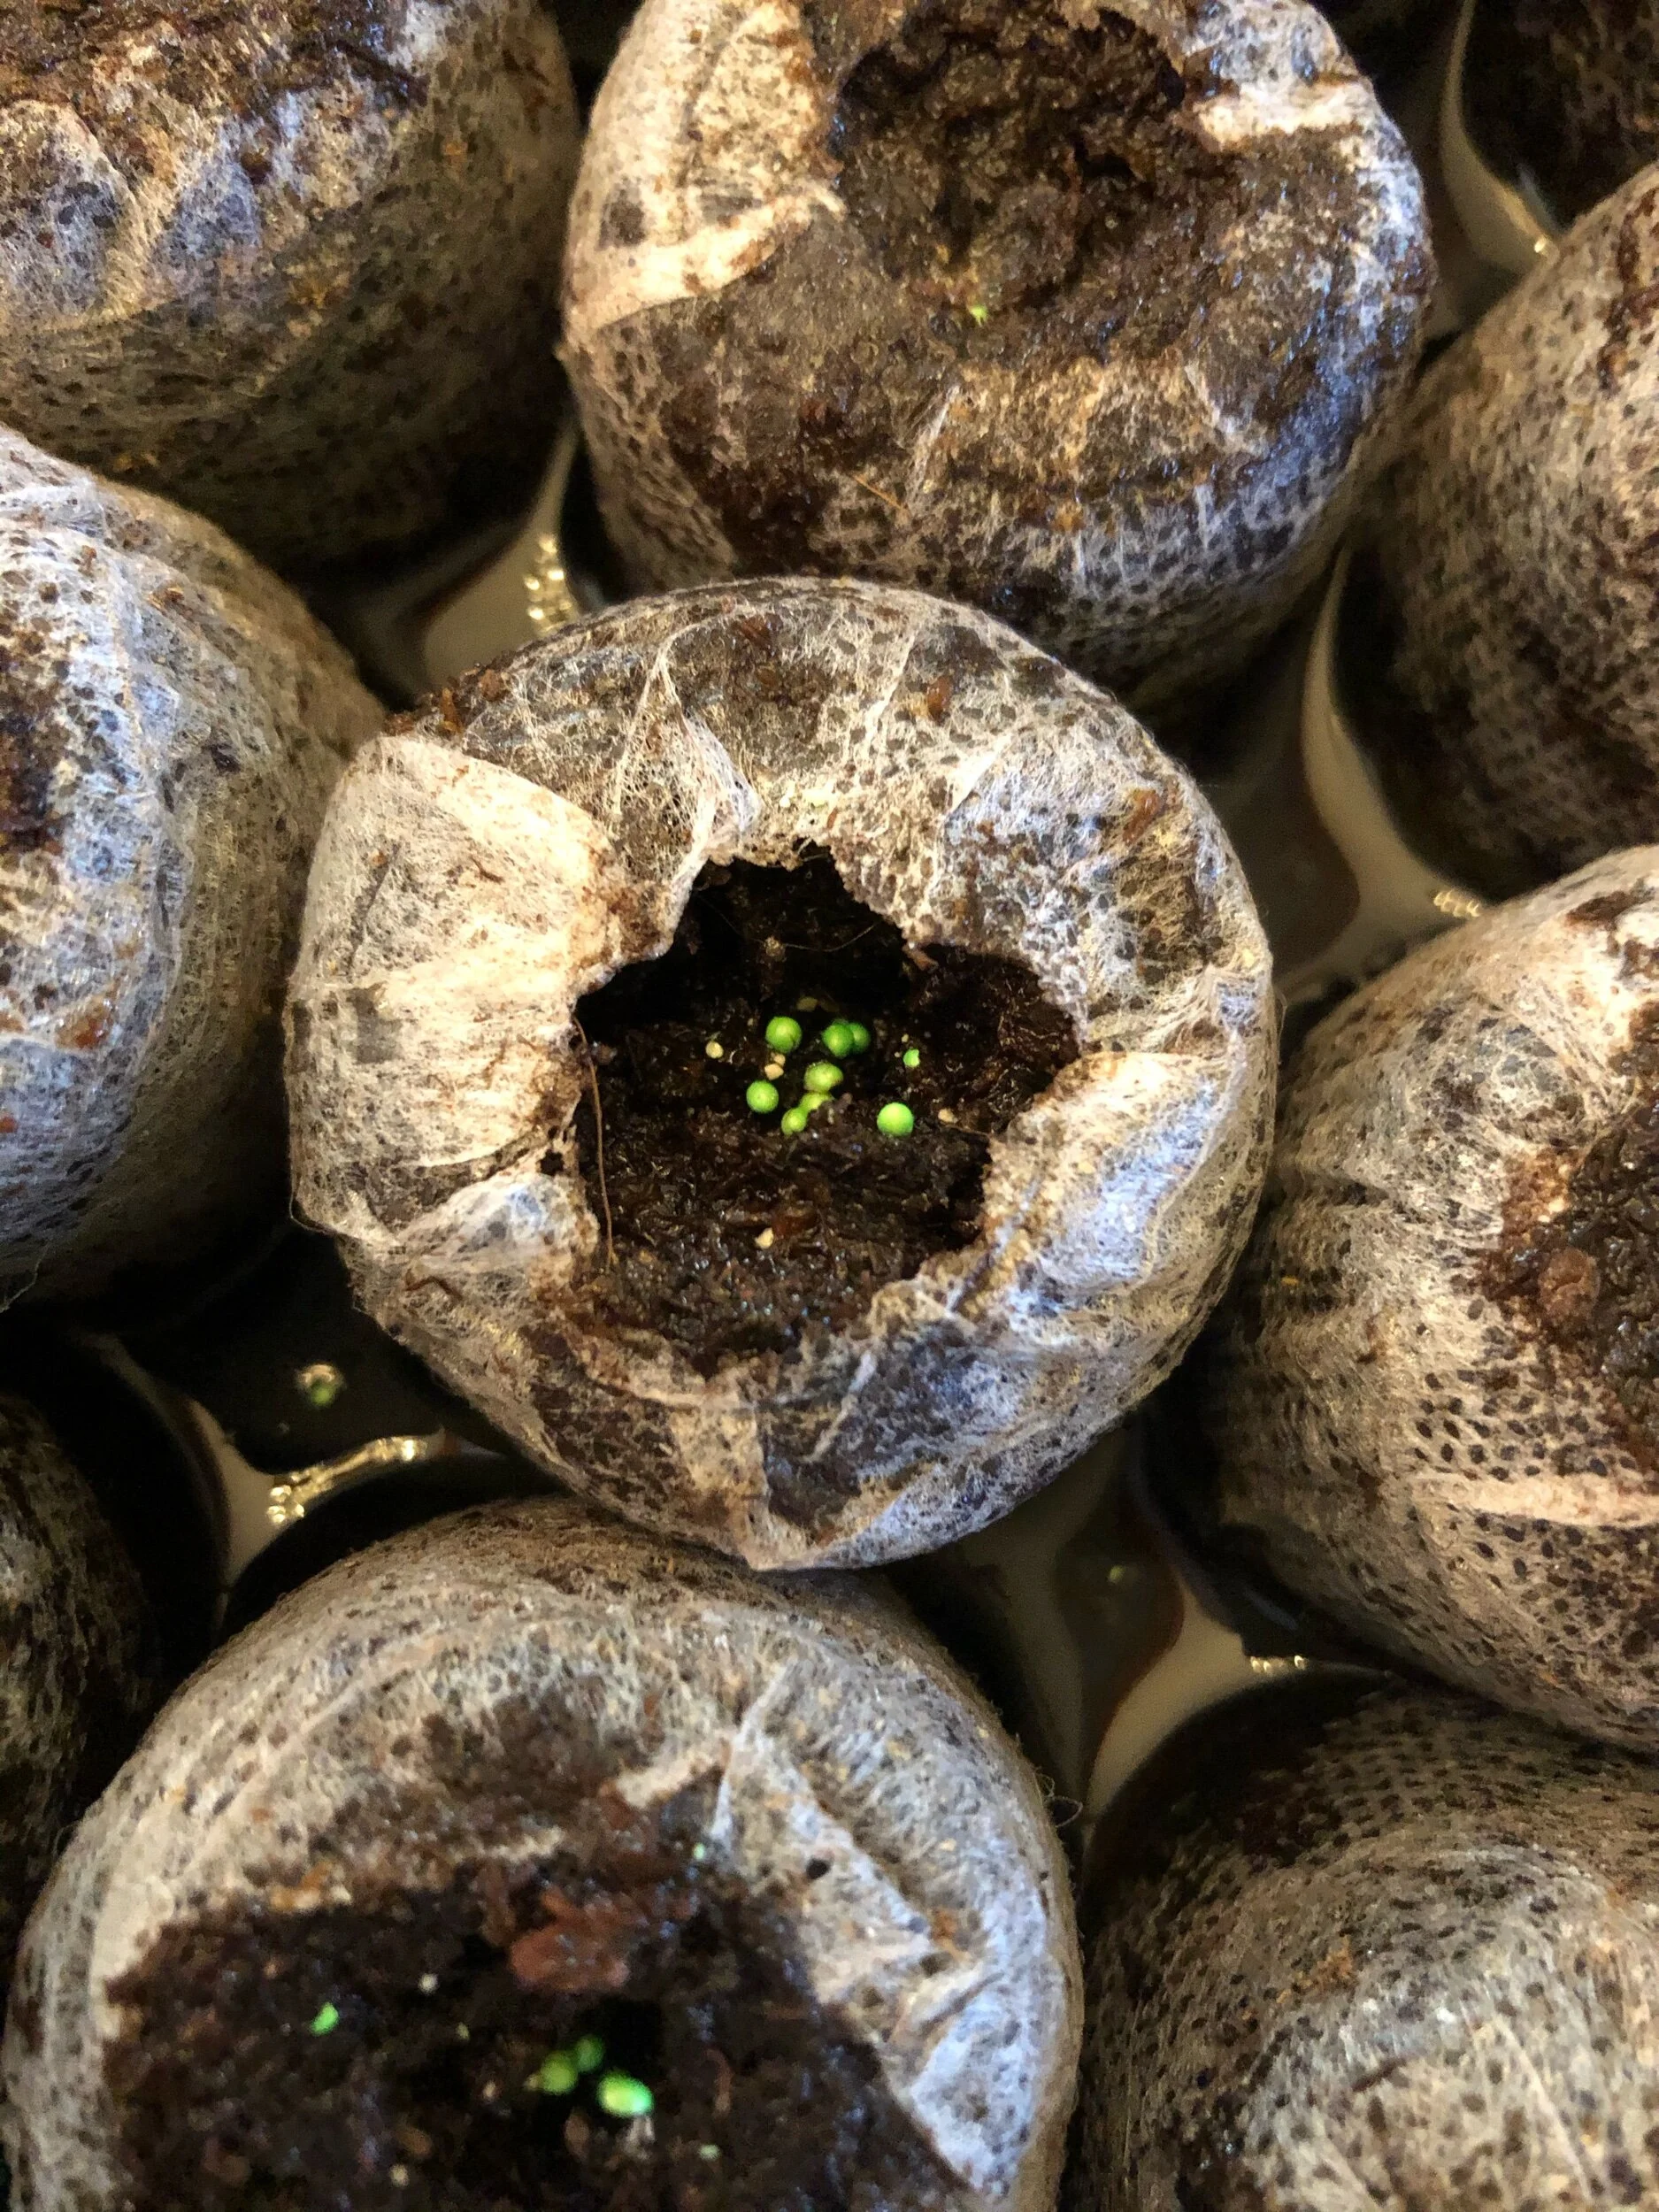
Painted Salpiglossis Stained Glass are beautiful green seeds!
This is my favorite part! I love how dirt smells and it is so much fun to plant seeds. It’s strange to watch something grow and I was shocked the first time I planted seeds and something came up. I really didn’t think it would work. It’s not nearly as hard or as intimidating as it looks.
Bigger seeds I just push in with my fingers but for the tiny ones, toothpicks are great or you can use the end of a pen.
You will rarely need an entire package of seeds so follow the planting directions on your seeds. Put two or three seeds in each hole and then cover with dirt. I wanted plants to grow so my first year I put like 15 seeds in each mound and then I had all these overgrown plants that I had to thin out. Ugly mess. Just 2 or 3 seeds is fine. They will germinate!
Step 4: Water your seeds and give them lots of sunshine and love
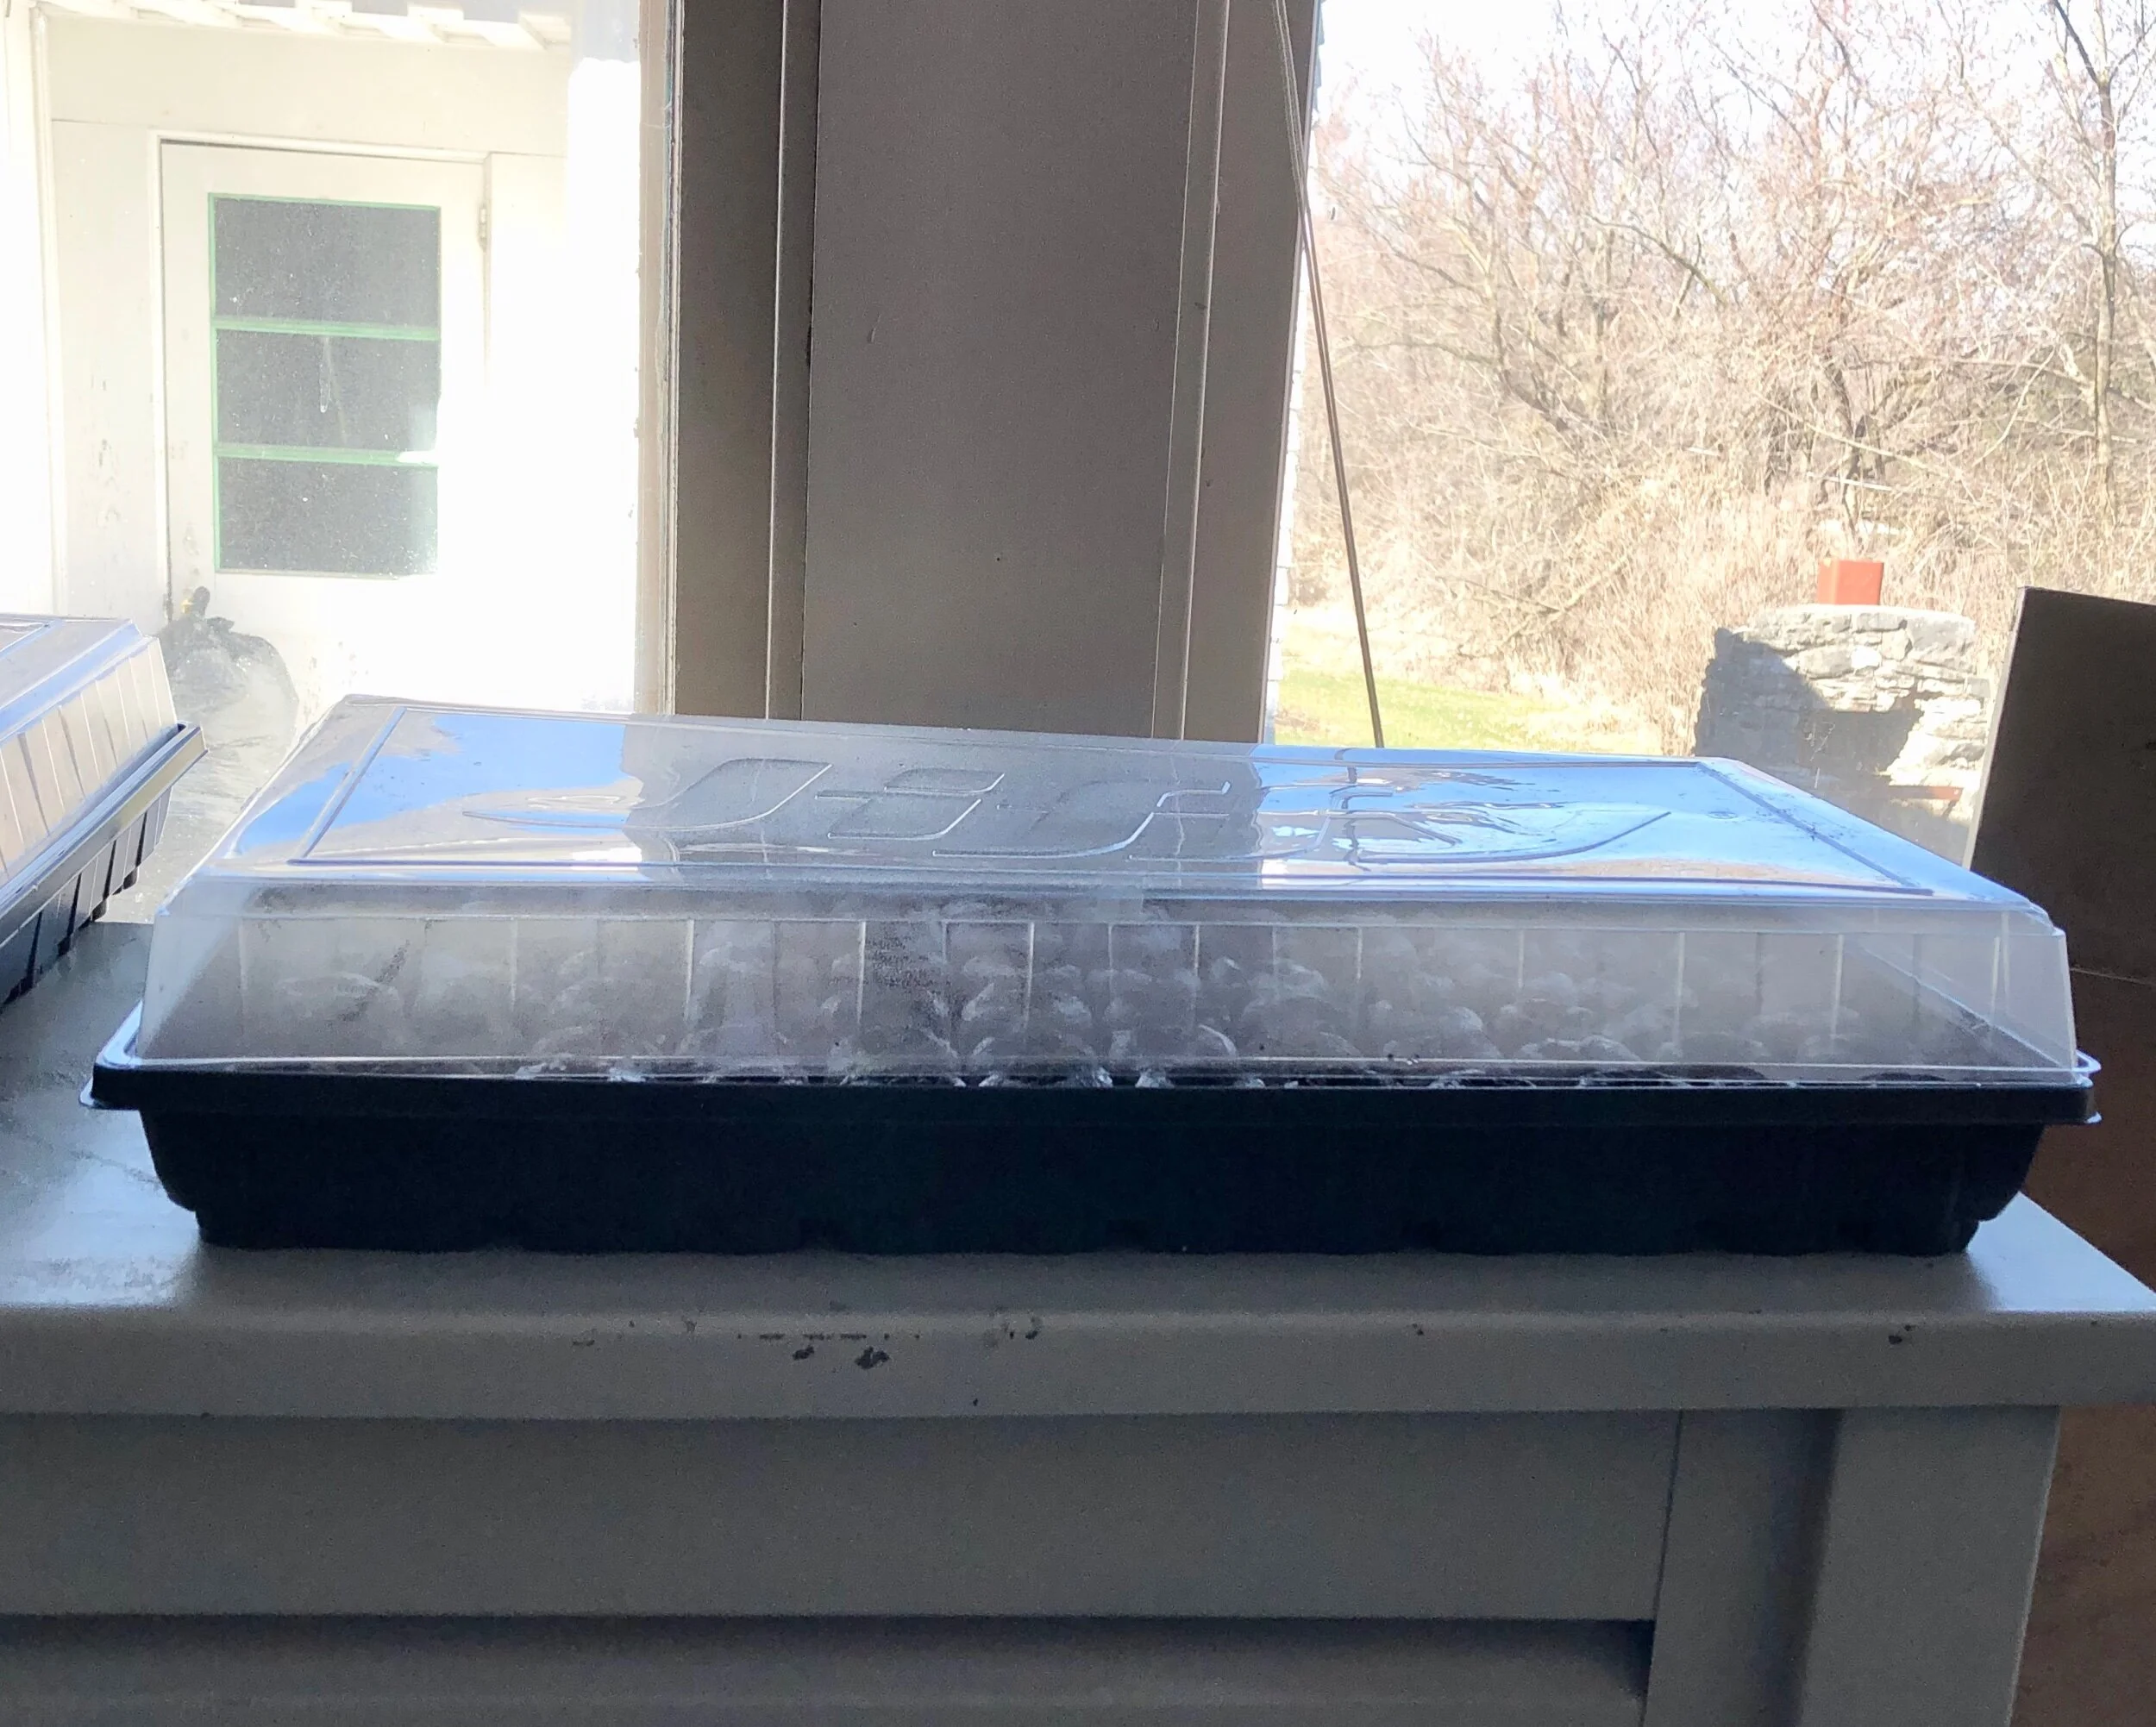
I rotate three trays in our sunroom window to make sure they get plenty of sun. They love to sit on the warm radiators!
This is the hardest part! Make sure your plants stay moist. I hate that word but your plants need water to grow but not too much water. When the dirt turns lighter brown, add a little water. This is when the Jiffy Pot trays are your best friend because you can easily tell when they look lighter and a little dry.
Make sure you put your plants in a sunny window or buy a cheap greenhouse light. I bought an expensive(ish) one and a cheap one and the light came out just the same.
Once your little baby seedlings start to sprout, you will have to thin them out. This means killing your darlings. Yes, you will have to decide which seedlings live and die and only the strong can survive. Get your tweezers out and kill anything that looks weak. This will break your heart or give you great pleasure depending on how awful you are.
Step 5: Put those babies outside!
Depending on what you are growing, your seedlings will be ready to plant at different times. You will have to “harden them off” before they can go in the garden. This is where the Jiffy pots come in handy because you can pick and choose which plants look ready for some time out in the sun! I usually start doing this when they begin to look like they can survive in the garden - when they get tall or have enough leaves to look like an actual plant you’d buy at a garden center. Usually 4-6 weeks. I put an oscillating fan by them to help them get strong. Then you gradually put them outside for a few hours a day until they are ready to plant. Make sure you don’t put them out when it is going to rain or be freakishly hot out. You don’t want to murder your baby plants.
I’ve also noticed that some plants do better than others. Last year I started a bunch of cosmos too early, they got HUGE in their little Jiffy pots and then I thought they were dying so I just planted them (because I’m lazy and they looked dead) and then they survived and were giant beautiful plants. You just never know. But you can always start over next year if you kill them. This is supposed to be fun so don’t be too hard on yourself!
Helpful Tips:
WATERING FROM BELOW is your friend. The first year I started seeds I would quite literally just pour a pitcher of water on the tray and flood the plants. Don't do this! Gently water them or put your plants in trays and water them from the bottom so you don't disturb the seeds and tiny roots of your new baby plants. Don’t be a plant killer.
TOOTHPICKS are super helpful because then you can help push the seeds into the dirt. These are also helpful if you need something to gently break up dirt. You never realize how big your hands are (I have small T-Rex hands) until you have to "gently" press some damn 'Giant Spotted' foxglove seeds into the dirt.
LABEL YOUR PLANTS. You'll also want some kind of label. I like these cheap waterproof ones from Amazon. I buy them in bulk and then you can chop them to size. Plants grow at different rates so you'll want to remember what your plants are so that you can pull them out and start hardening them off at the appropriate time.
MY favorite varieties to grow from seed:

Ground cherry is the cutest! Look at those husks!
Castor Beans - OH my lord. These are the prettiest little seedlings to watch. They are poisonous but they make these giant estate-like plants. Grow them. Just don’t eat them and make sure you plant them at the back of the border where your dog can’t accidentally eat them.
Ground Cherry - So much fun! Especially if you have younger kids. When these are ready to eat, the husks of fruits become dry and papery and the fruits fall on the ground. These are really fun to eat in the garden because the papery husks keep them relatively clean unless you are spraying your yard with pesticide or have a bat infestation.
Triple Curled Parsley - Parsley gets a bad rep! This is one of my favorite plants to start because it is such a beautiful green color. I planted a bunch for our kitchen window and they make a wonderful filler plant in the garden or landscape. I planted them as ornamentals between our peonies last year and they were stunning and green until after our first snow.
Have fun and don’t worry if you kill everything. You can always rip the plants out and start over!